> ## Documentation Index
> Fetch the complete documentation index at: https://docs.labellerr.com/llms.txt
> Use this file to discover all available pages before exploring further.
# How to Create an Export in Labellerr
> A guide for Supervisors, Admins, and Super Admins on creating exports of annotated data, including filtering, scheduling, and selecting formats.
This Guide is for Supervisors, Admins, and Super admins of a project who wish to create an export of the annotated data. In this guide, you would find filtering data for exports, setting up automated scheduled exports, and export destination and format.
An export can only be created by **Supervisors, Admins, and Super admins**. In order to export, make sure that you are on the same project/workspace on which the export has to be made.
## Creating an Export
### 1. Select Export Option
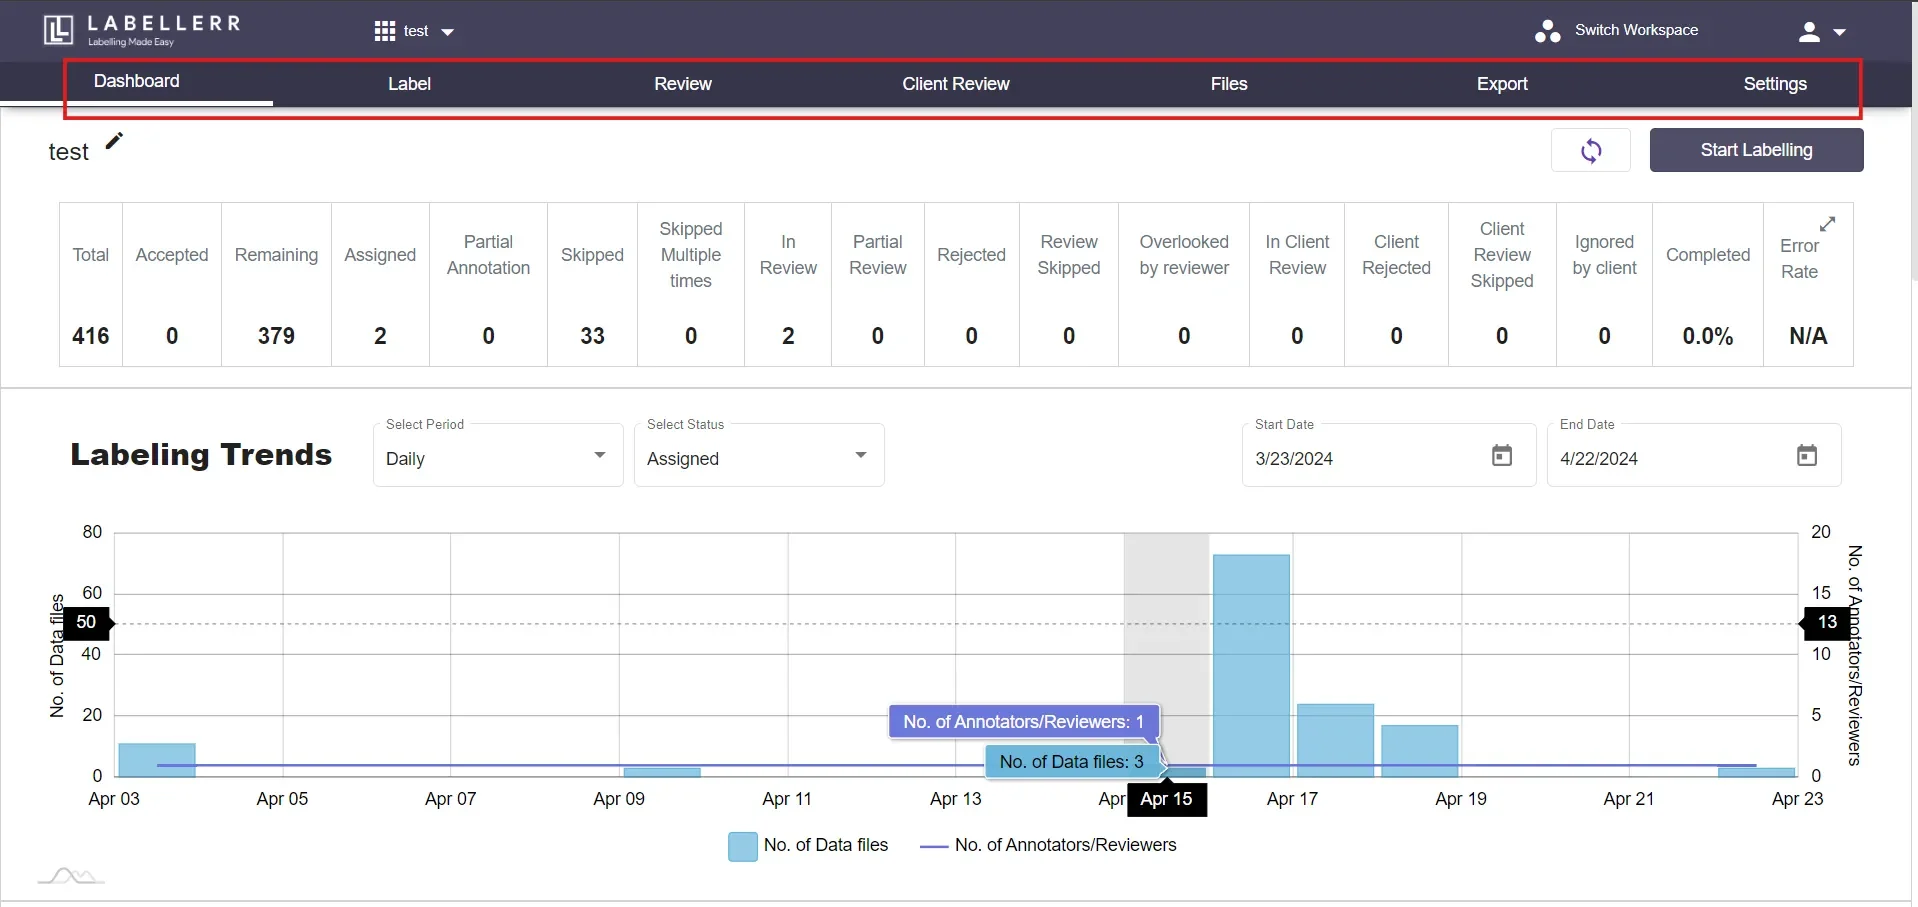
Select the **Export** option from the Taskbar.
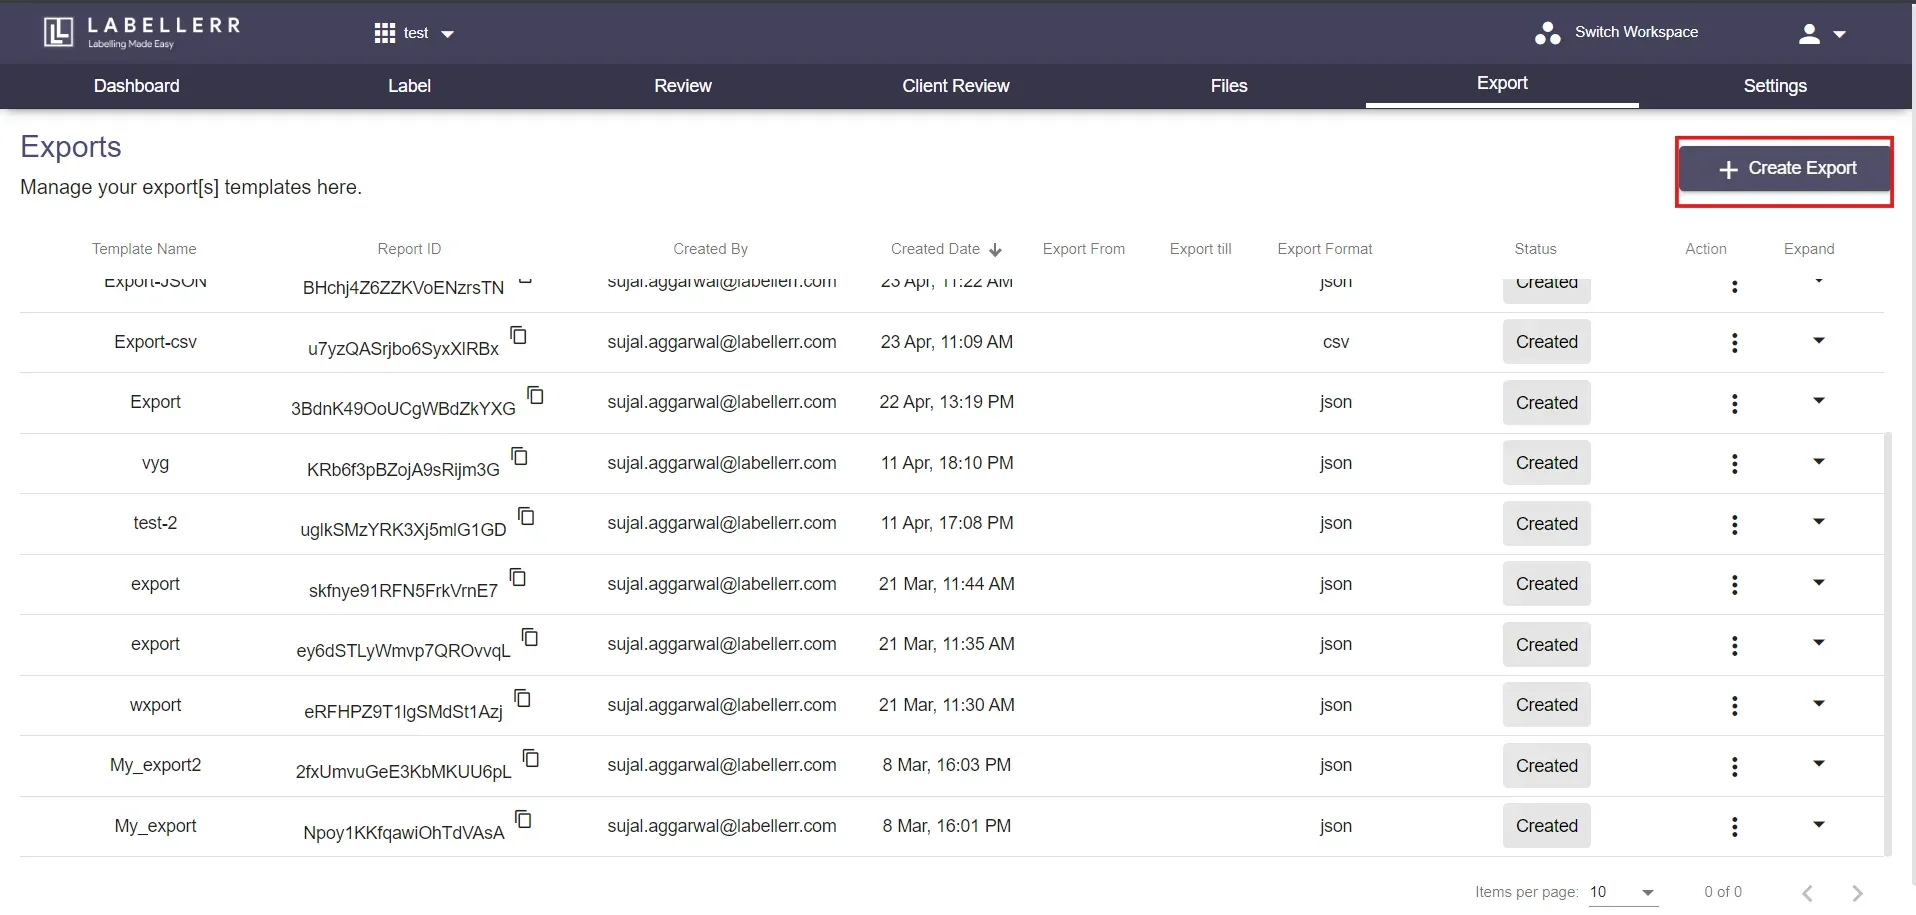
 After which, the following screen would appear. Click on **Create export** to get started.
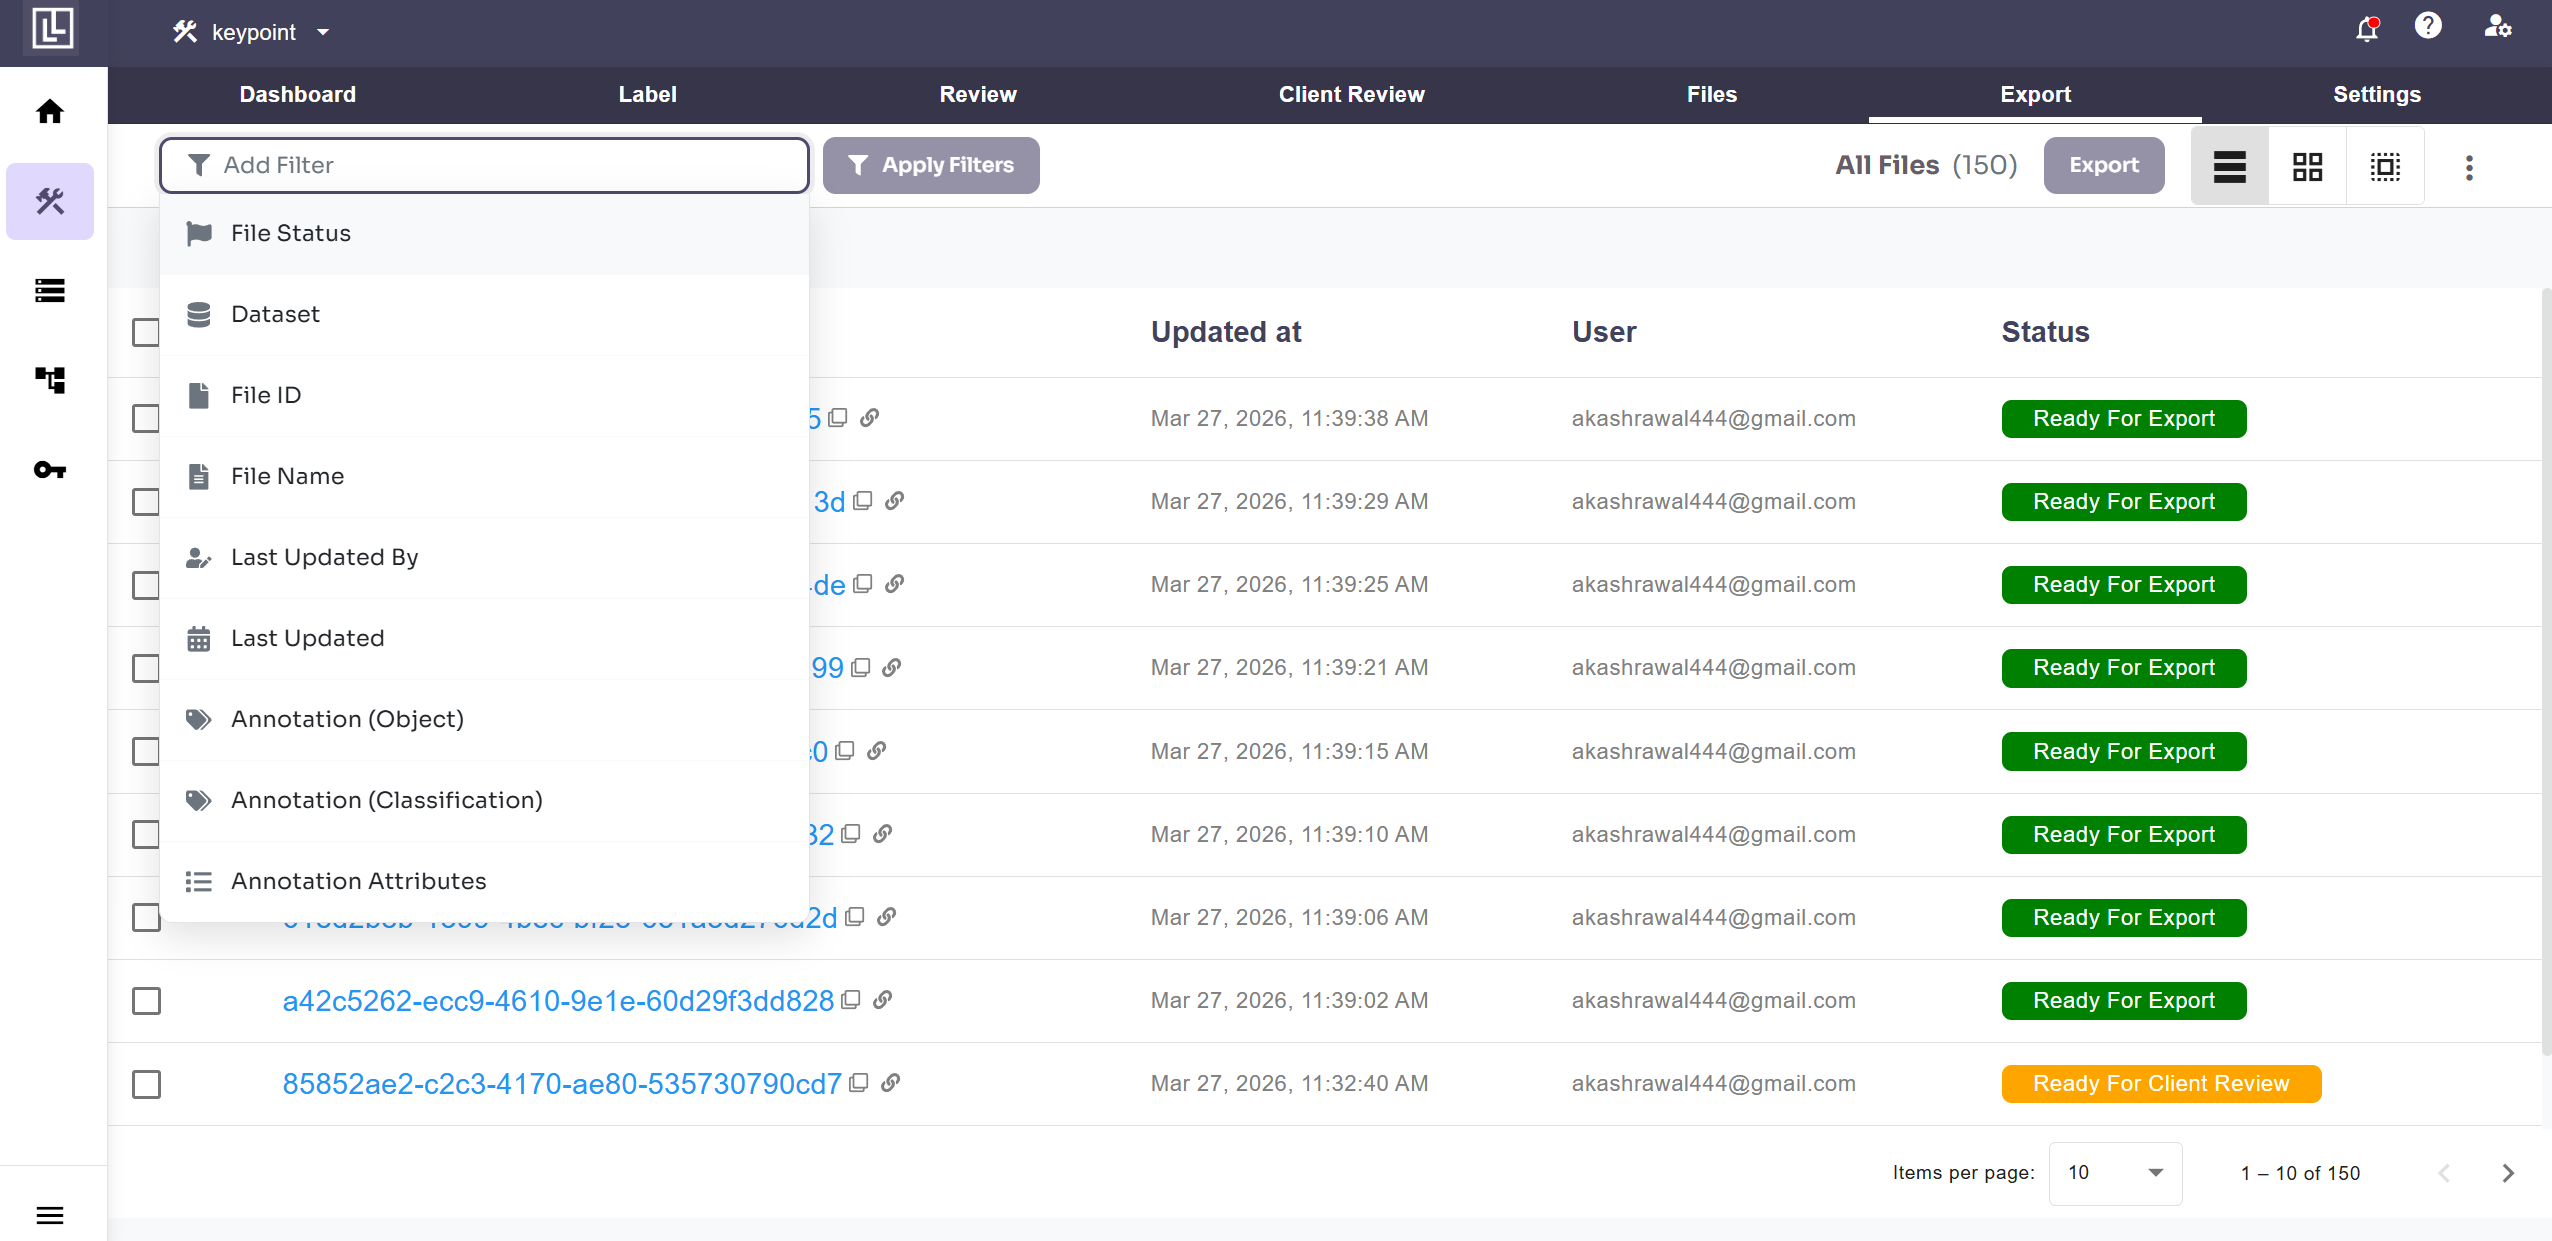
 Here in the redirected page, click on the File Status filters to make changes to the filter settings.
 ***
### 2. Change the Default Status Selection
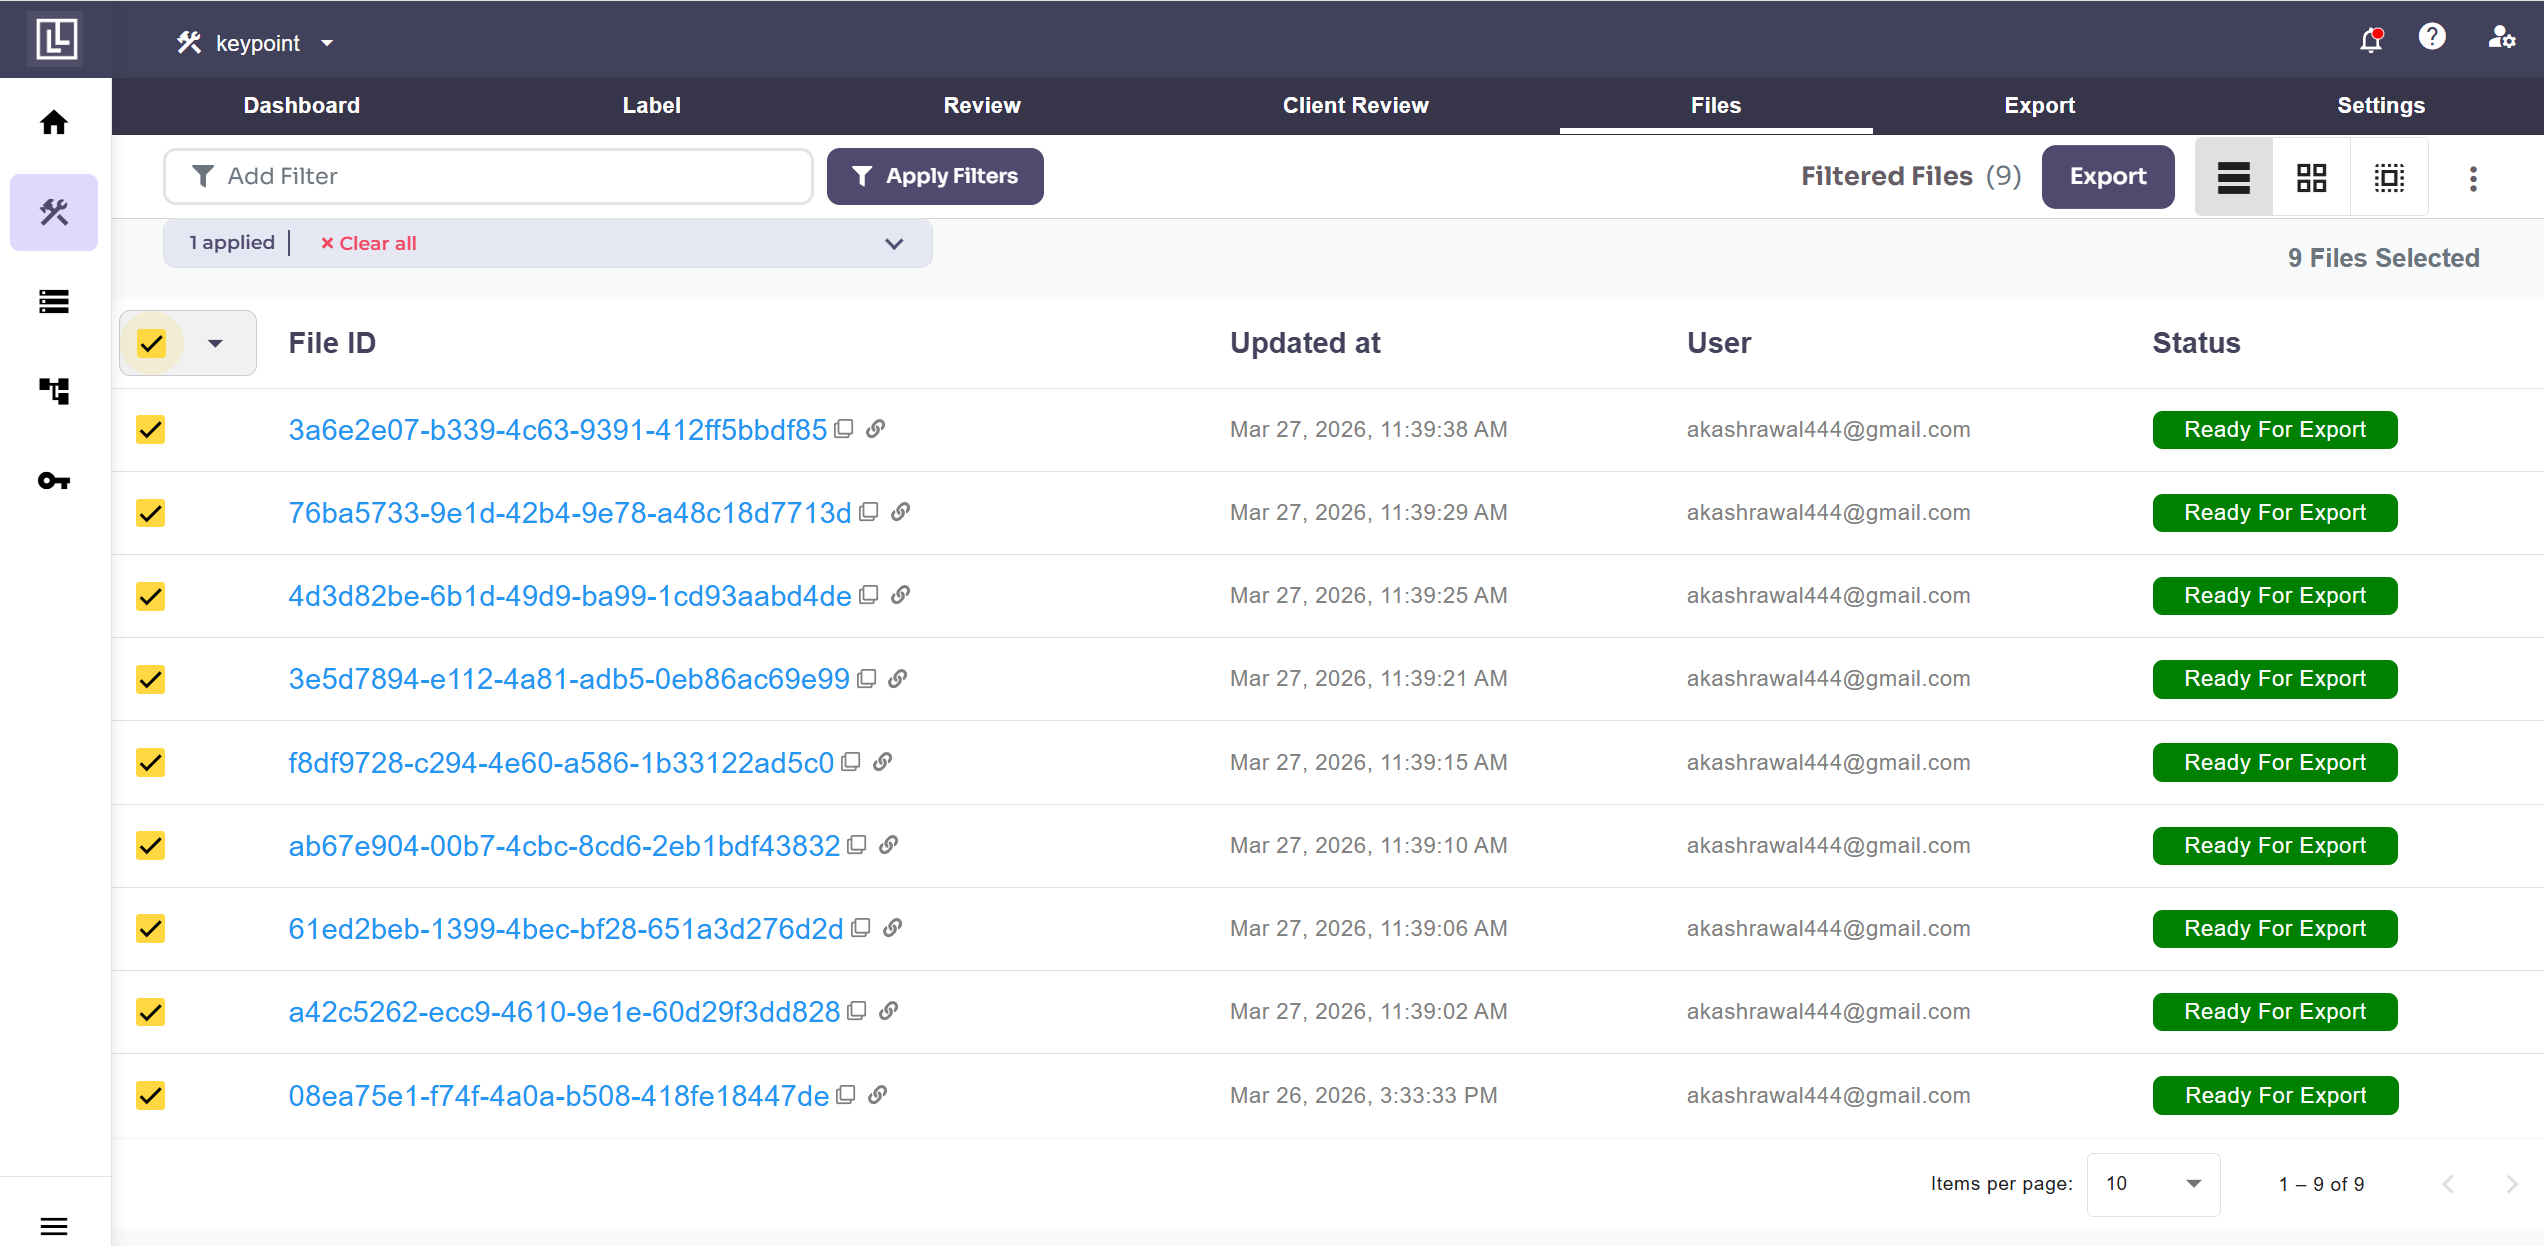
Select desired filters among the dropdown option of filters. For example, if you need files for "Final export" then choose a status "**Ready for Export**". Then click the button **Apply Filters**.
***
### 2. Change the Default Status Selection
Select desired filters among the dropdown option of filters. For example, if you need files for "Final export" then choose a status "**Ready for Export**". Then click the button **Apply Filters**.
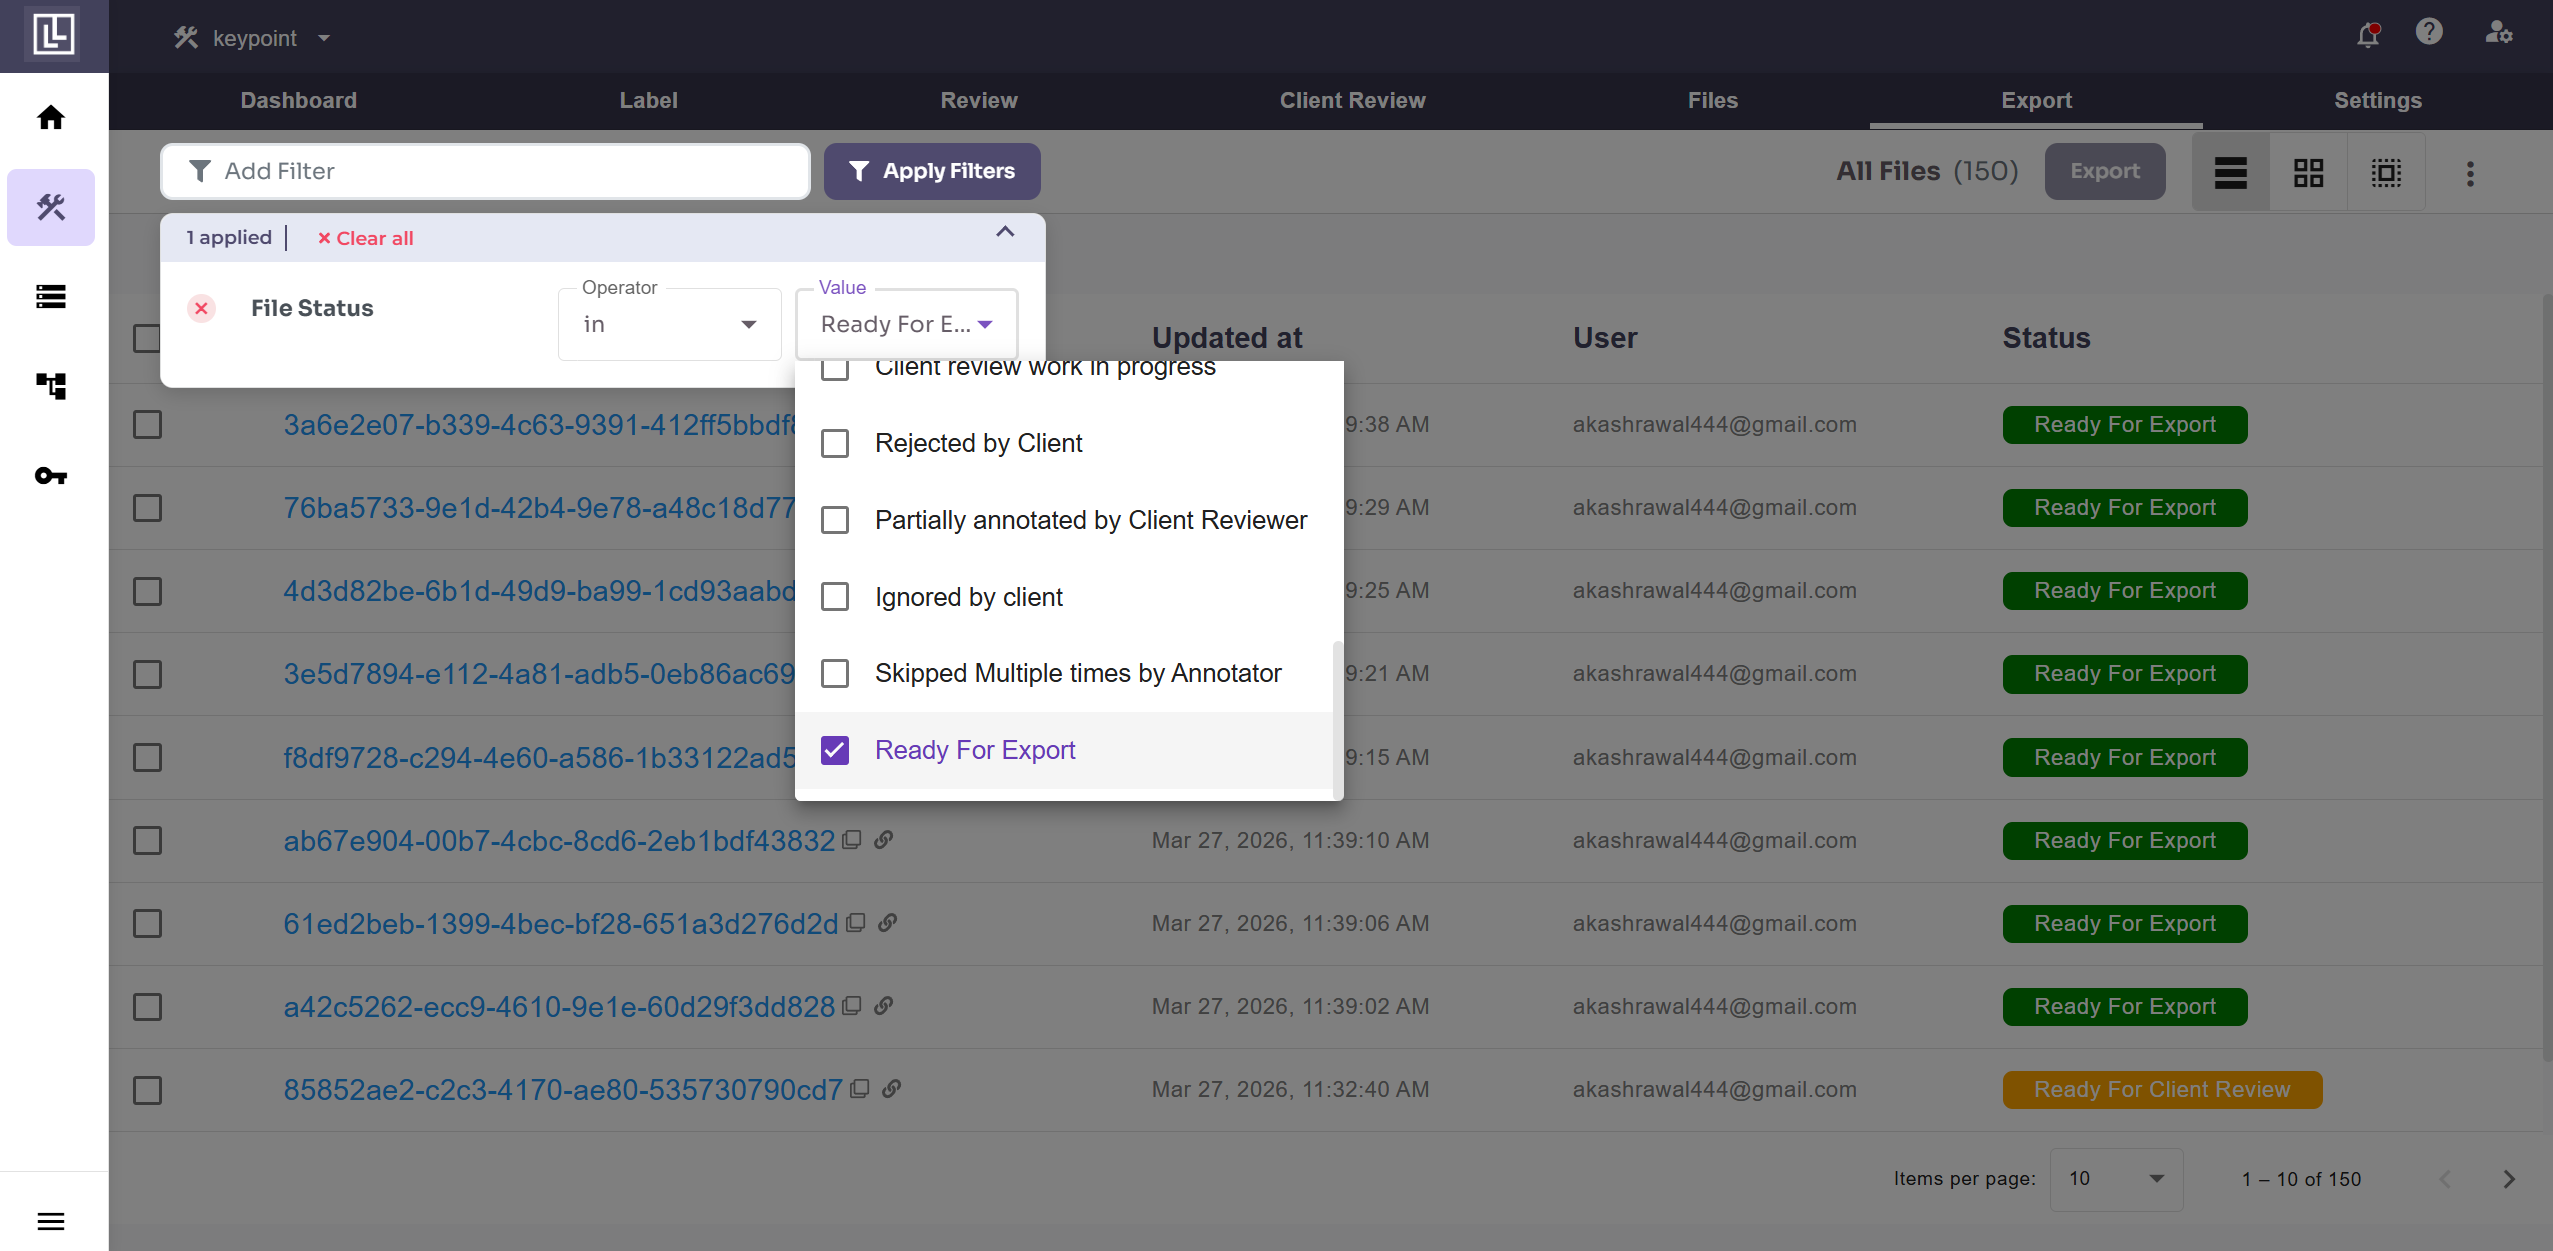 On the resulting screen, you can choose All Files to export everything, or select specific files if you only want to export certain ones. Then Click on the Export Button
 A popup window appears in which you have to fill in the essential details and then click on the **'Create'** button.
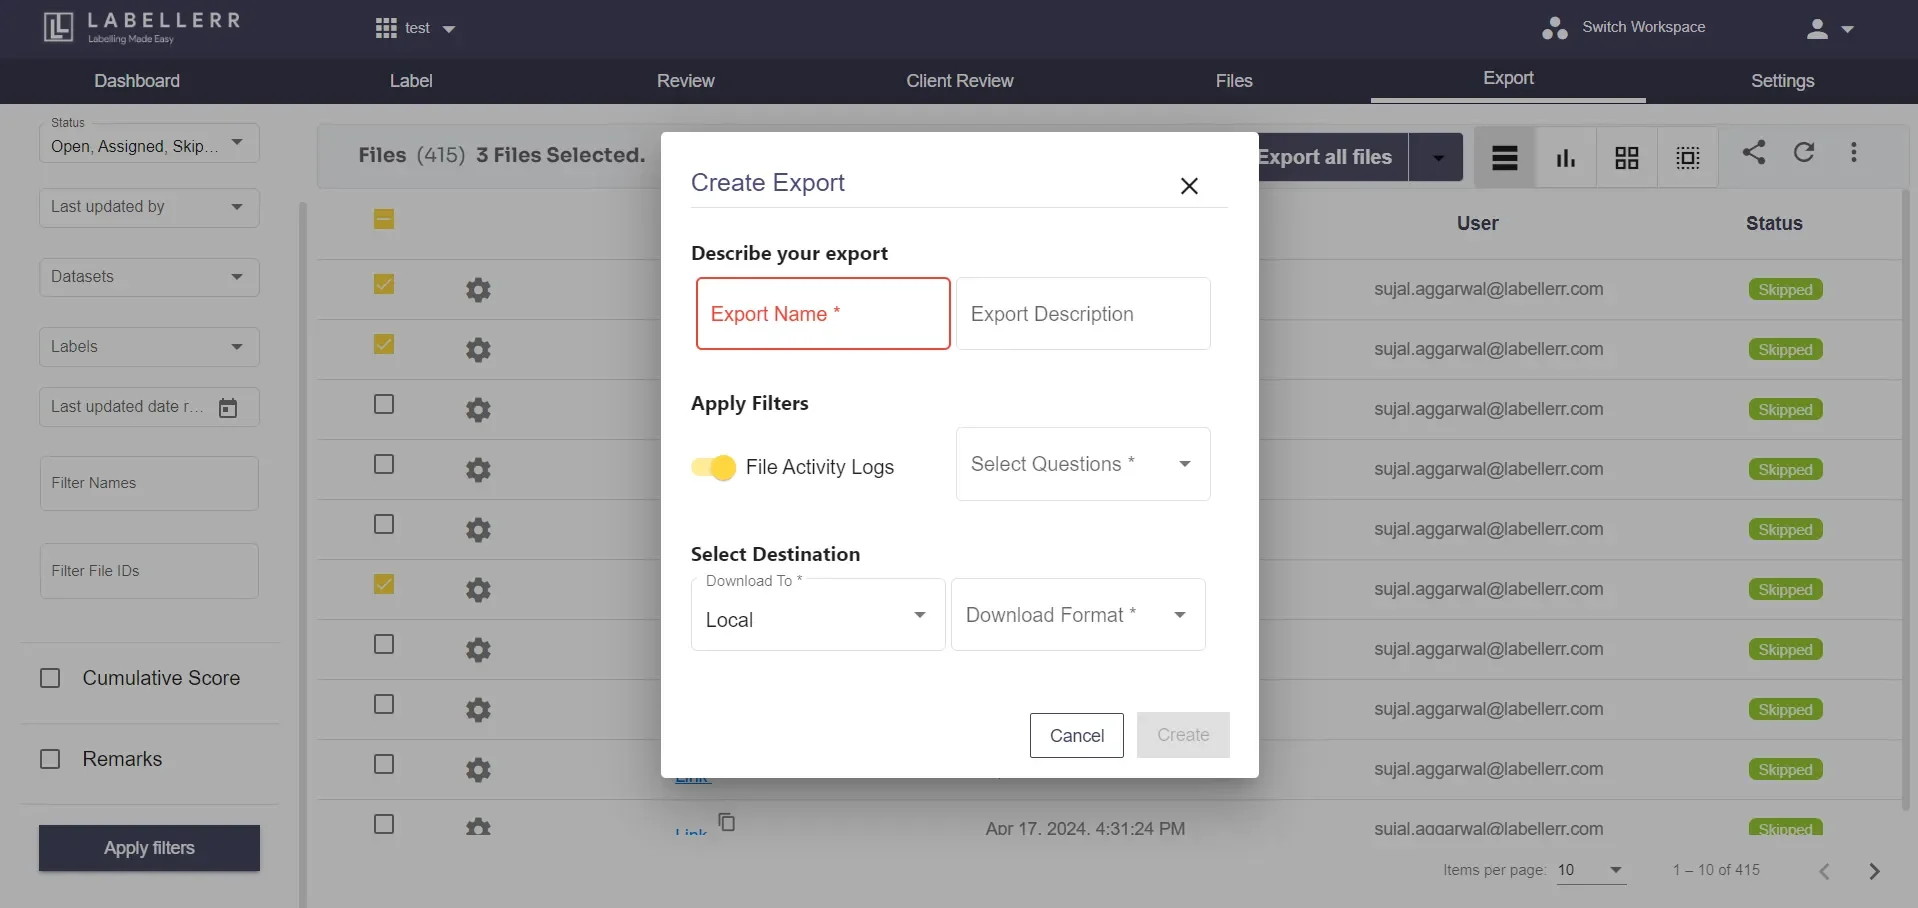 ***
Here, the Export Name is compulsory.
The File Activity Log button present under `**Apply Filters**` section includes activity logs into the export generated. Enabling it includes the log of all the activities done by people having access to the project.
In the Select Questions dropdown, select the questions for which you want to create an export.
### Download Format Options
There are multiple download formats available:
1. **CSV** - Select 'CSV' from the export format list. It's a plain text format used to store tabular data, where each line represents a data record, and each field within a record is separated by a comma.
***
Here, the Export Name is compulsory.
The File Activity Log button present under `**Apply Filters**` section includes activity logs into the export generated. Enabling it includes the log of all the activities done by people having access to the project.
In the Select Questions dropdown, select the questions for which you want to create an export.
### Download Format Options
There are multiple download formats available:
1. **CSV** - Select 'CSV' from the export format list. It's a plain text format used to store tabular data, where each line represents a data record, and each field within a record is separated by a comma.
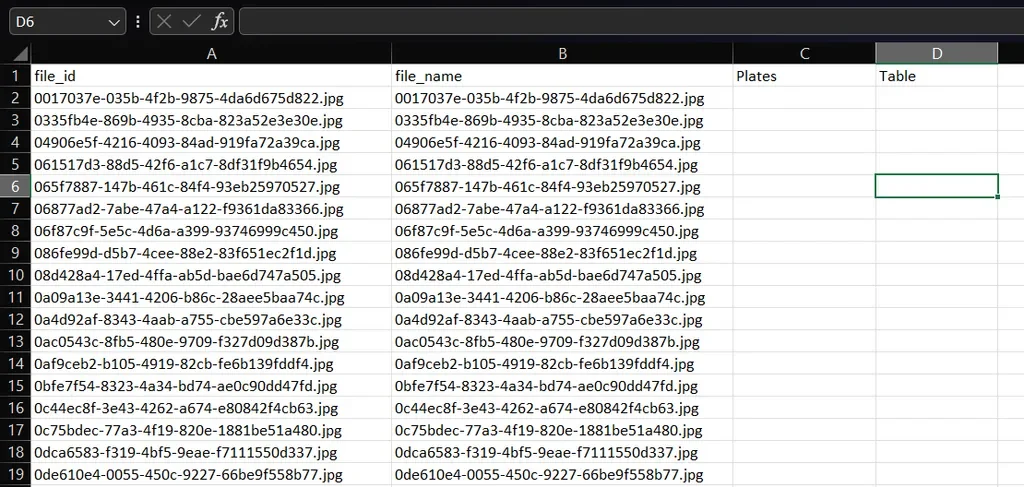
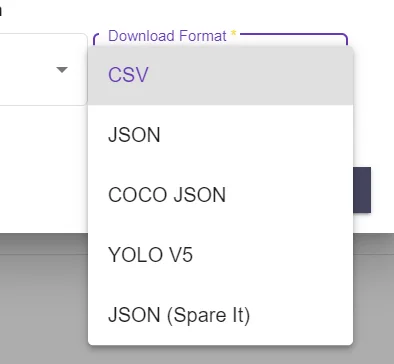 2. **JSON** - Select 'JSON' from the export format list. It's a lightweight data interchange format that is easy for humans to read and write and easy for machines to parse and generate. It uses key-value pairs.
3. **COCO JSON** - Select 'COCO JSON' from the export format list. COCO (Common Objects in Context) JSON format is a widely used standard for annotating and sharing object detection, segmentation, and captioning datasets. It consists of annotations that describe the locations and categories of objects in images, along with metadata about the images themselves.
4. **YOLO V5** - Select 'YOLO V5' from the export format list. This is a popular object detection algorithm that stands for "You Only Look Once version 5". It's an evolution of the YOLO (You Only Look Once) series of object detection models. YOLOv5 offers improved performance and accuracy compared to its predecessors by leveraging various architectural improvements and training strategies.
If you need another format, you can convert our exports using tools like [Datumaro](https://open-edge-platform.github.io/datumaro/latest/docs/data-formats/formats/coco.html), [FiftyOne](https://docs.voxel51.com/recipes/convert_datasets.html), or [JSON2YOLO](https://github.com/ultralytics/JSON2YOLO).
You will again be taken to the exports screen, where the new export process starts.
2. **JSON** - Select 'JSON' from the export format list. It's a lightweight data interchange format that is easy for humans to read and write and easy for machines to parse and generate. It uses key-value pairs.
3. **COCO JSON** - Select 'COCO JSON' from the export format list. COCO (Common Objects in Context) JSON format is a widely used standard for annotating and sharing object detection, segmentation, and captioning datasets. It consists of annotations that describe the locations and categories of objects in images, along with metadata about the images themselves.
4. **YOLO V5** - Select 'YOLO V5' from the export format list. This is a popular object detection algorithm that stands for "You Only Look Once version 5". It's an evolution of the YOLO (You Only Look Once) series of object detection models. YOLOv5 offers improved performance and accuracy compared to its predecessors by leveraging various architectural improvements and training strategies.
If you need another format, you can convert our exports using tools like [Datumaro](https://open-edge-platform.github.io/datumaro/latest/docs/data-formats/formats/coco.html), [FiftyOne](https://docs.voxel51.com/recipes/convert_datasets.html), or [JSON2YOLO](https://github.com/ultralytics/JSON2YOLO).
You will again be taken to the exports screen, where the new export process starts.
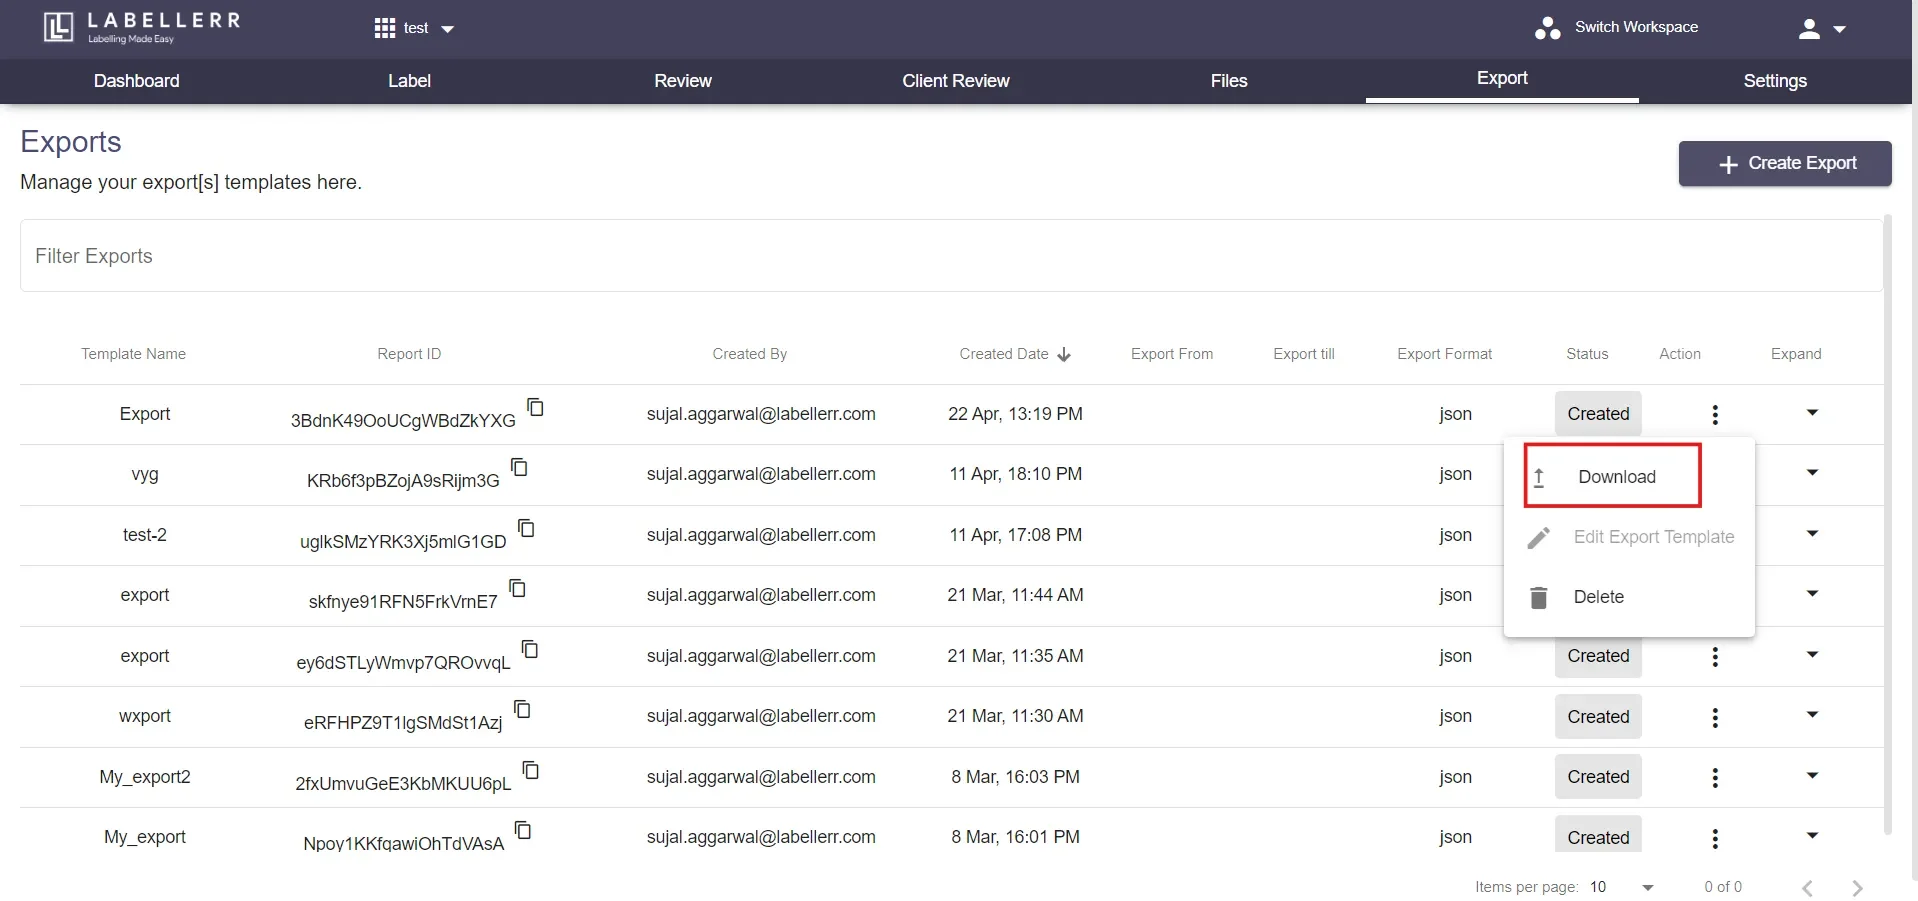
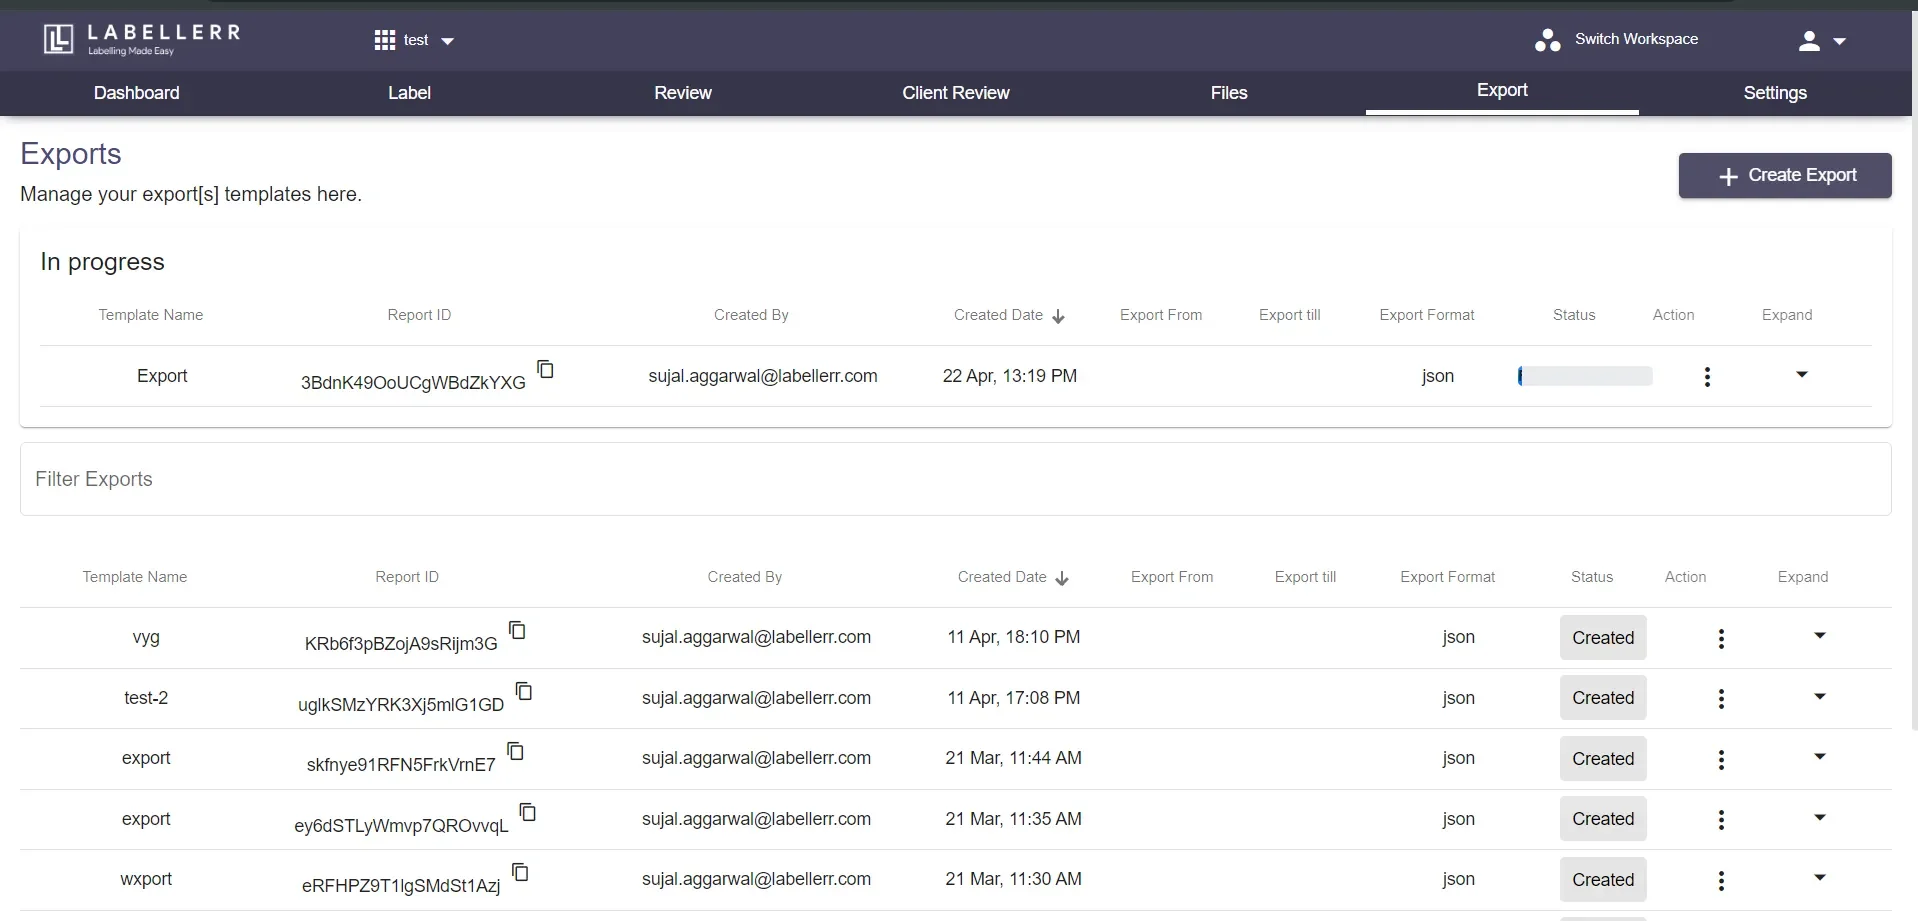 Upon export completion click on the **Three-dot icon** of the new export.
Select the **Download** button from the dropdown to download the export created.
Upon export completion click on the **Three-dot icon** of the new export.
Select the **Download** button from the dropdown to download the export created.
 For further assistance contact [support@tensormatics.com](mailto:support@tensormatics.com)