1. Access the Client Reviewer Platform
- Log in to the Labellerr platform using your credentials.
- Navigate to the “Client Review” tab on the dashboard.

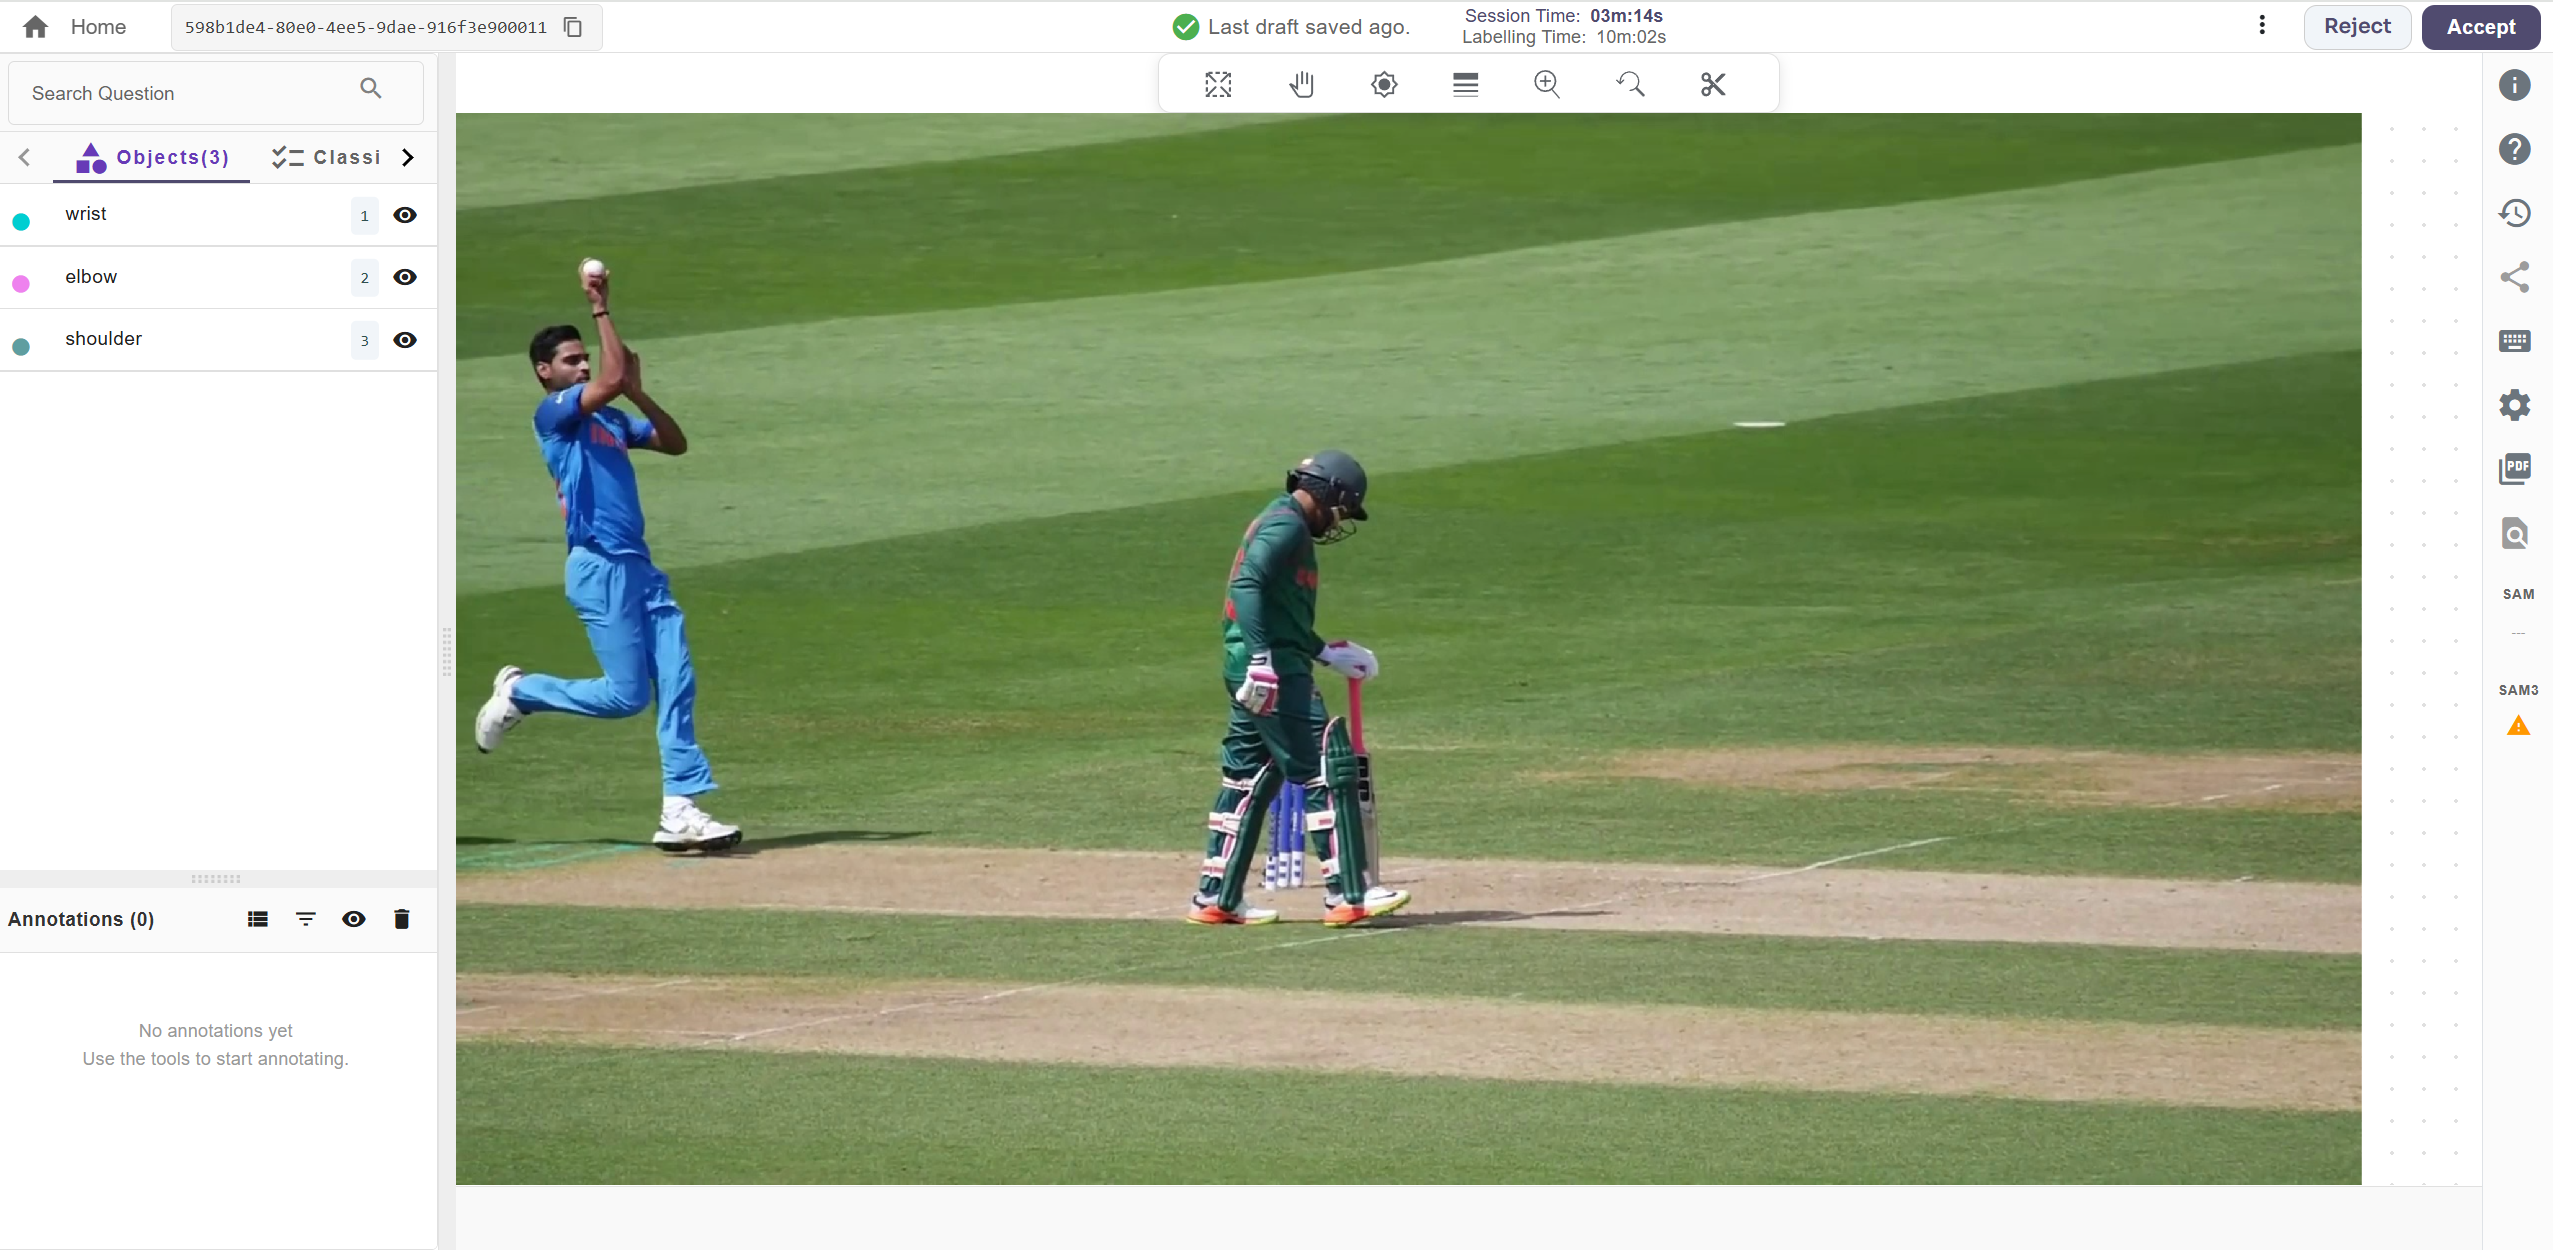
2. Review Annotations and Provide Feedback
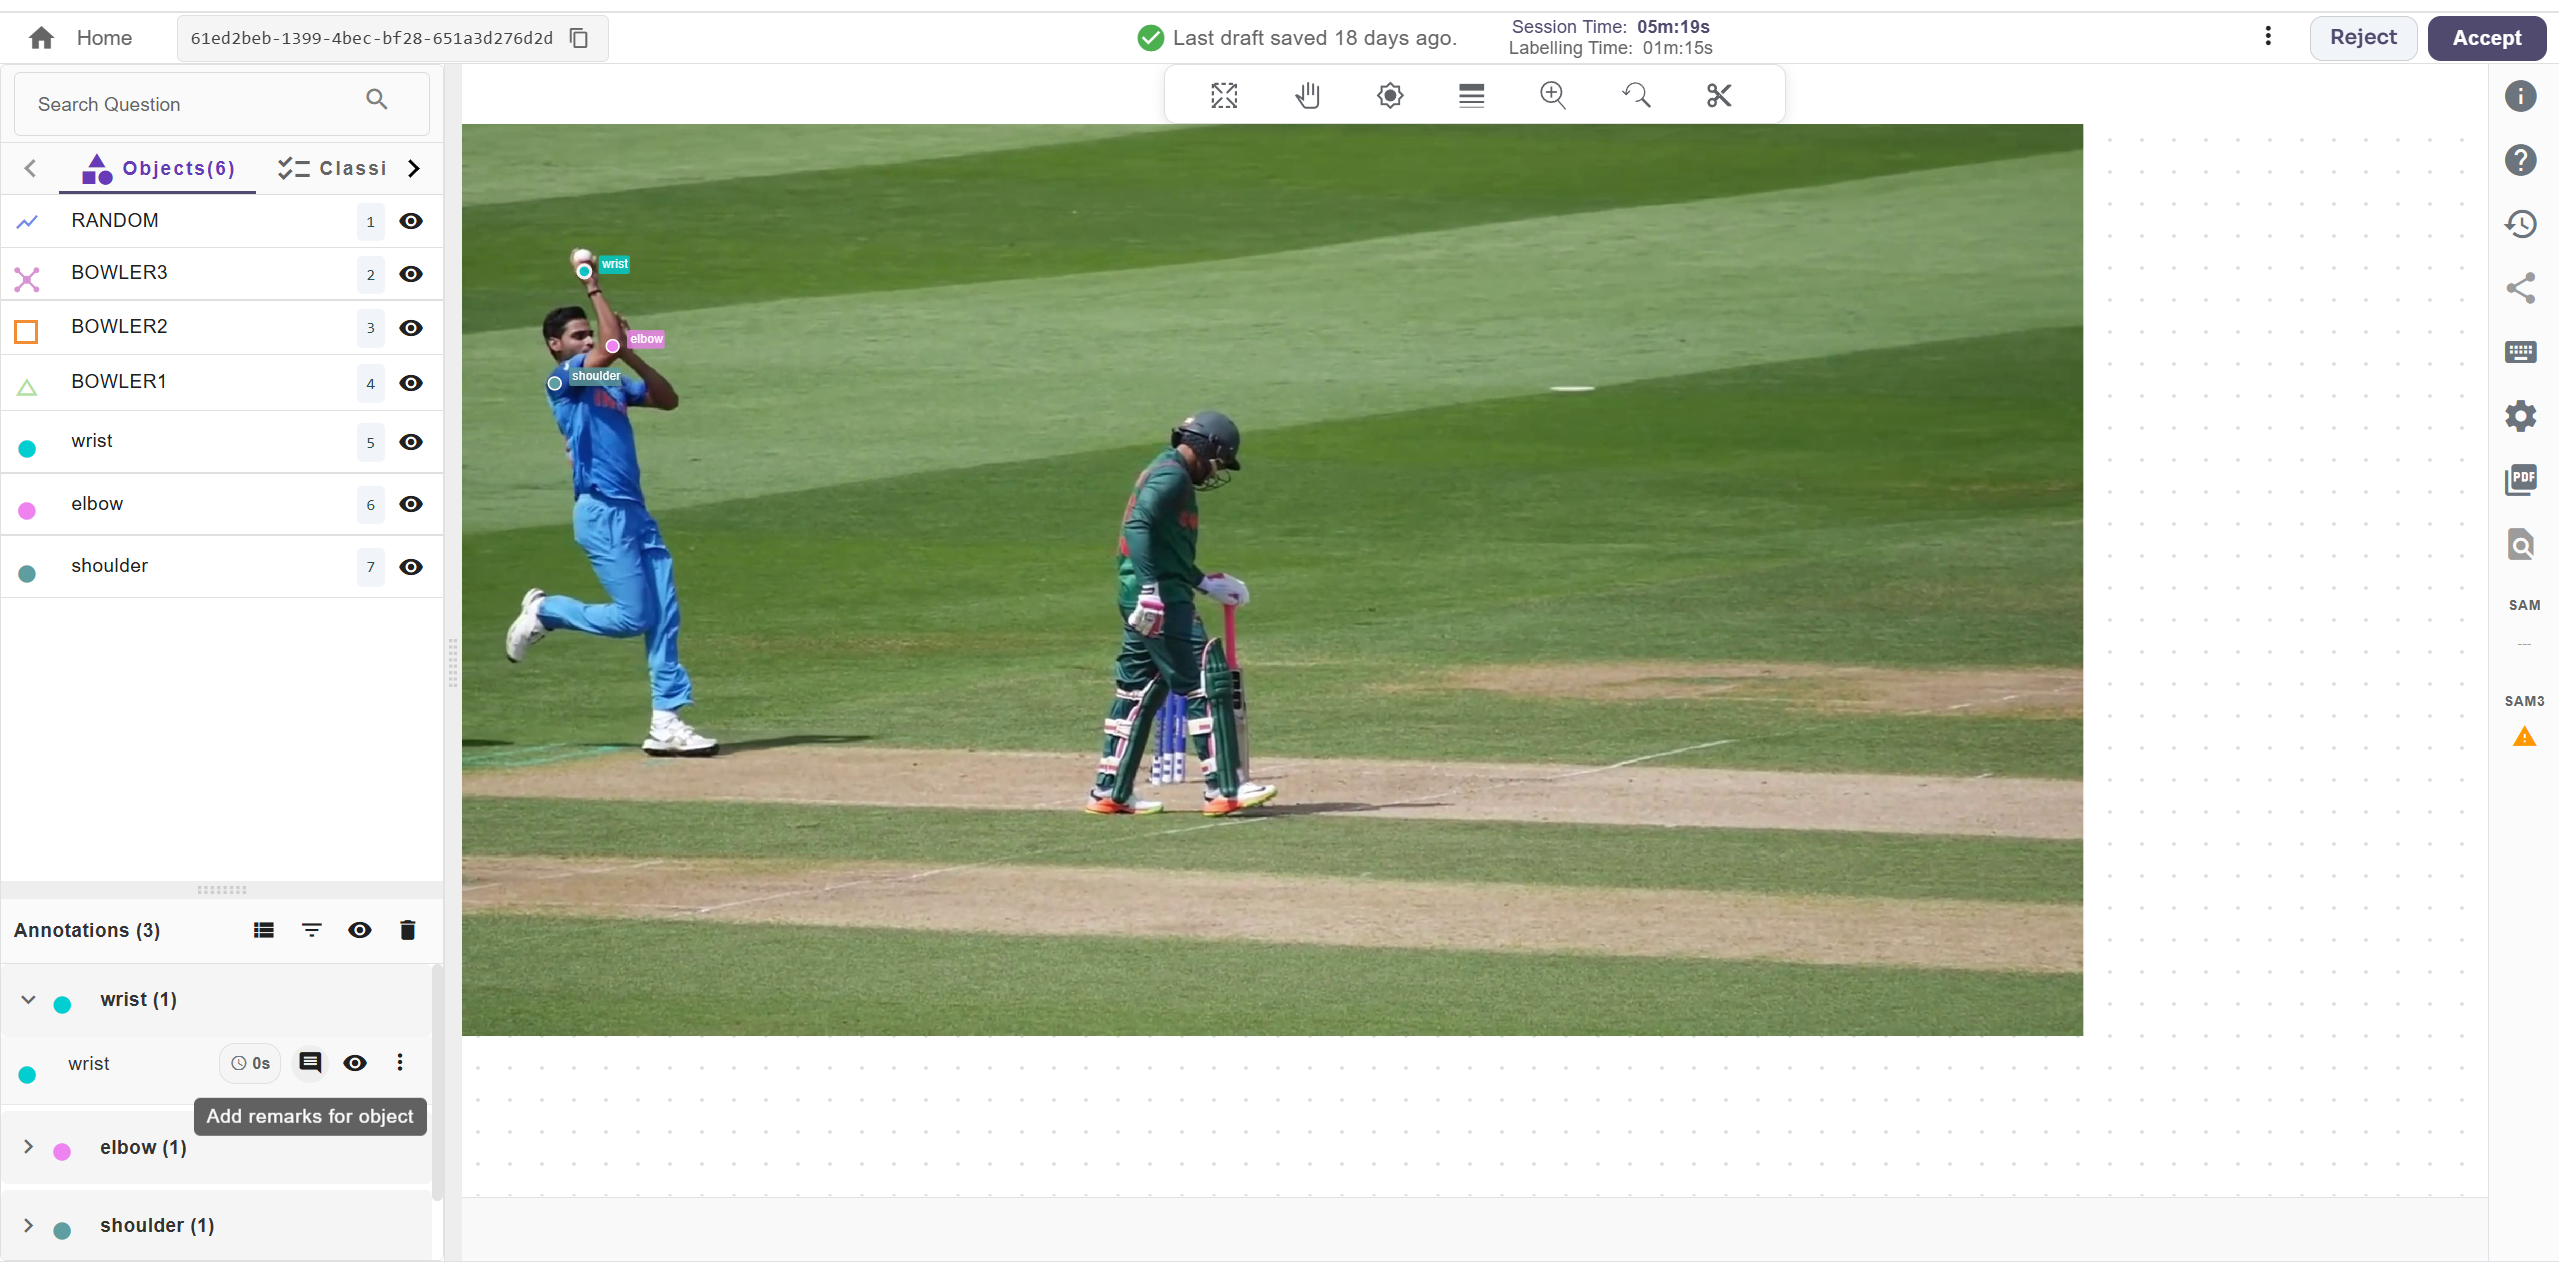
The bottom-left part of the screen shows a list of all annotated object names. To provide feedback on a specific annotation:- Scroll through the list of annotated object names.
- As you hover over a specific name, the corresponding object in the image will be highlighted.
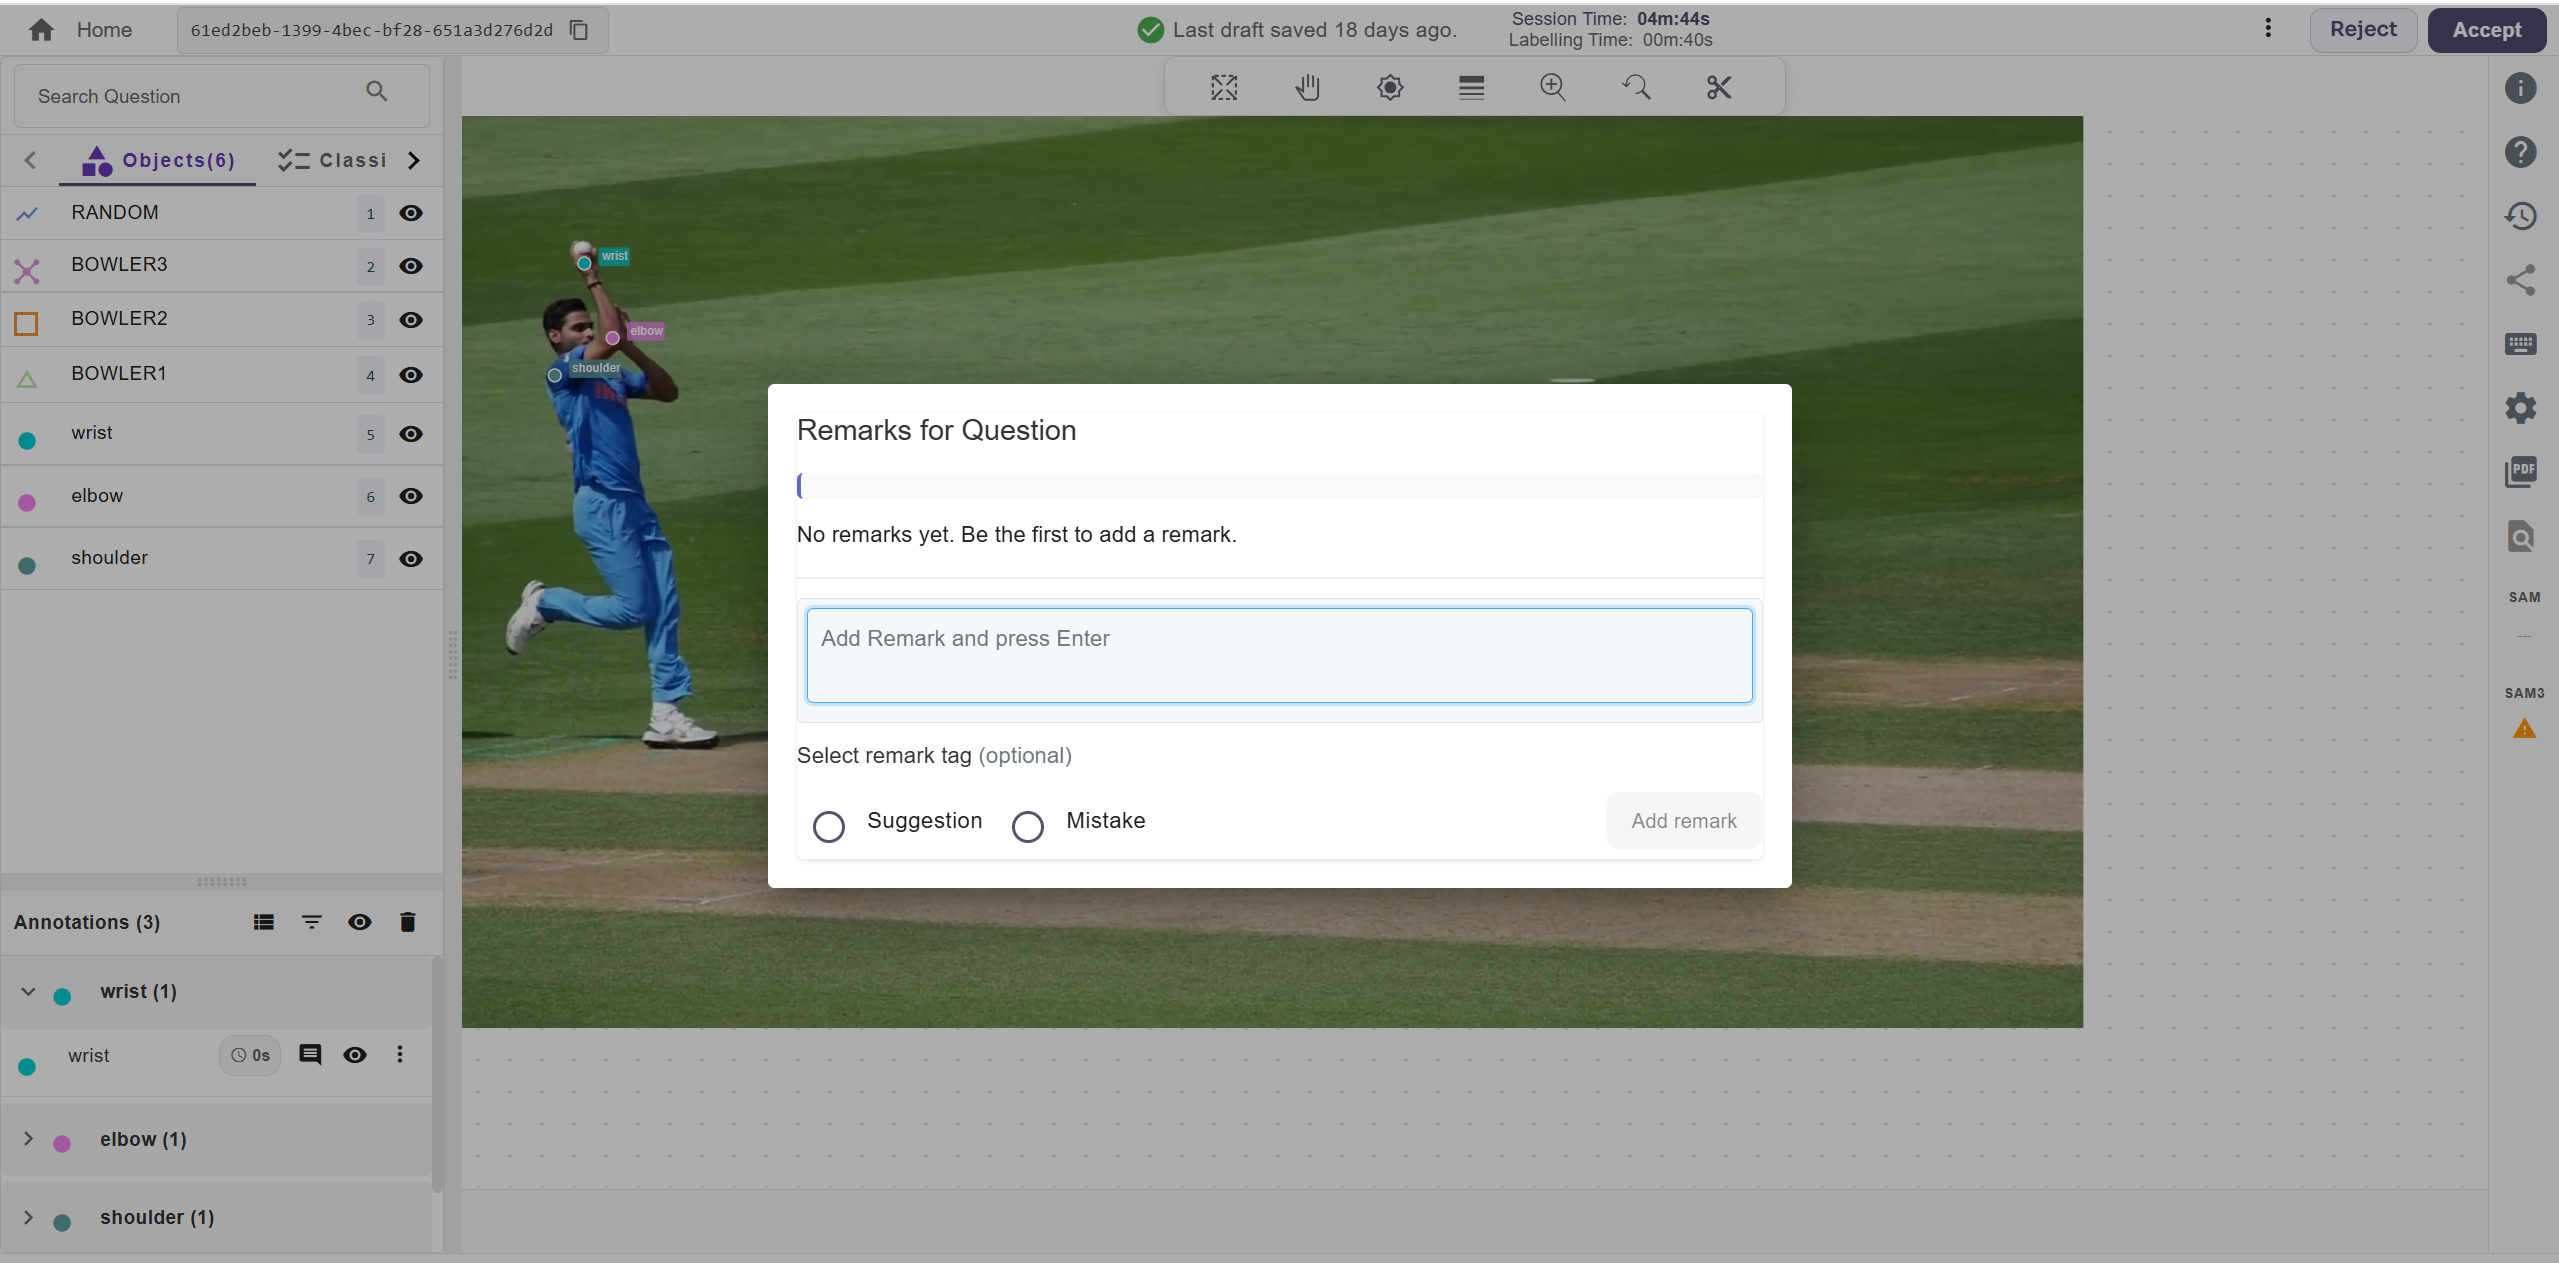
3. Add Remarks or Suggestions
- To give remarks, click the comment icon next to the annotated object’s name and type your feedback. Select “Mistake” if the annotation is incorrect, or “Suggestion” to propose improvements. Then, click the “Add Remark” button to submit your feedback.
4. Hide Annotated Objects
To hide an annotated object, click the eye icon located to the right of the annotated object’s name, just after the comment icon.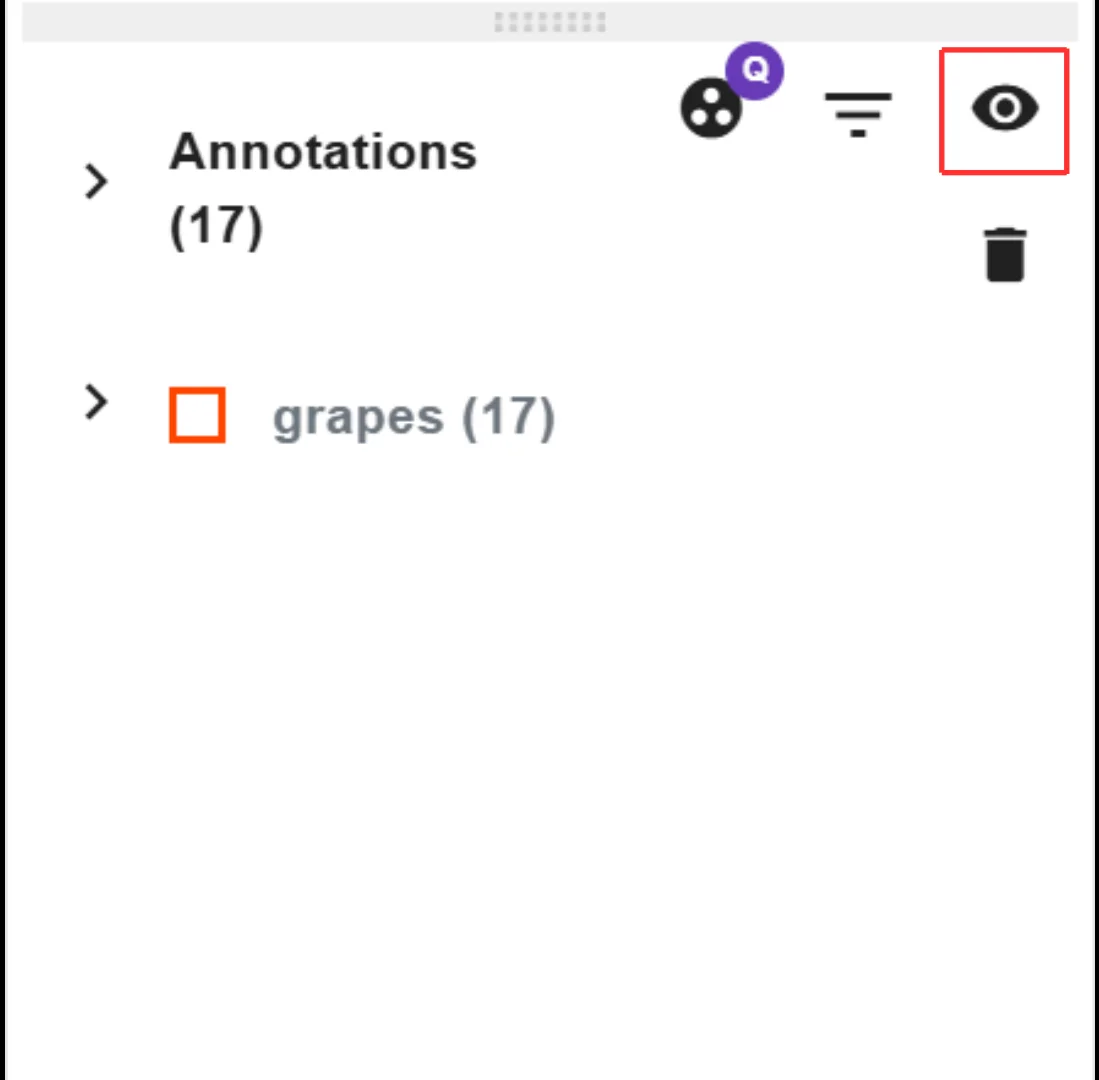
5. Skip, Reject or Accept a file
Once the file screening is complete, you have three options:- To accept the file, click the “Accept” button, and the file will be ready for export.
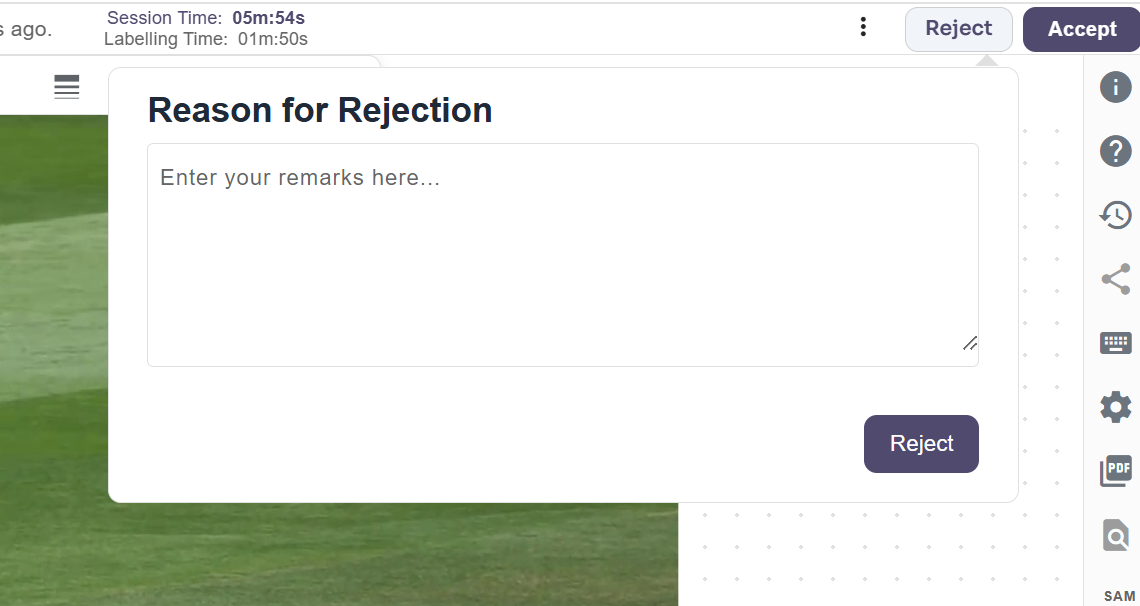
- If there are mistakes or suggestions, click the “Reject” button, and the file will be sent for corrections.
- To skip the file and have another client review it, click the “Skip” button.
For further assistance contact support@tensormatics.com