This guide is meant for users to understand the concept of a dataset, how to create a new dataset, how to make changes, types of datasets etc. The guide also covers in-depth details about linking new datasets, exporting data from existing datasets and overall management datasets.
Topics Covered
This guide covers dataset management in Labellerr:
- What are Datasets? - Understanding data collection concepts
- Workspace Level Datasets - Organization-wide data management
- Creating Datasets - Step-by-step dataset creation process
- Dataset Types - Supported file formats and data types
- Dataset Linking - Connecting datasets to projects
- Dataset Management - Editing, exporting, and maintaining datasets
Datasets
Datasets are an ordered collection of the data. On Labellerr, data is segregated based on file type and the supported data types in Labellerr are Image, Audio, Video, Text or Document.
Workspace Level Datasets
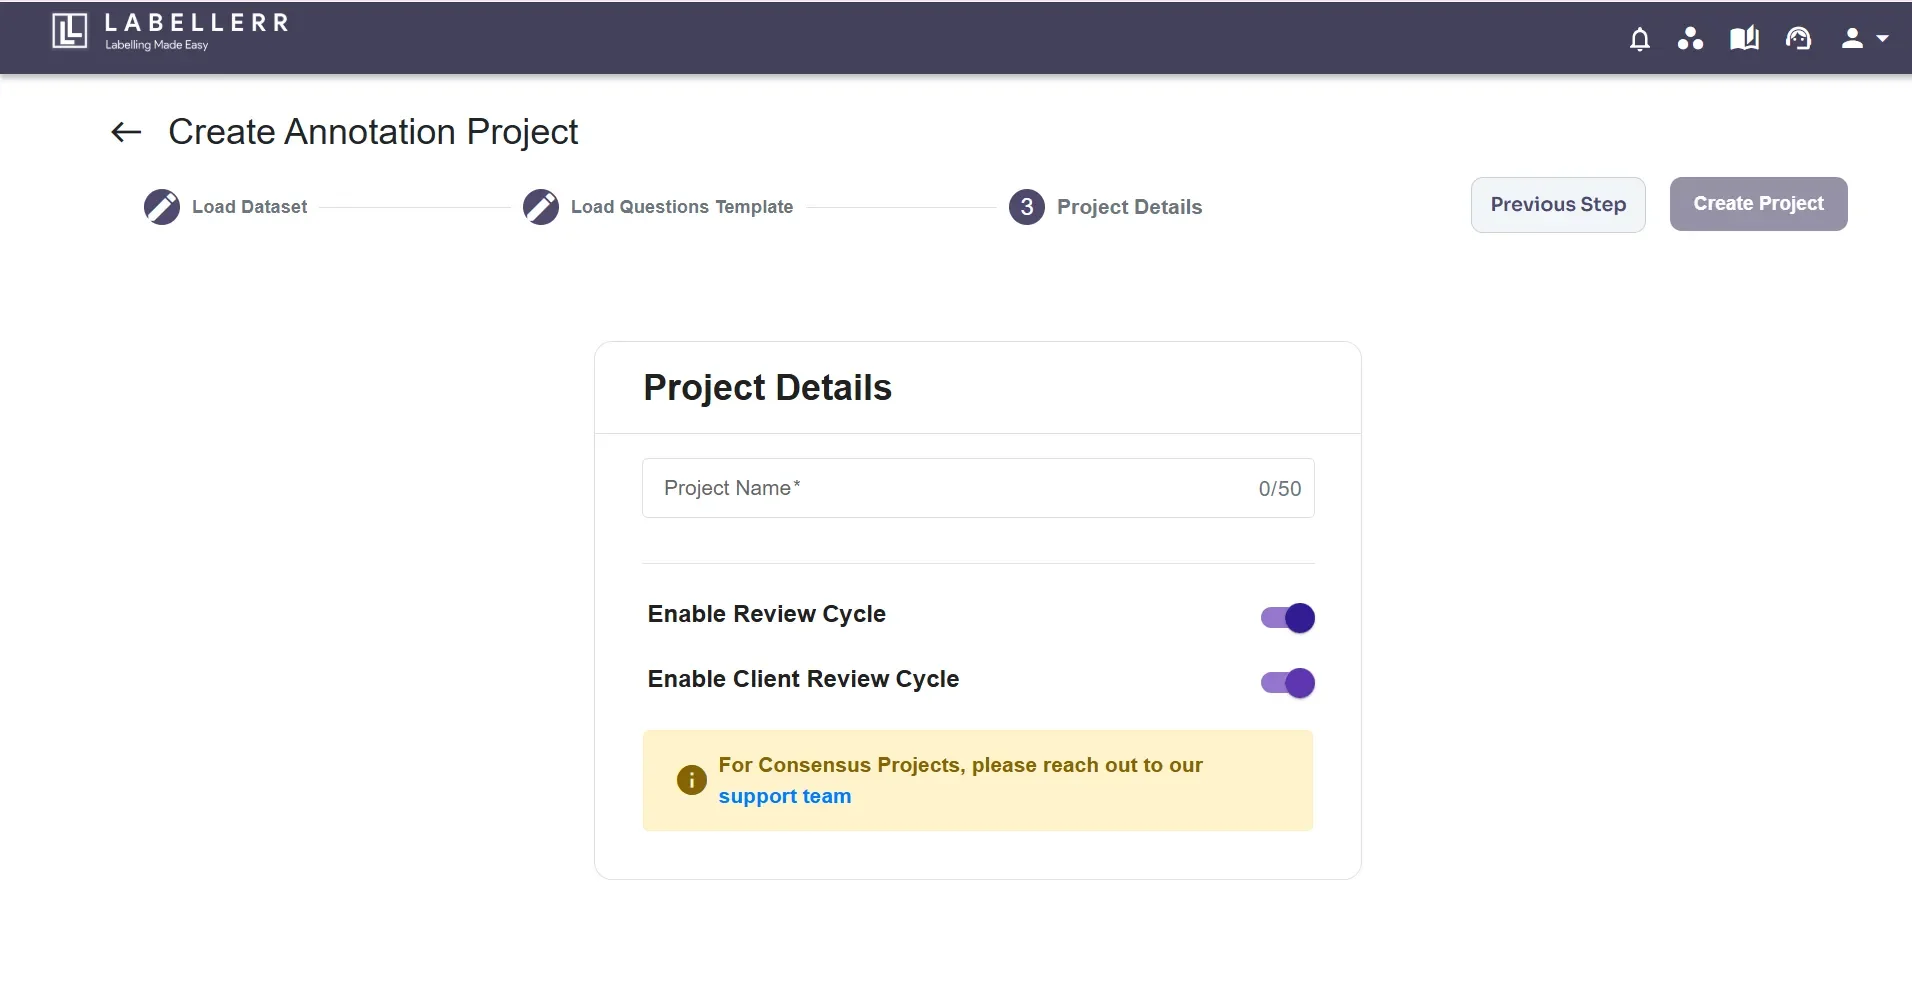
Datasets created at the workspace level are referred to as Workspace-Level Datasets. To create a Workspace-Level Dataset, the toggle buttons for “Enable Review Cycle” and “Client Review Cycle” must be enabled. These datasets are accessible to all users within the workspace and can be linked to any project in the workspace.Permission Level to Create Workspace Level Datasets
Create Workspace Level Datasets
1
Accessing Datasets Screen
Redirect to the Workspace Level Datasets page in your workspace by clicking ‘Datasets’ options. After that, you would be redirected to the following page.
Alternatively, the Dataset page can be accessed through your dashboard by clicking on the settings options from the taskbar> Selecting ‘Datasets’ option on the left.
2
New Dataset and View All Datasets
Click the Button “Create New dataset”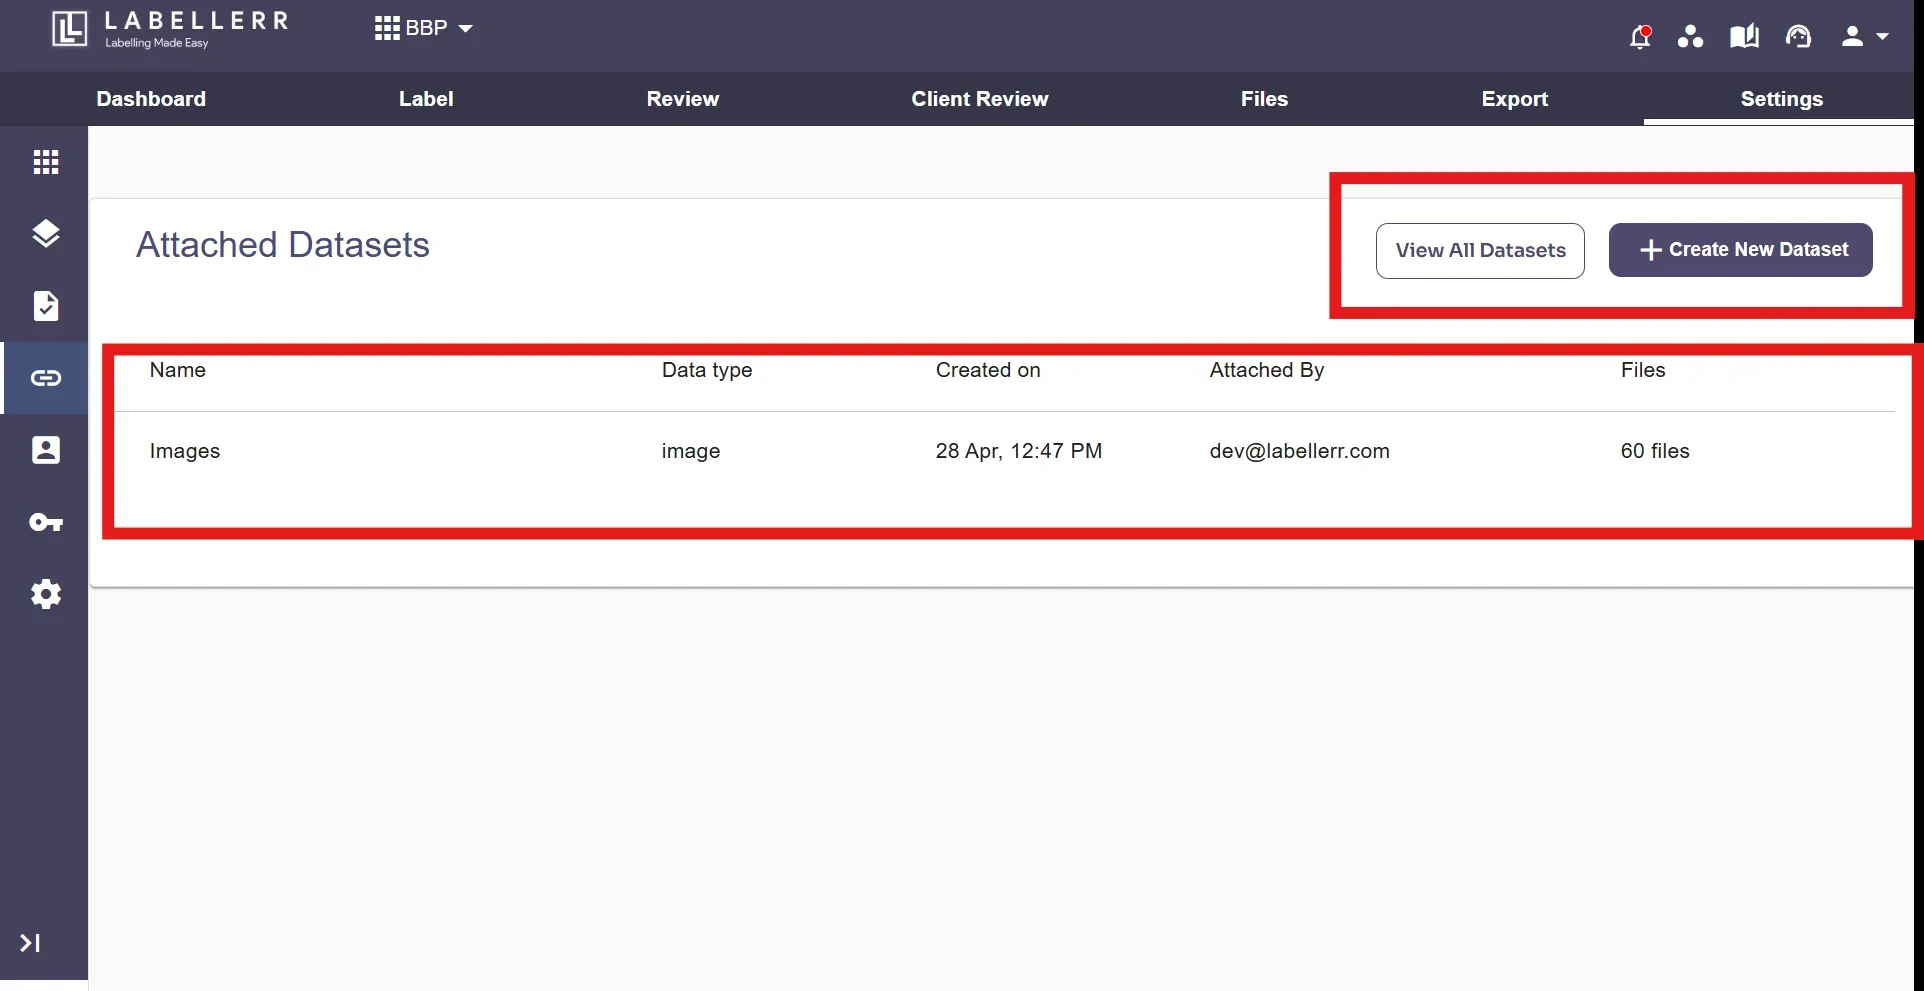
3
Selecting Data Type
Select the type of Data you have and click on next.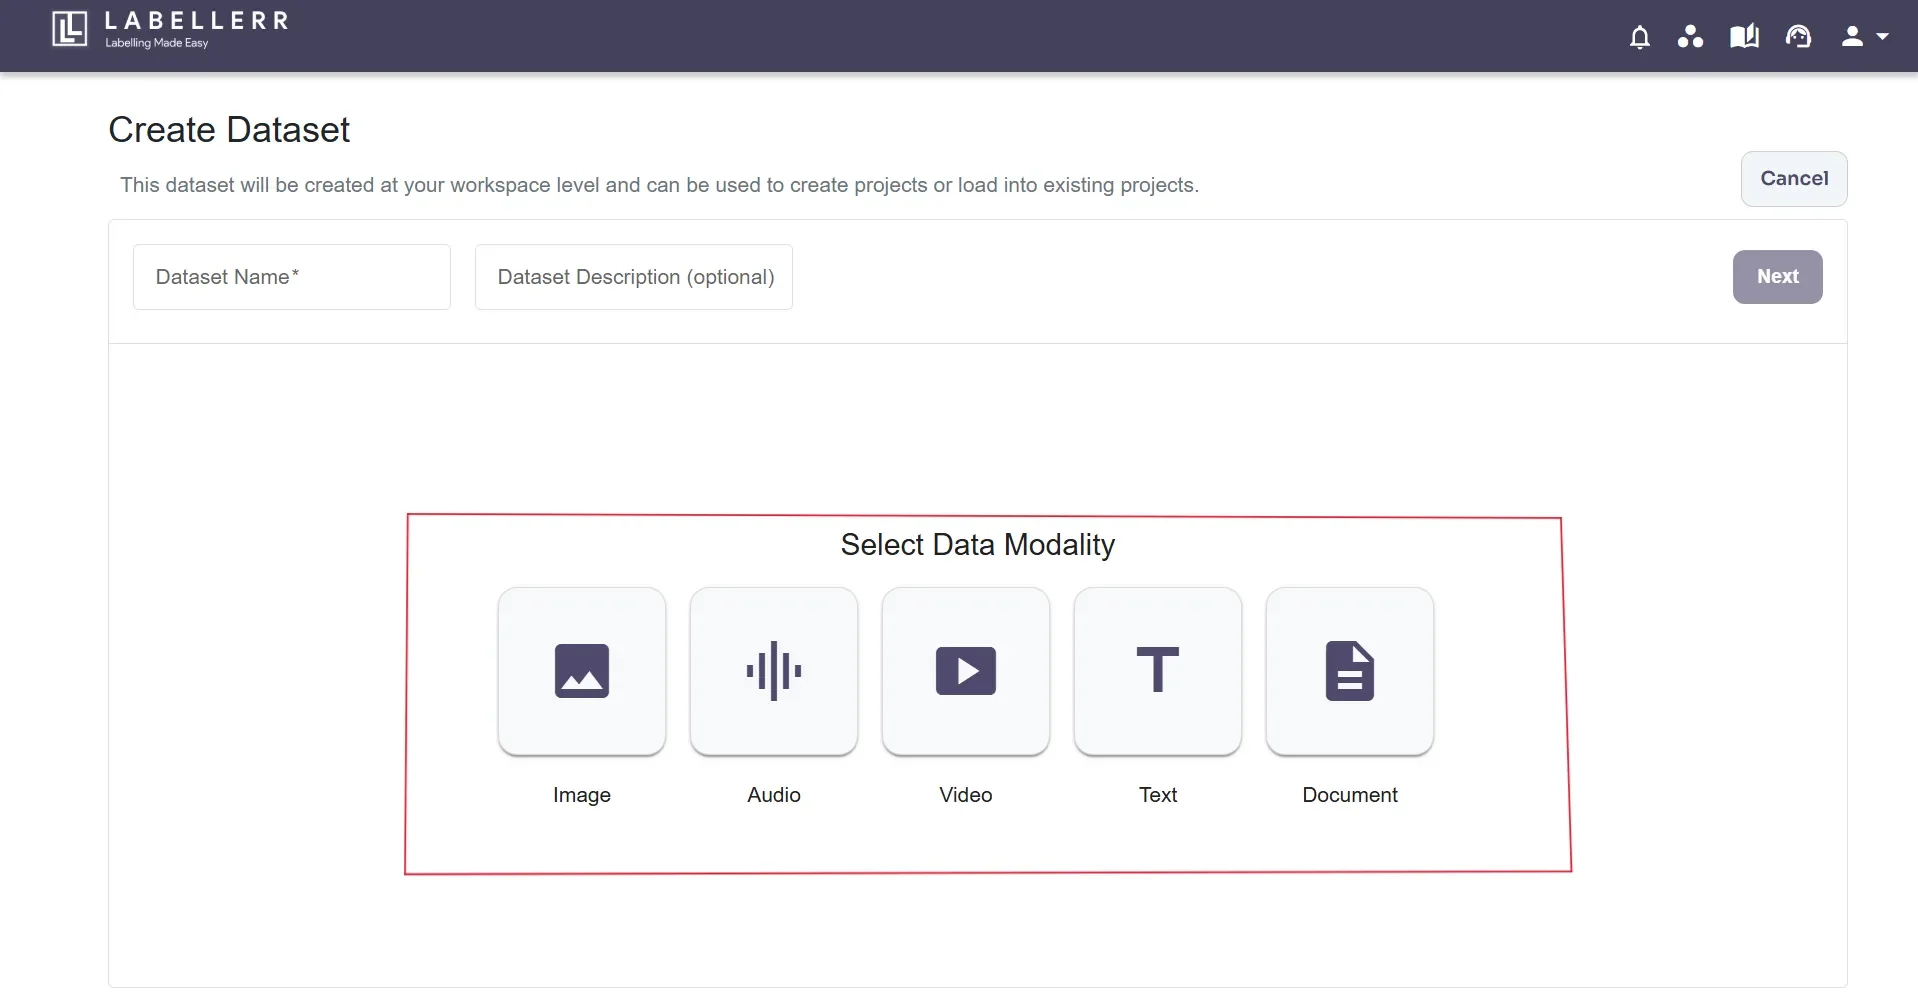
4
Uploading Files from Sources
Select the Source from where you want to upload data-files.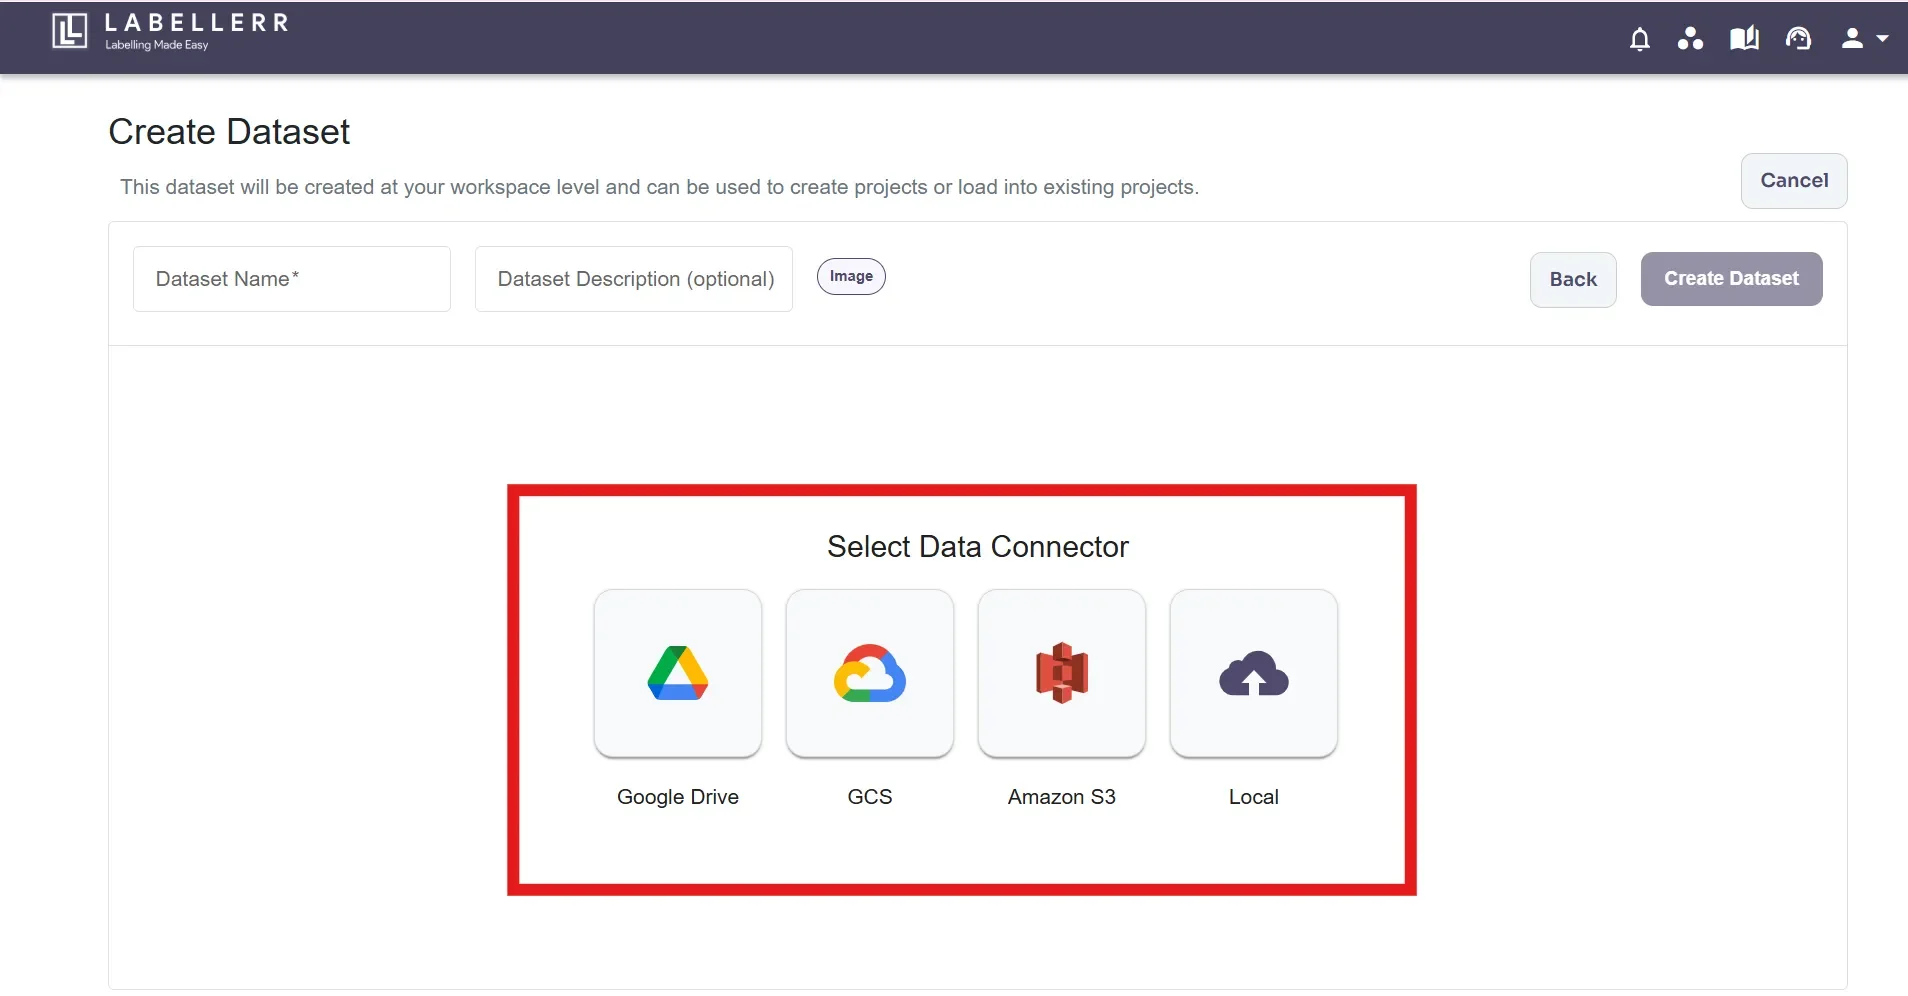
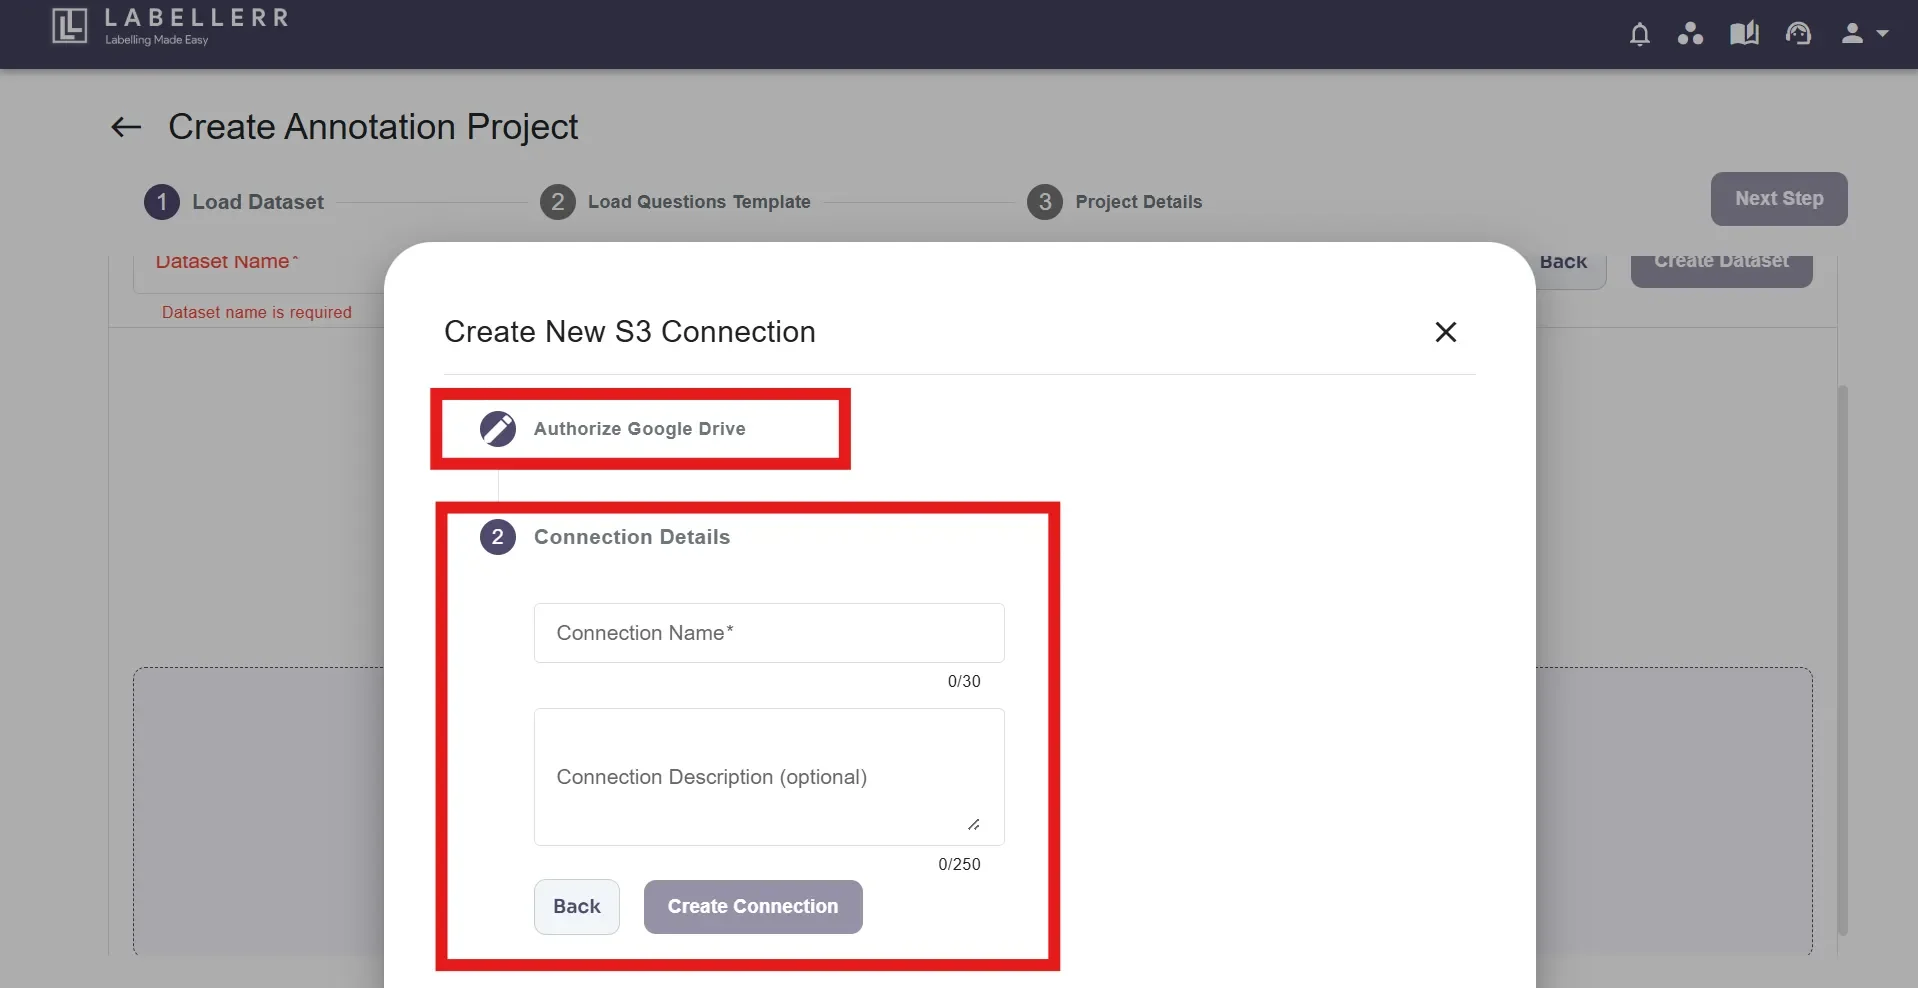
1. Google Drive
Click on ‘Google Drive’ from the sources list, then click ‘Create New Collection’, authorize using your email ID, and select the data from Google Drive that you want to import. Enter any name in ‘Connection Name’ and Connection Description(Optional). Click ‘Create Connection’.2. Google Cloud Storage
Click ‘Google Cloud storage’ from the sources list. Here are the details to connect data with GCS. ORYou can follow the steps outlined in the attached PDF to attach data from GCS.3. Amazon S3
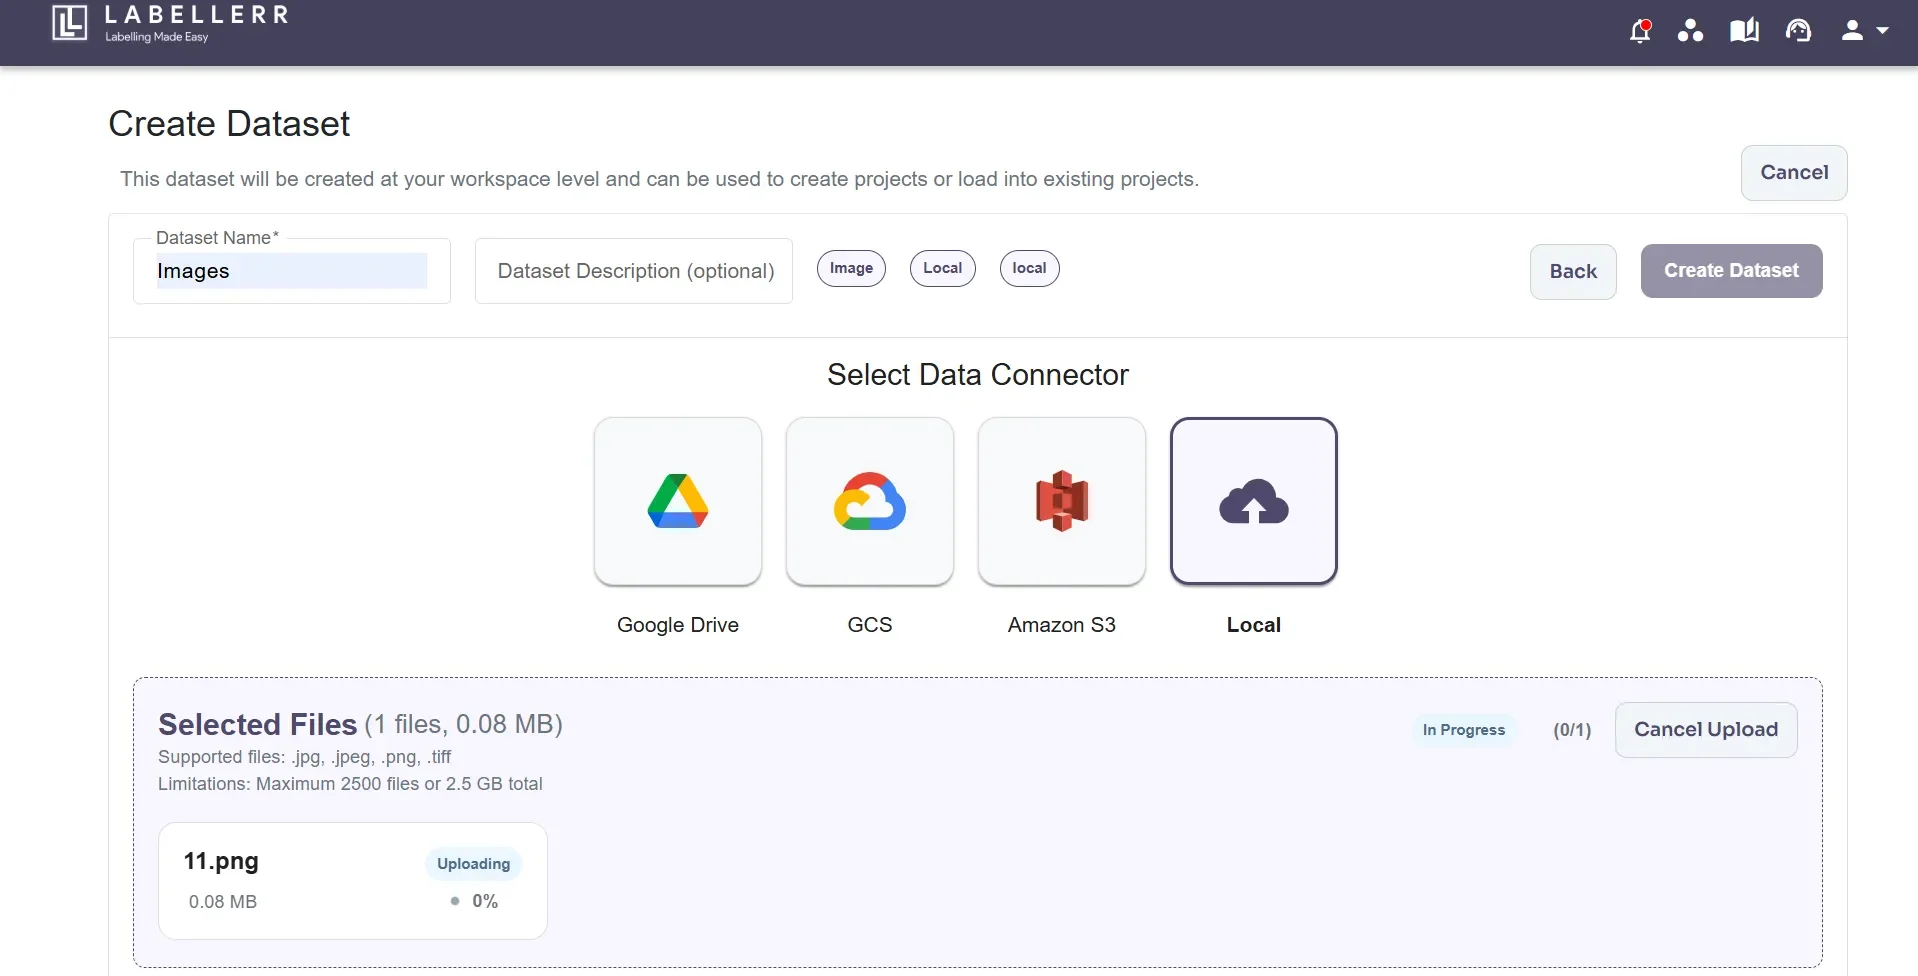
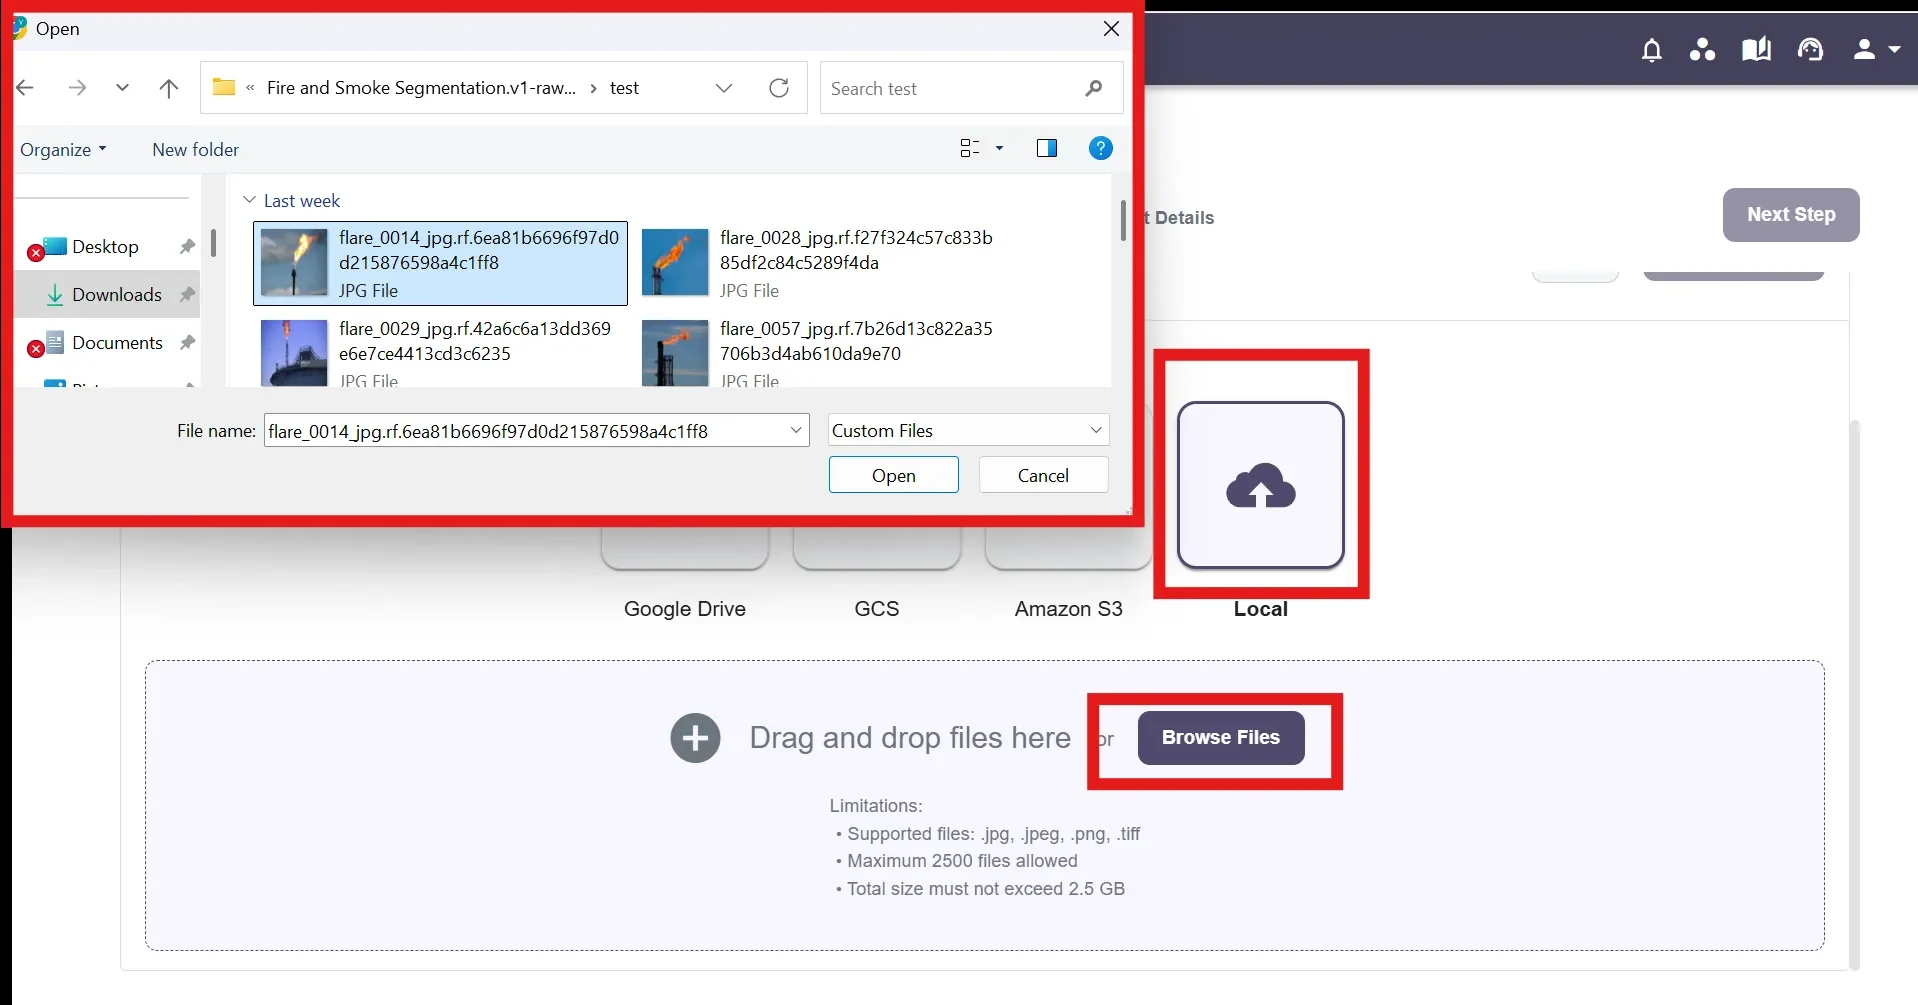
Click ‘Amazon s3’ from the sources list. Here are the details to connect data with it. ORYou can follow the steps outlined in the attached PDF to attach data from s3 connection.4. Upload from Local
Upload the files and name the dataset, provide a description and click “Create Dataset”.For more on how to create projects and new datasets check out the Create A New Project Page.
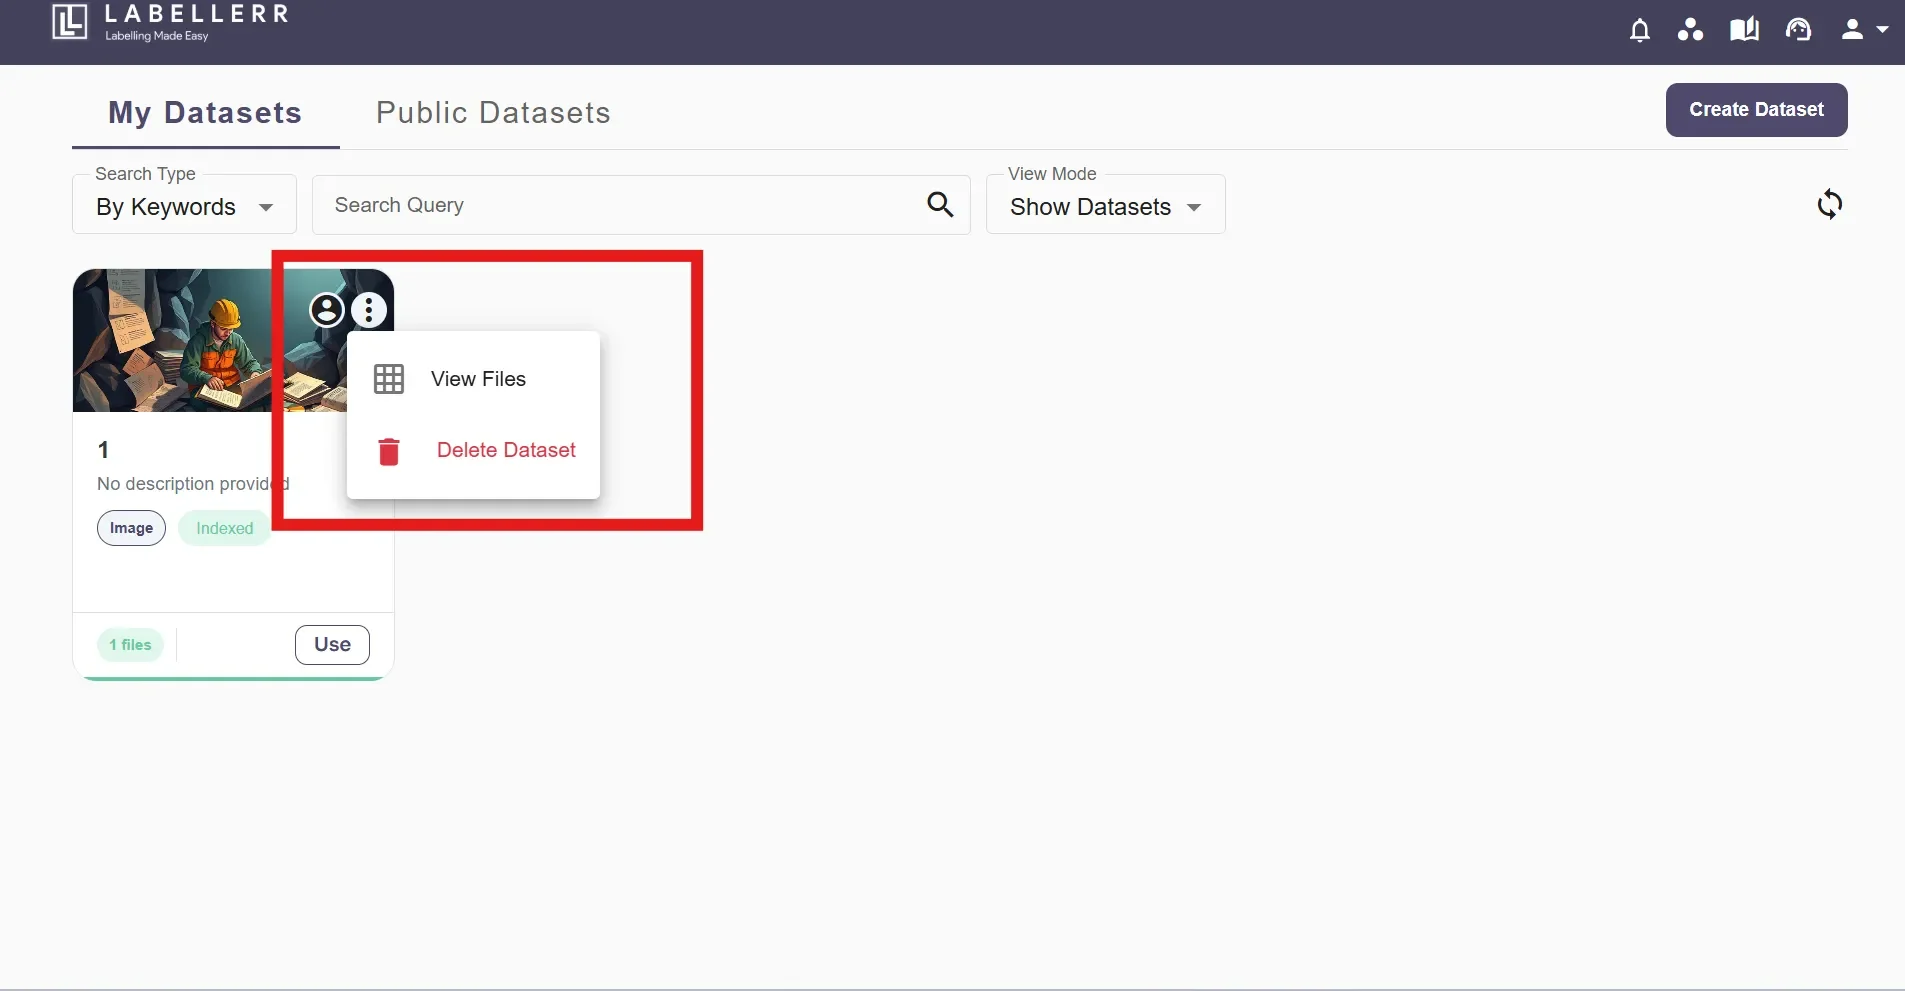
Managing Datasets
Datasets can be edited such that new files can be added, old ones deleted, or existing datasets from other projects can also be attached. To manage or make changes to your dataset, through your dashboard, click on the settings options from the taskbar> Selecting Dataset option>Click on the view all dataset>Click on the 3 dots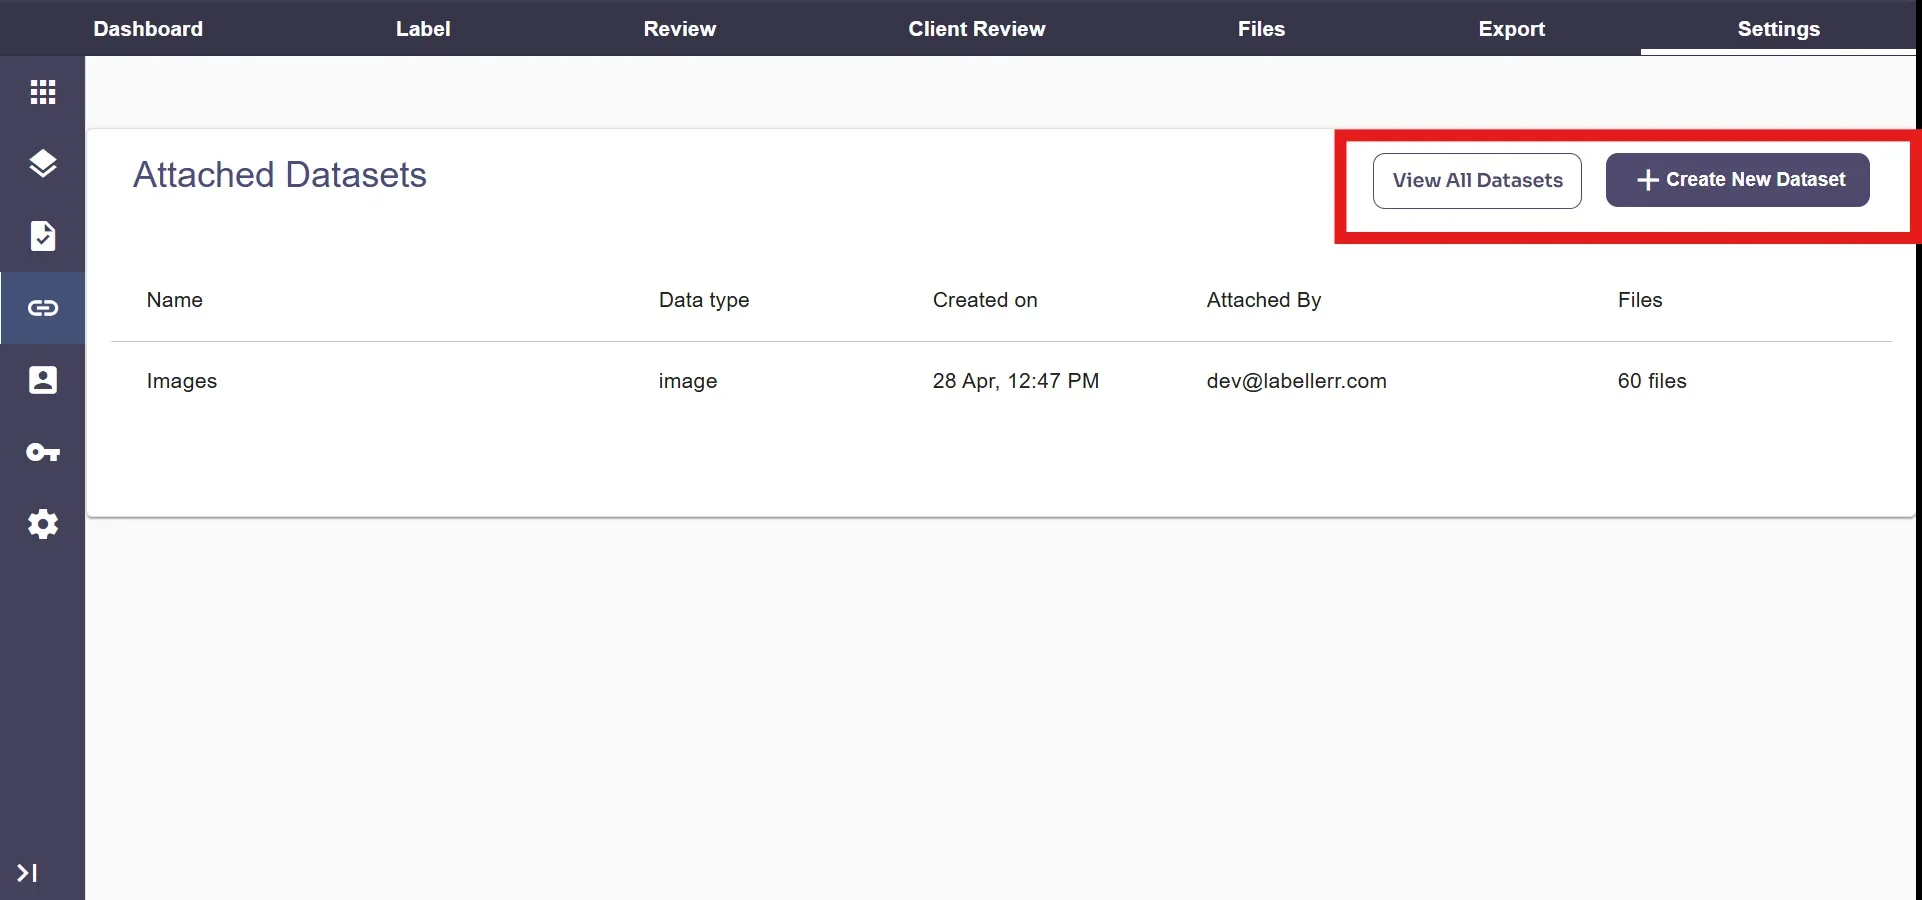
For further assistance contact support@tensormatics.com