Create a New Audio Project
Step 1: Selecting Data
Once at the New project page, To create a new project, first select an existing project name at the top. A popup will open displaying all projects within the workspace, along with a ‘Create New Project’ button. Click on ‘Create New Project’ to begin. Give your project a suitable name and select the Audio data type. Then click on Save and Next.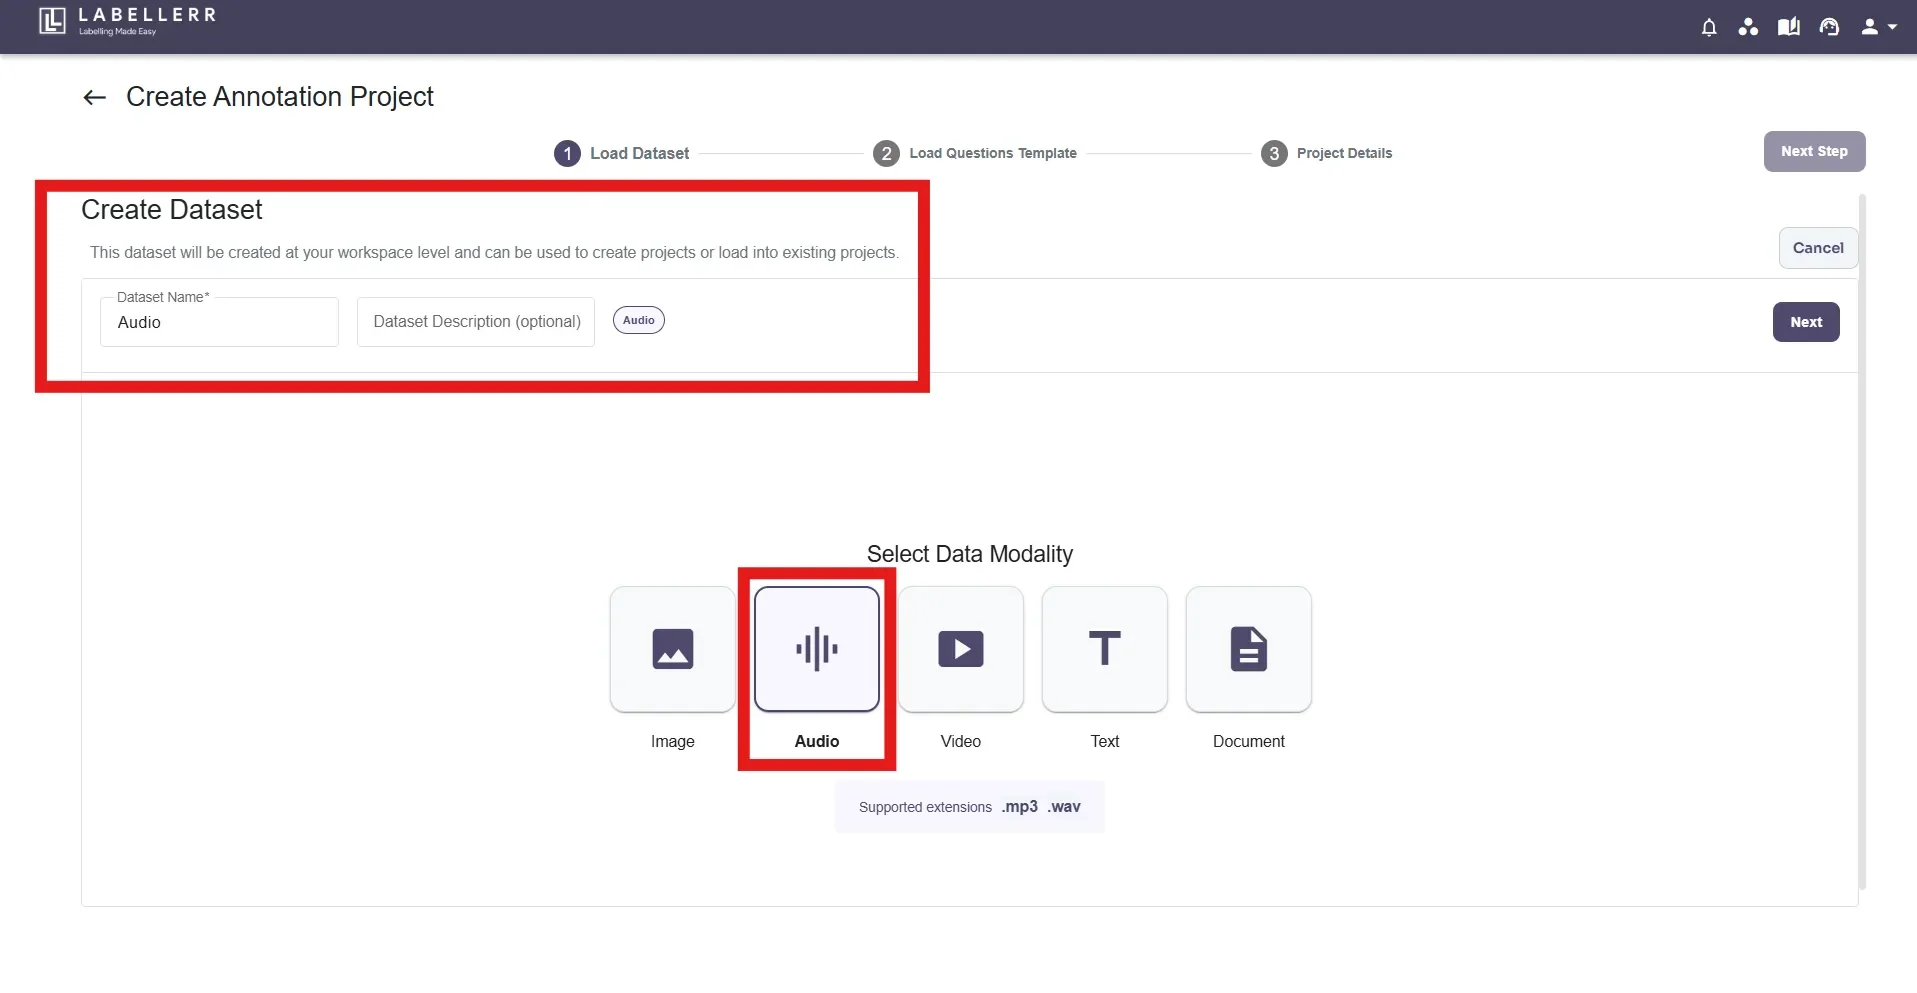
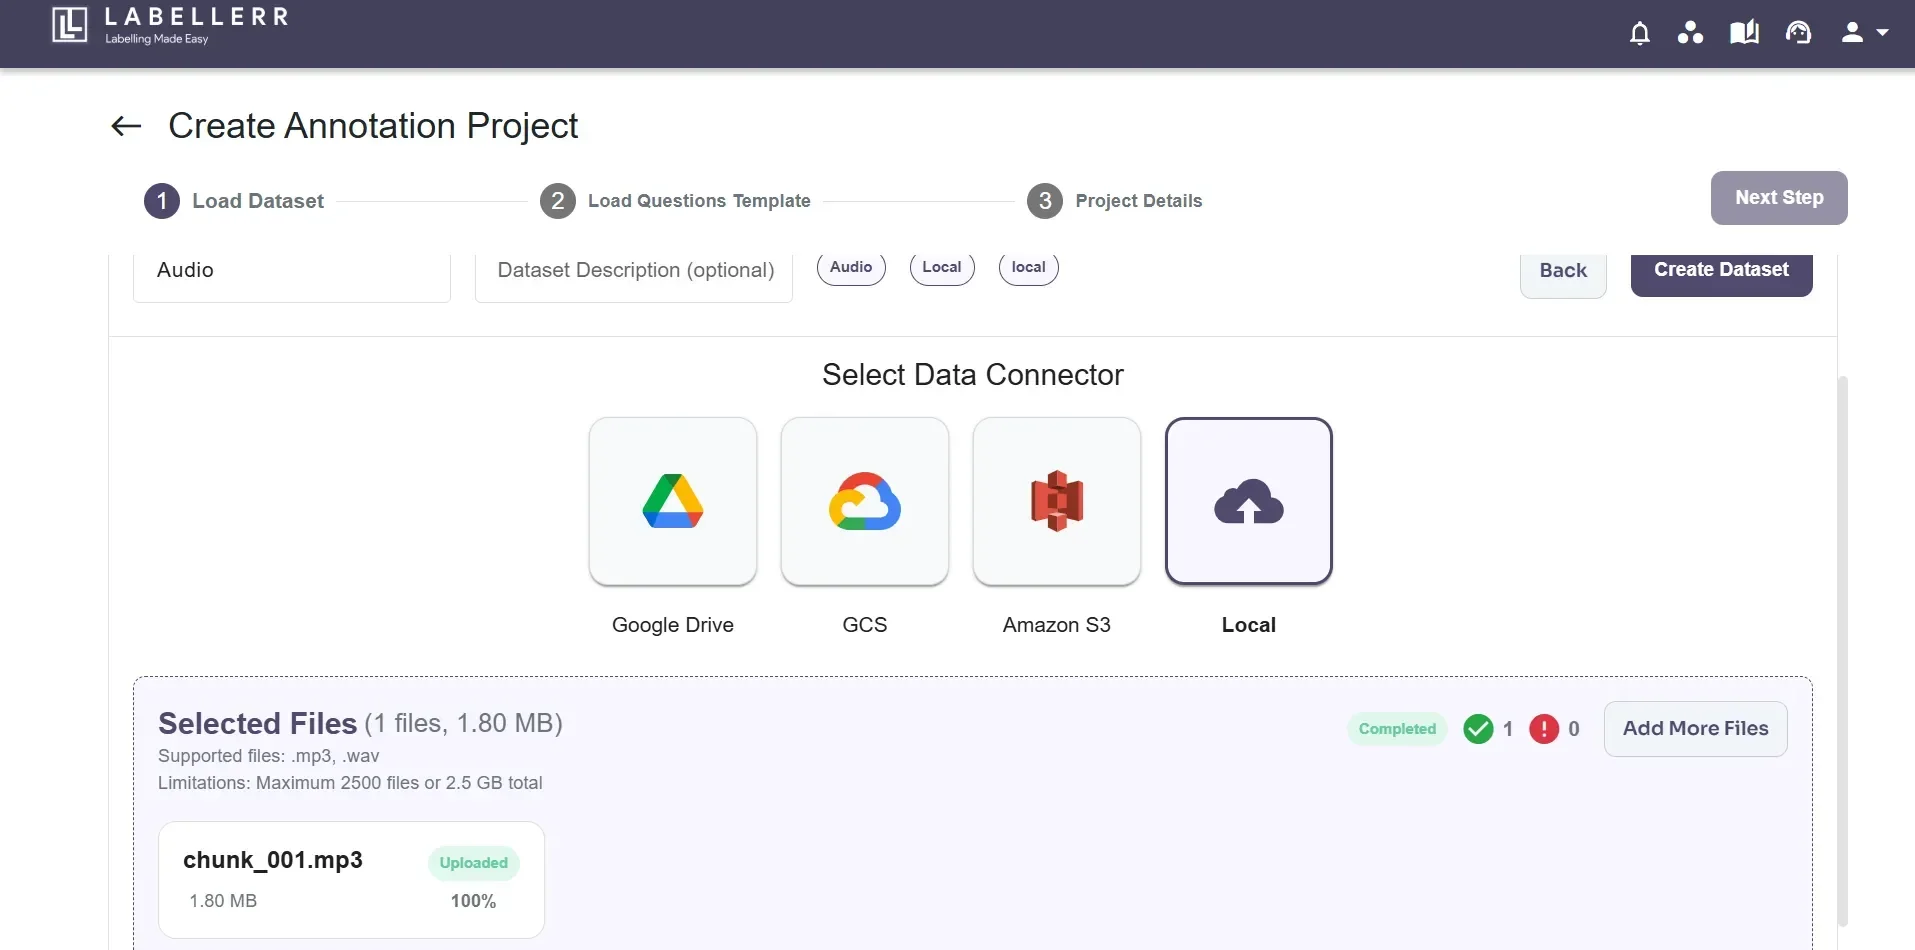
Step 2: Upload/Attach existing dataset
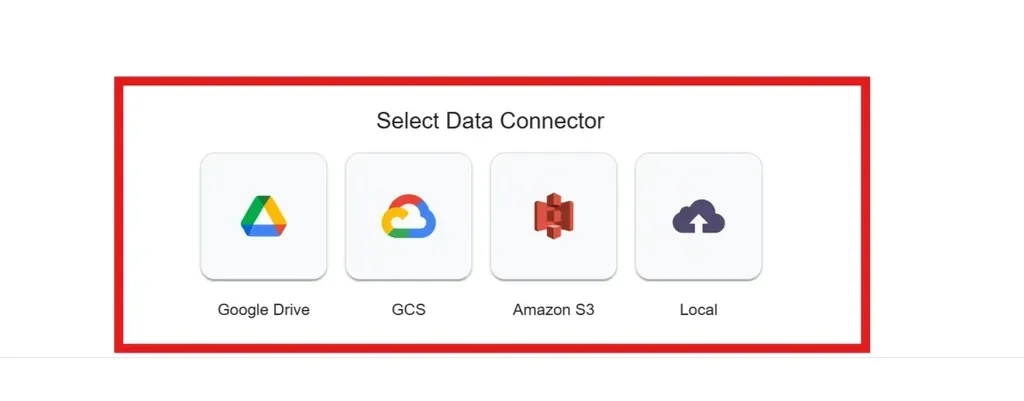
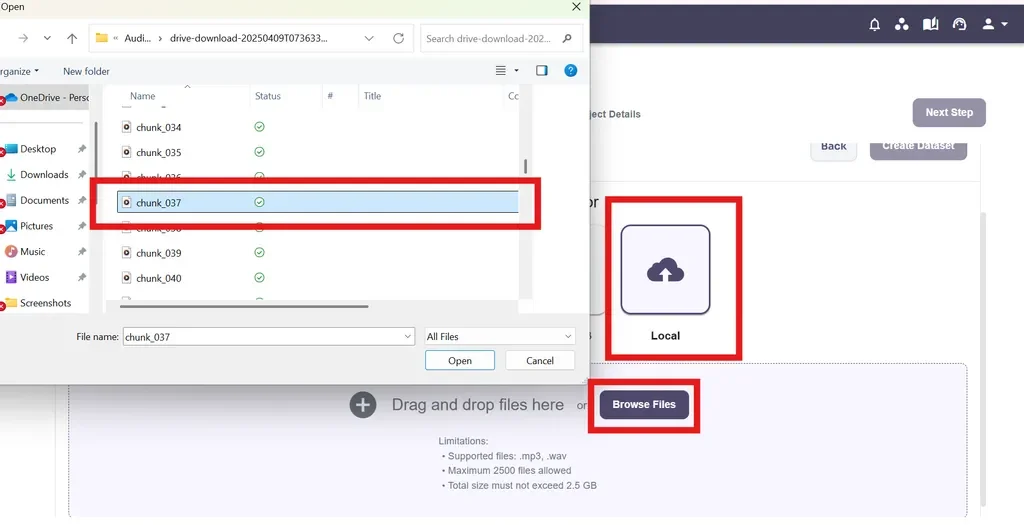
If a new dataset is to be created, Click on the “Create Dataset” button. The available formats are Google Drive, Google Cloud, Amazon S3 & Local Upload.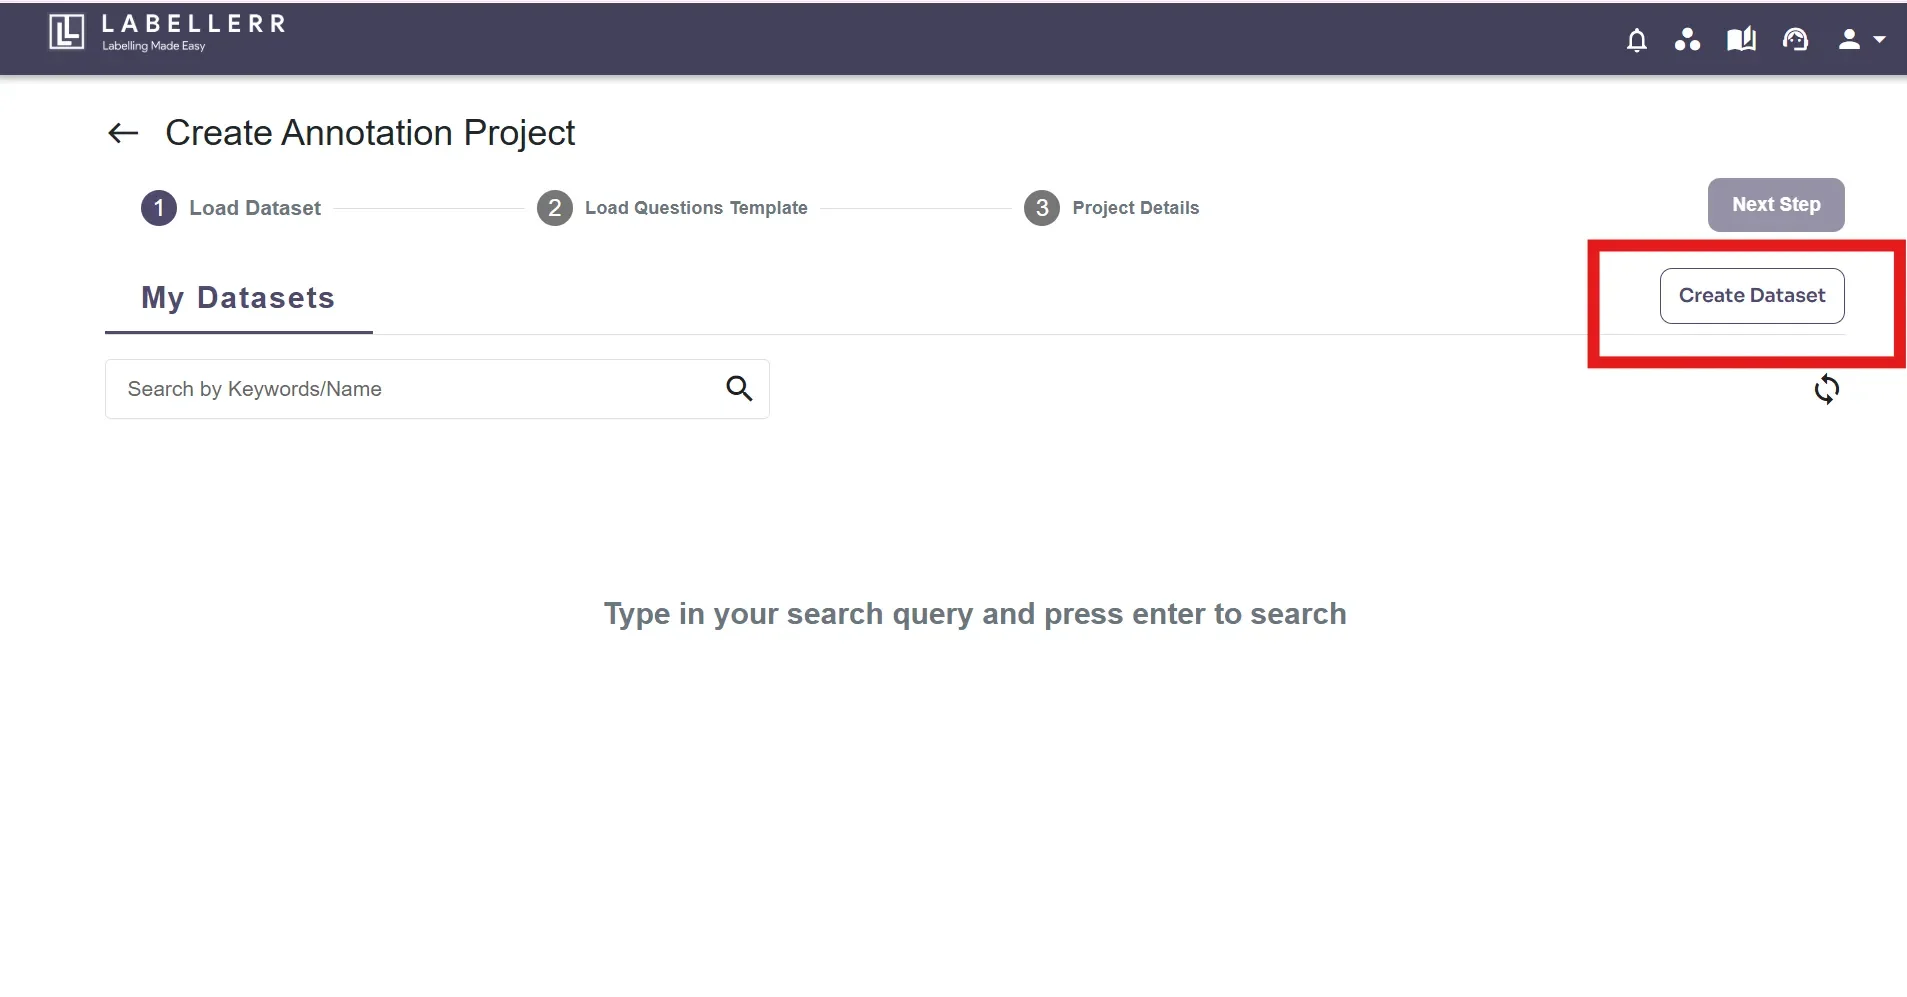
Step 3: Label Configuration
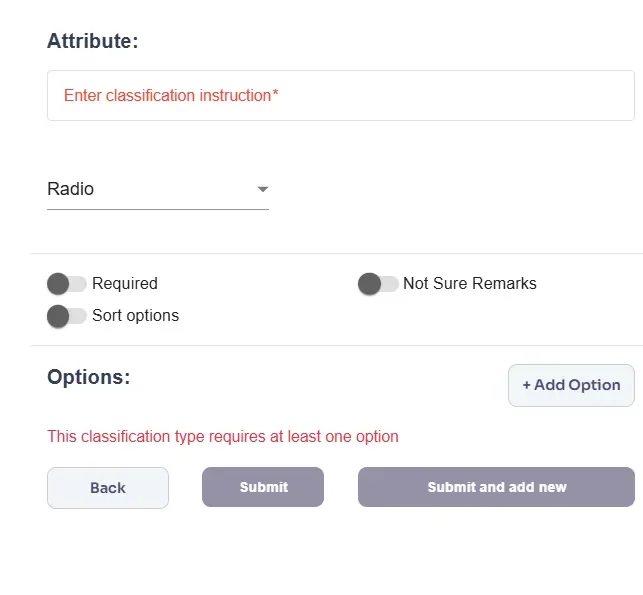
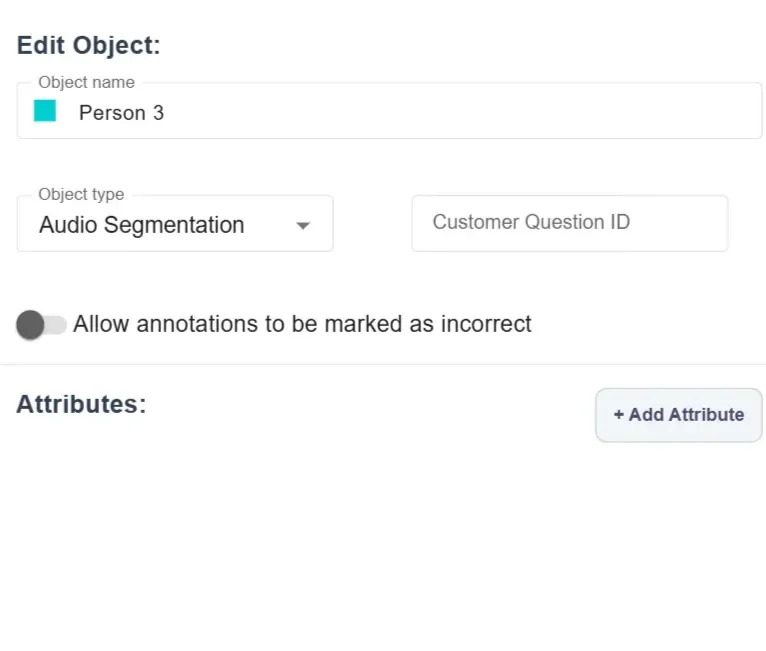
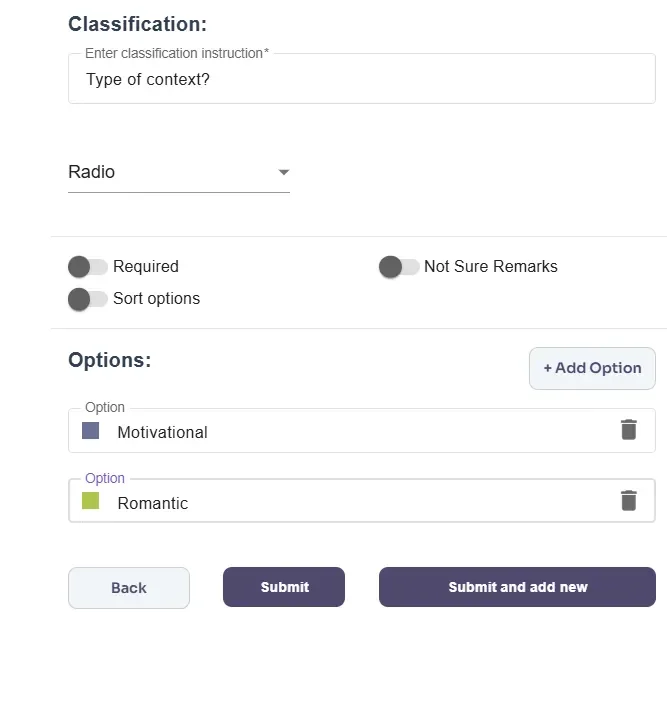
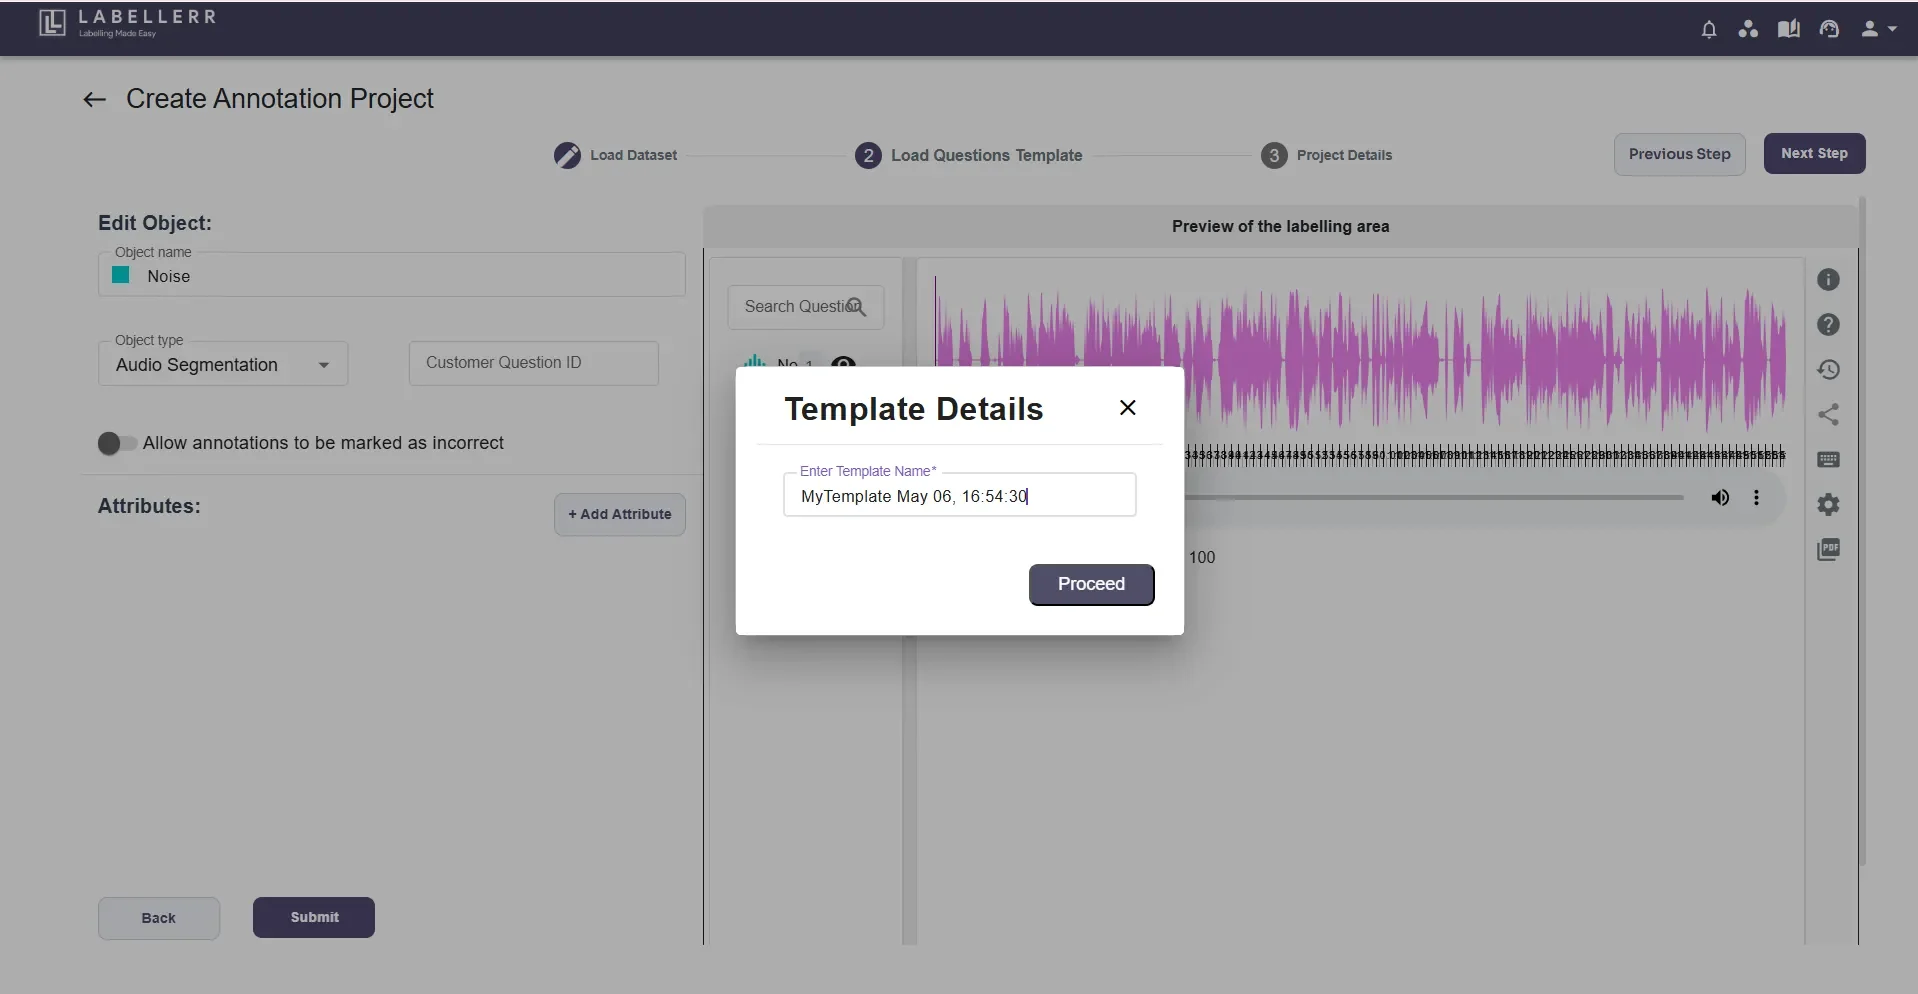
Here, Objects and Classifications based on the labeling requirements are supposed to be created. You can create a new template from scratch using the various options available or select an existing template from previous work on clicking ‘Existing Templates’ button. There are different ‘Object’ & ‘Classification’ types. For objects, in Objects tab, Click on ‘Add Object’. Enter Object name and select object type. Click on 💾 button to add it.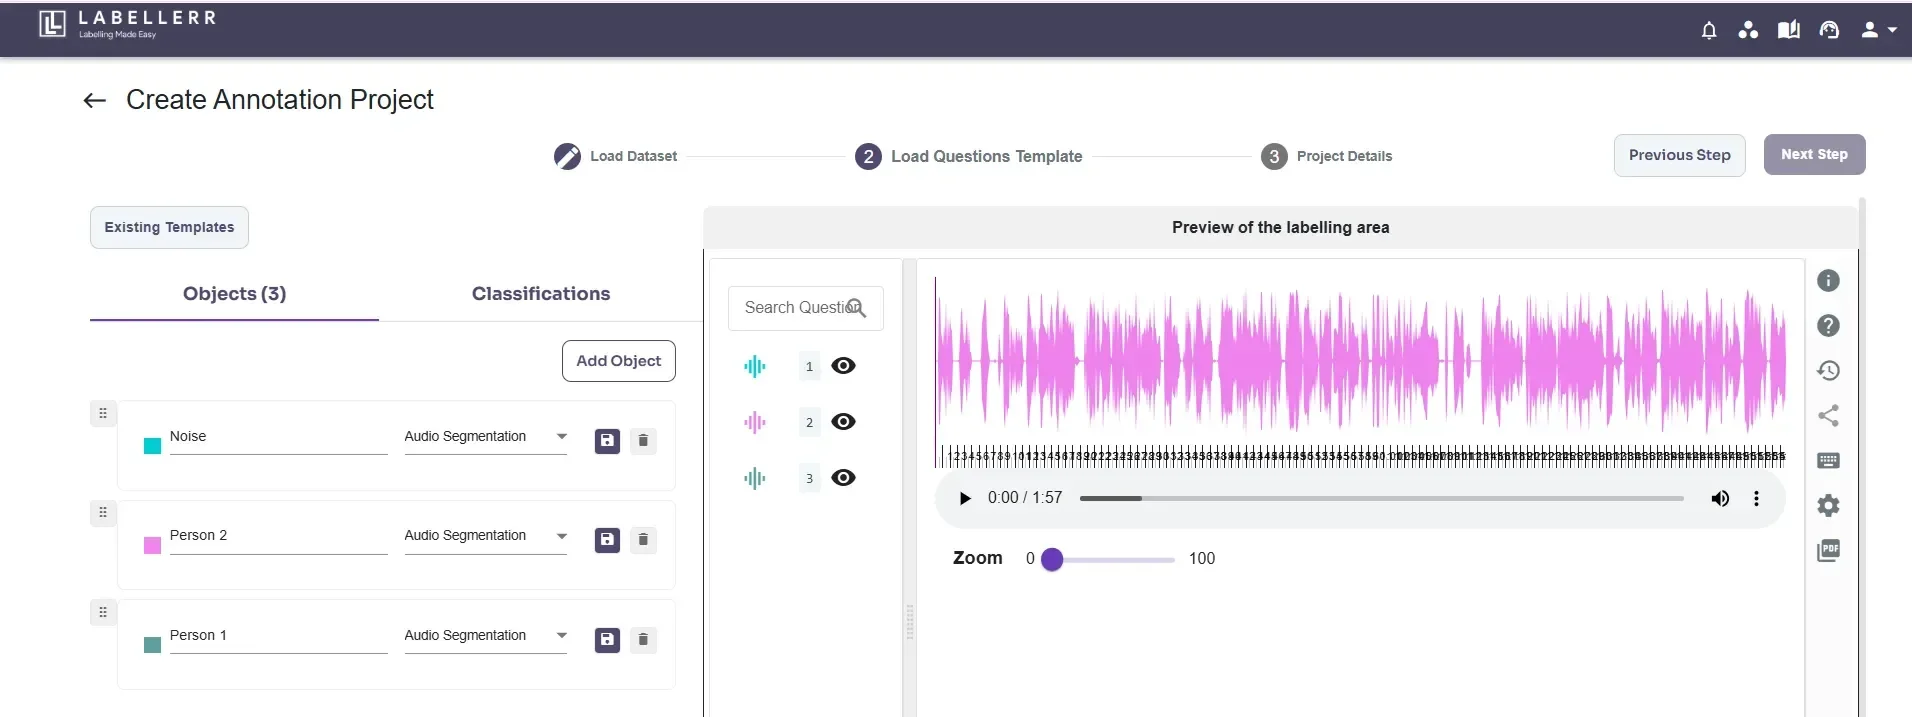
- Required - Indicates that the attribute must be completed
- Sort options - Allows sorting the values of the attribute
- Not sure remarks - Enables adding remarks when unsure about an answer
Step 4: Review
Select your review process by setting up the annotation count, review count (if Review Process is enabled) & client review count (if Client Review Process is enabled).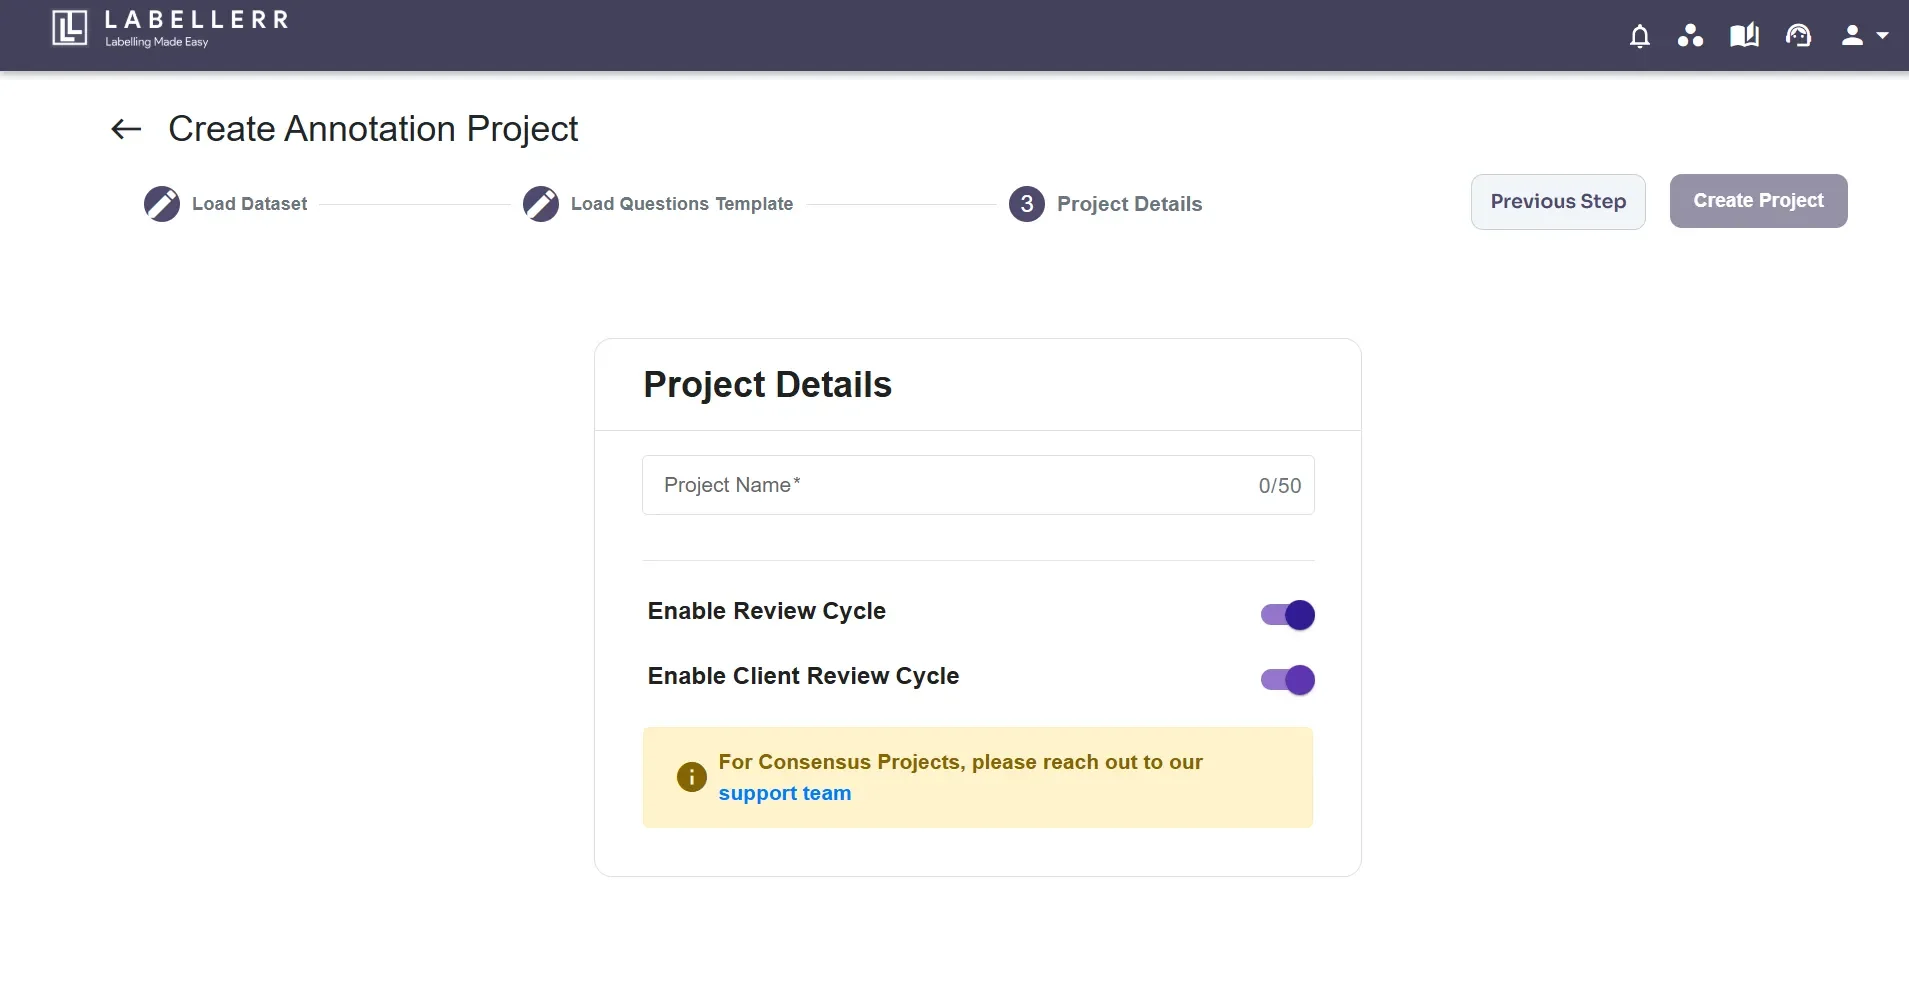
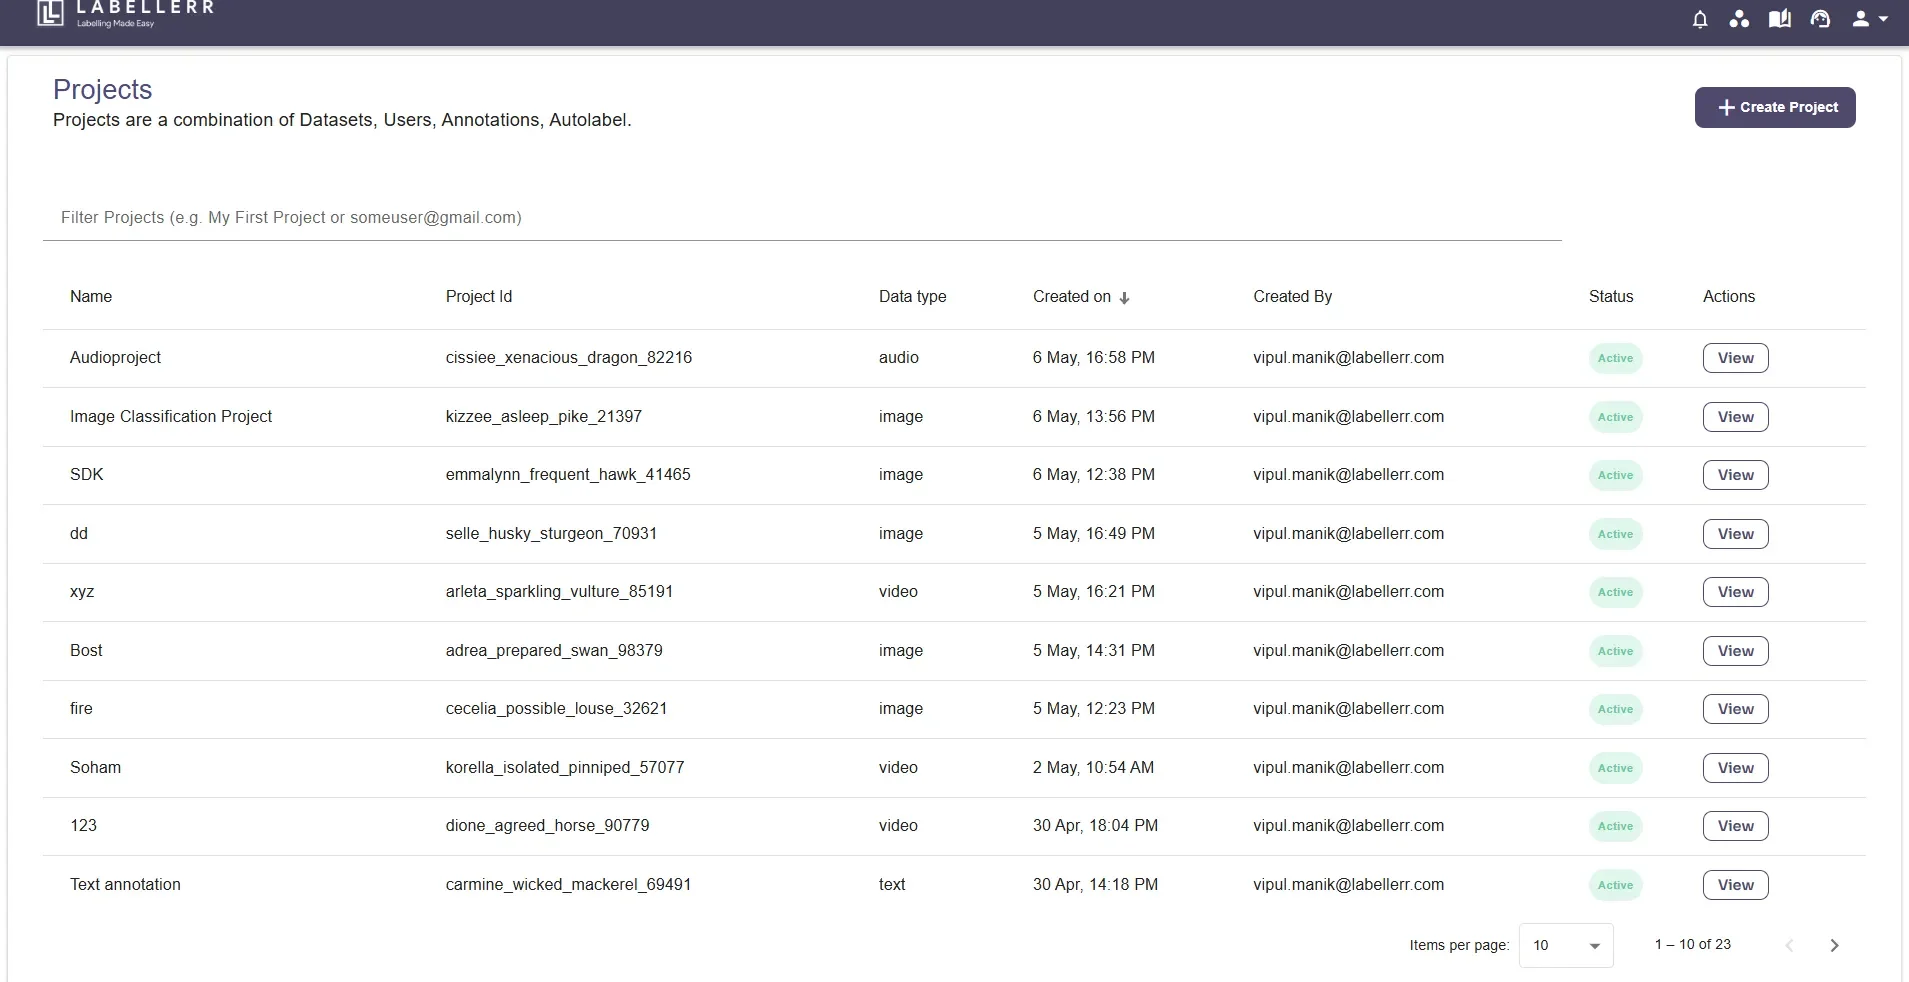
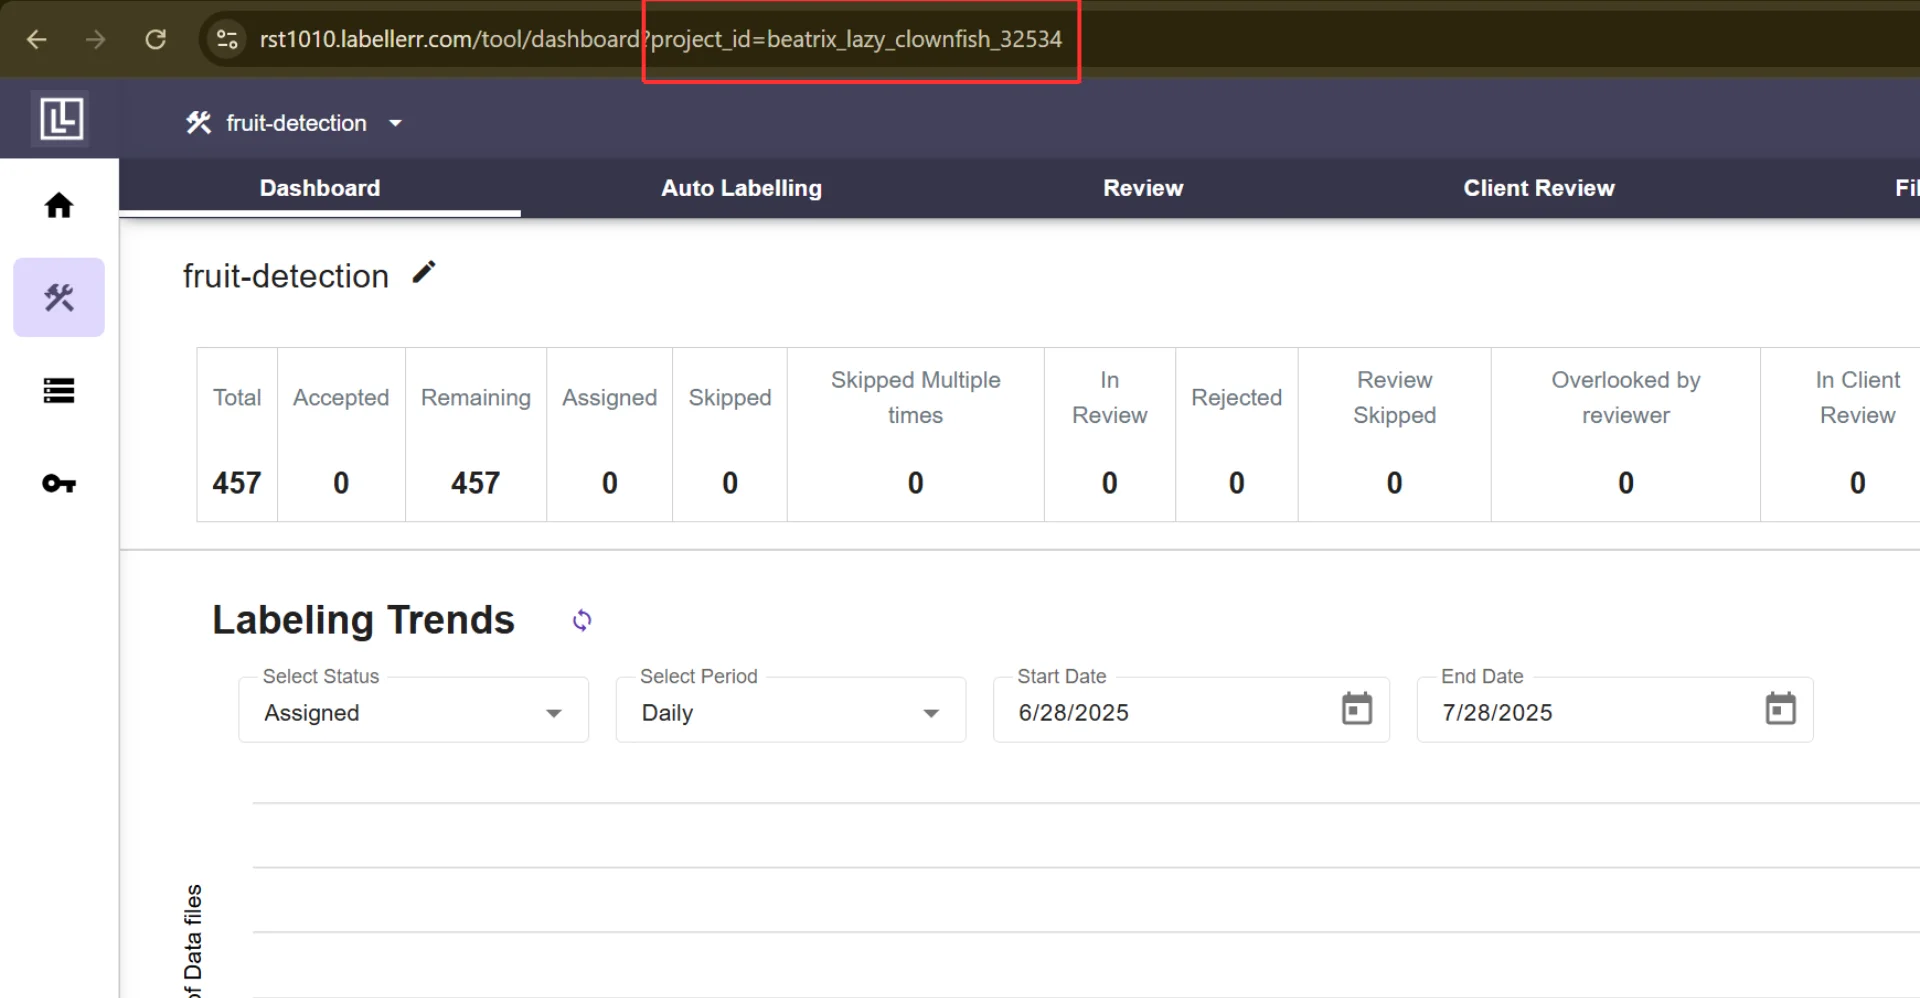
To find the project ID, check the URL in the web link of the project’s dashboard, labeling, review/client review screens, or files page.
For further assistance contact support@tensormatics.com