What This Guide Covers
This guide walks you through the complete process of deleting a dataset in Labellerr:
- Navigating to the Datasets section from the left sidebar
- Locating the dataset you want to delete
- Accessing the dataset options via the three-dot menu
- Confirming the deletion
How to Delete a Dataset?
1
Navigate to the Datasets Section
From the left sidebar, click on Datasets. This will open the datasets listing page, showing all datasets available within your workspace.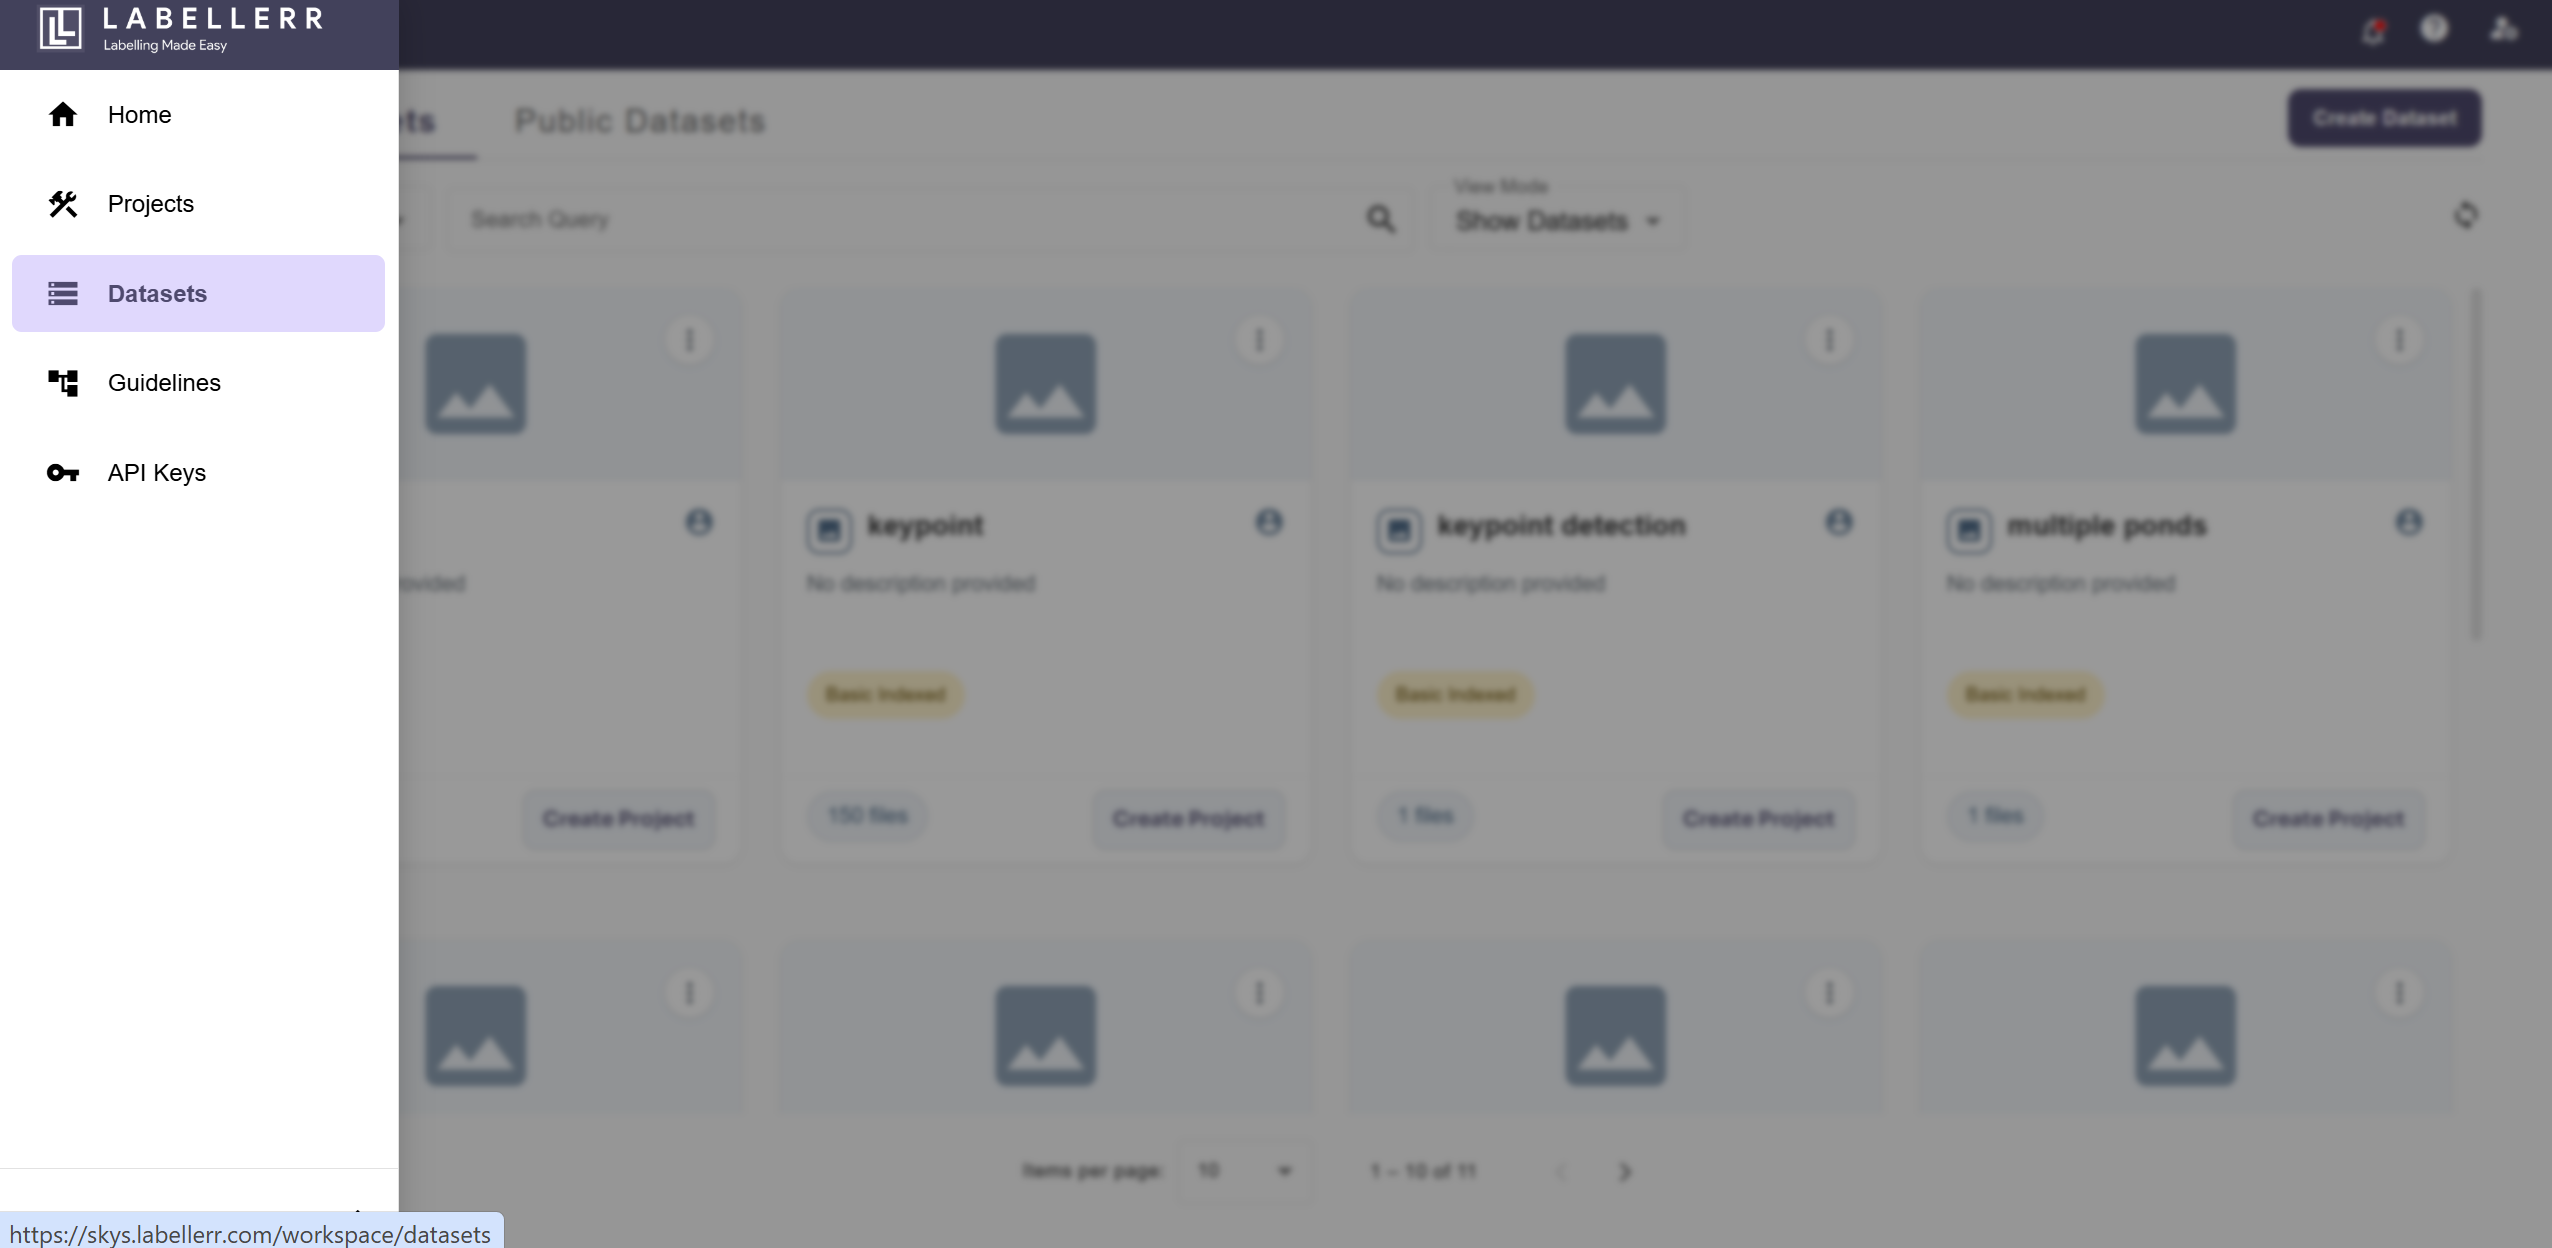
Ensure you are in the correct workspace before proceeding, as datasets are workspace-specific.
2
Click the Three-Dot Menu on the Dataset
From the list of datasets, locate the dataset you wish to delete. Click on the three-dot icon (⋮) on the right side of that dataset row to open the options menu.
3
Select 'Delete Dataset'
From the dropdown options menu that appears, click on Delete Dataset.
4
Click Delete to Confirm
A confirmation dialog will appear asking you to confirm the deletion. Click the Delete button to permanently remove the dataset from your workspace.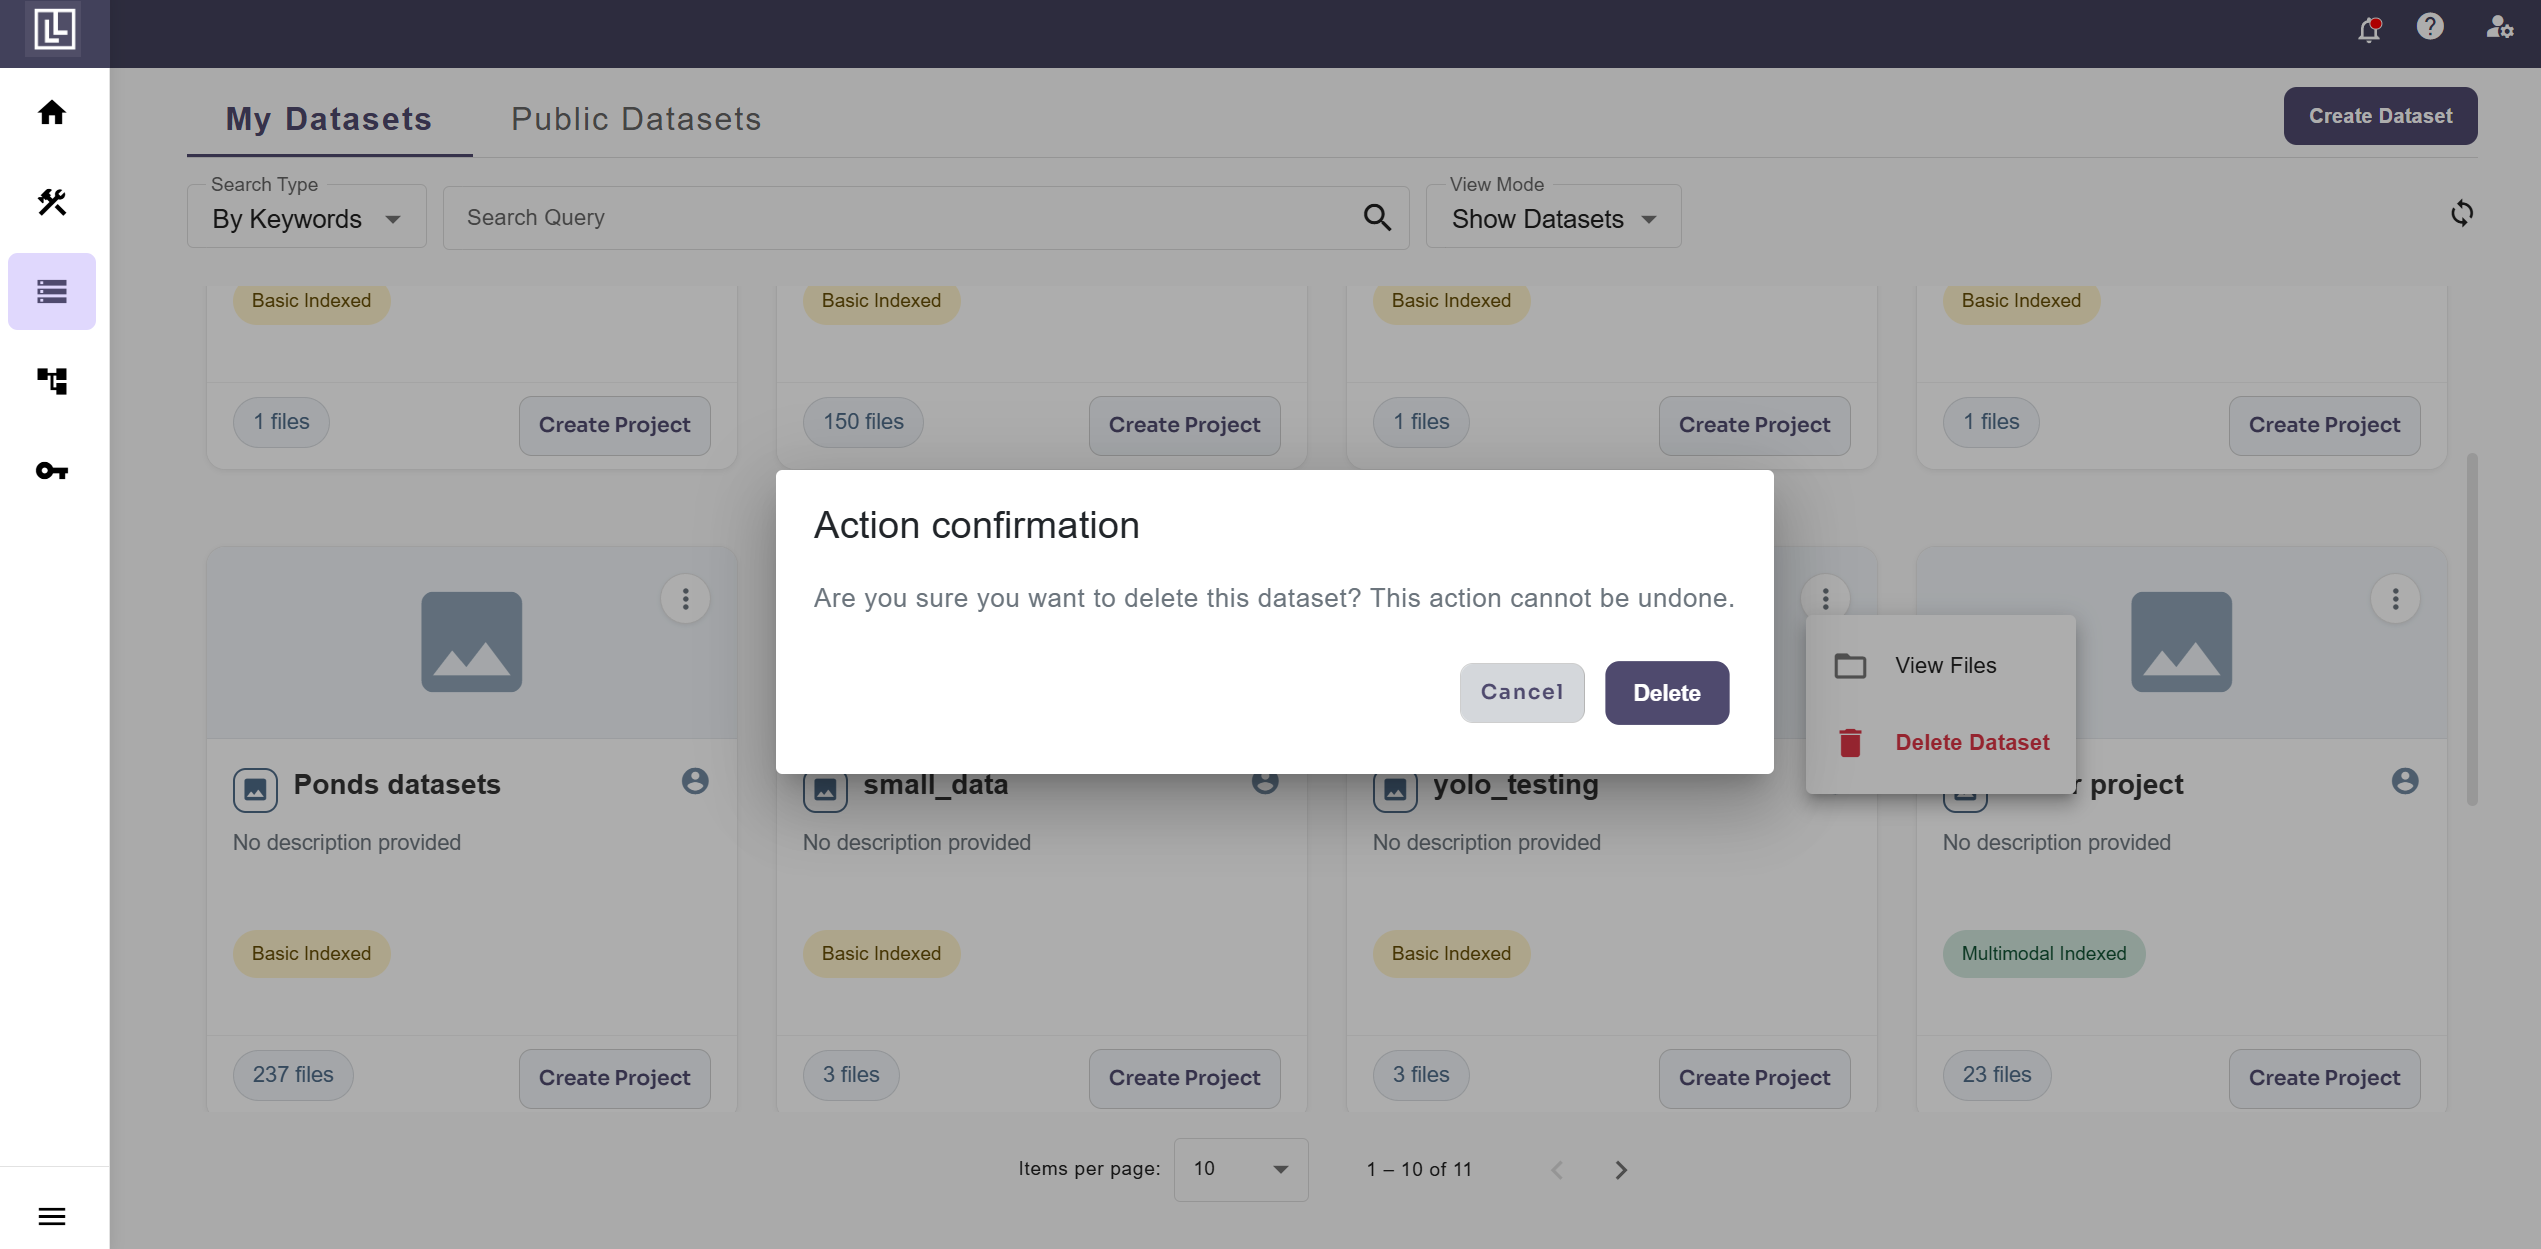 The dataset will be removed and will no longer appear in the datasets list.
For further assistance contact support@tensormatics.com