What This Guide Covers
This guide walks you through the complete process of safely deleting a project in Labellerr:
- Navigating to the Projects section
- Locating the delete option under project actions
- Confirming the deletion with a typed confirmation
- Completing the deletion
How to Delete a Project?
1
Navigate to the Projects Section
From the left sidebar, click on Projects to open the projects listing page. This will display all the projects within your workspace.
Make sure you are in the correct workspace before proceeding, as projects are workspace-specific.
2
Click the Delete Icon
On the Projects page, locate the project you want to delete. Under the Actions column, click on the Delete icon (🗑️) associated with that project.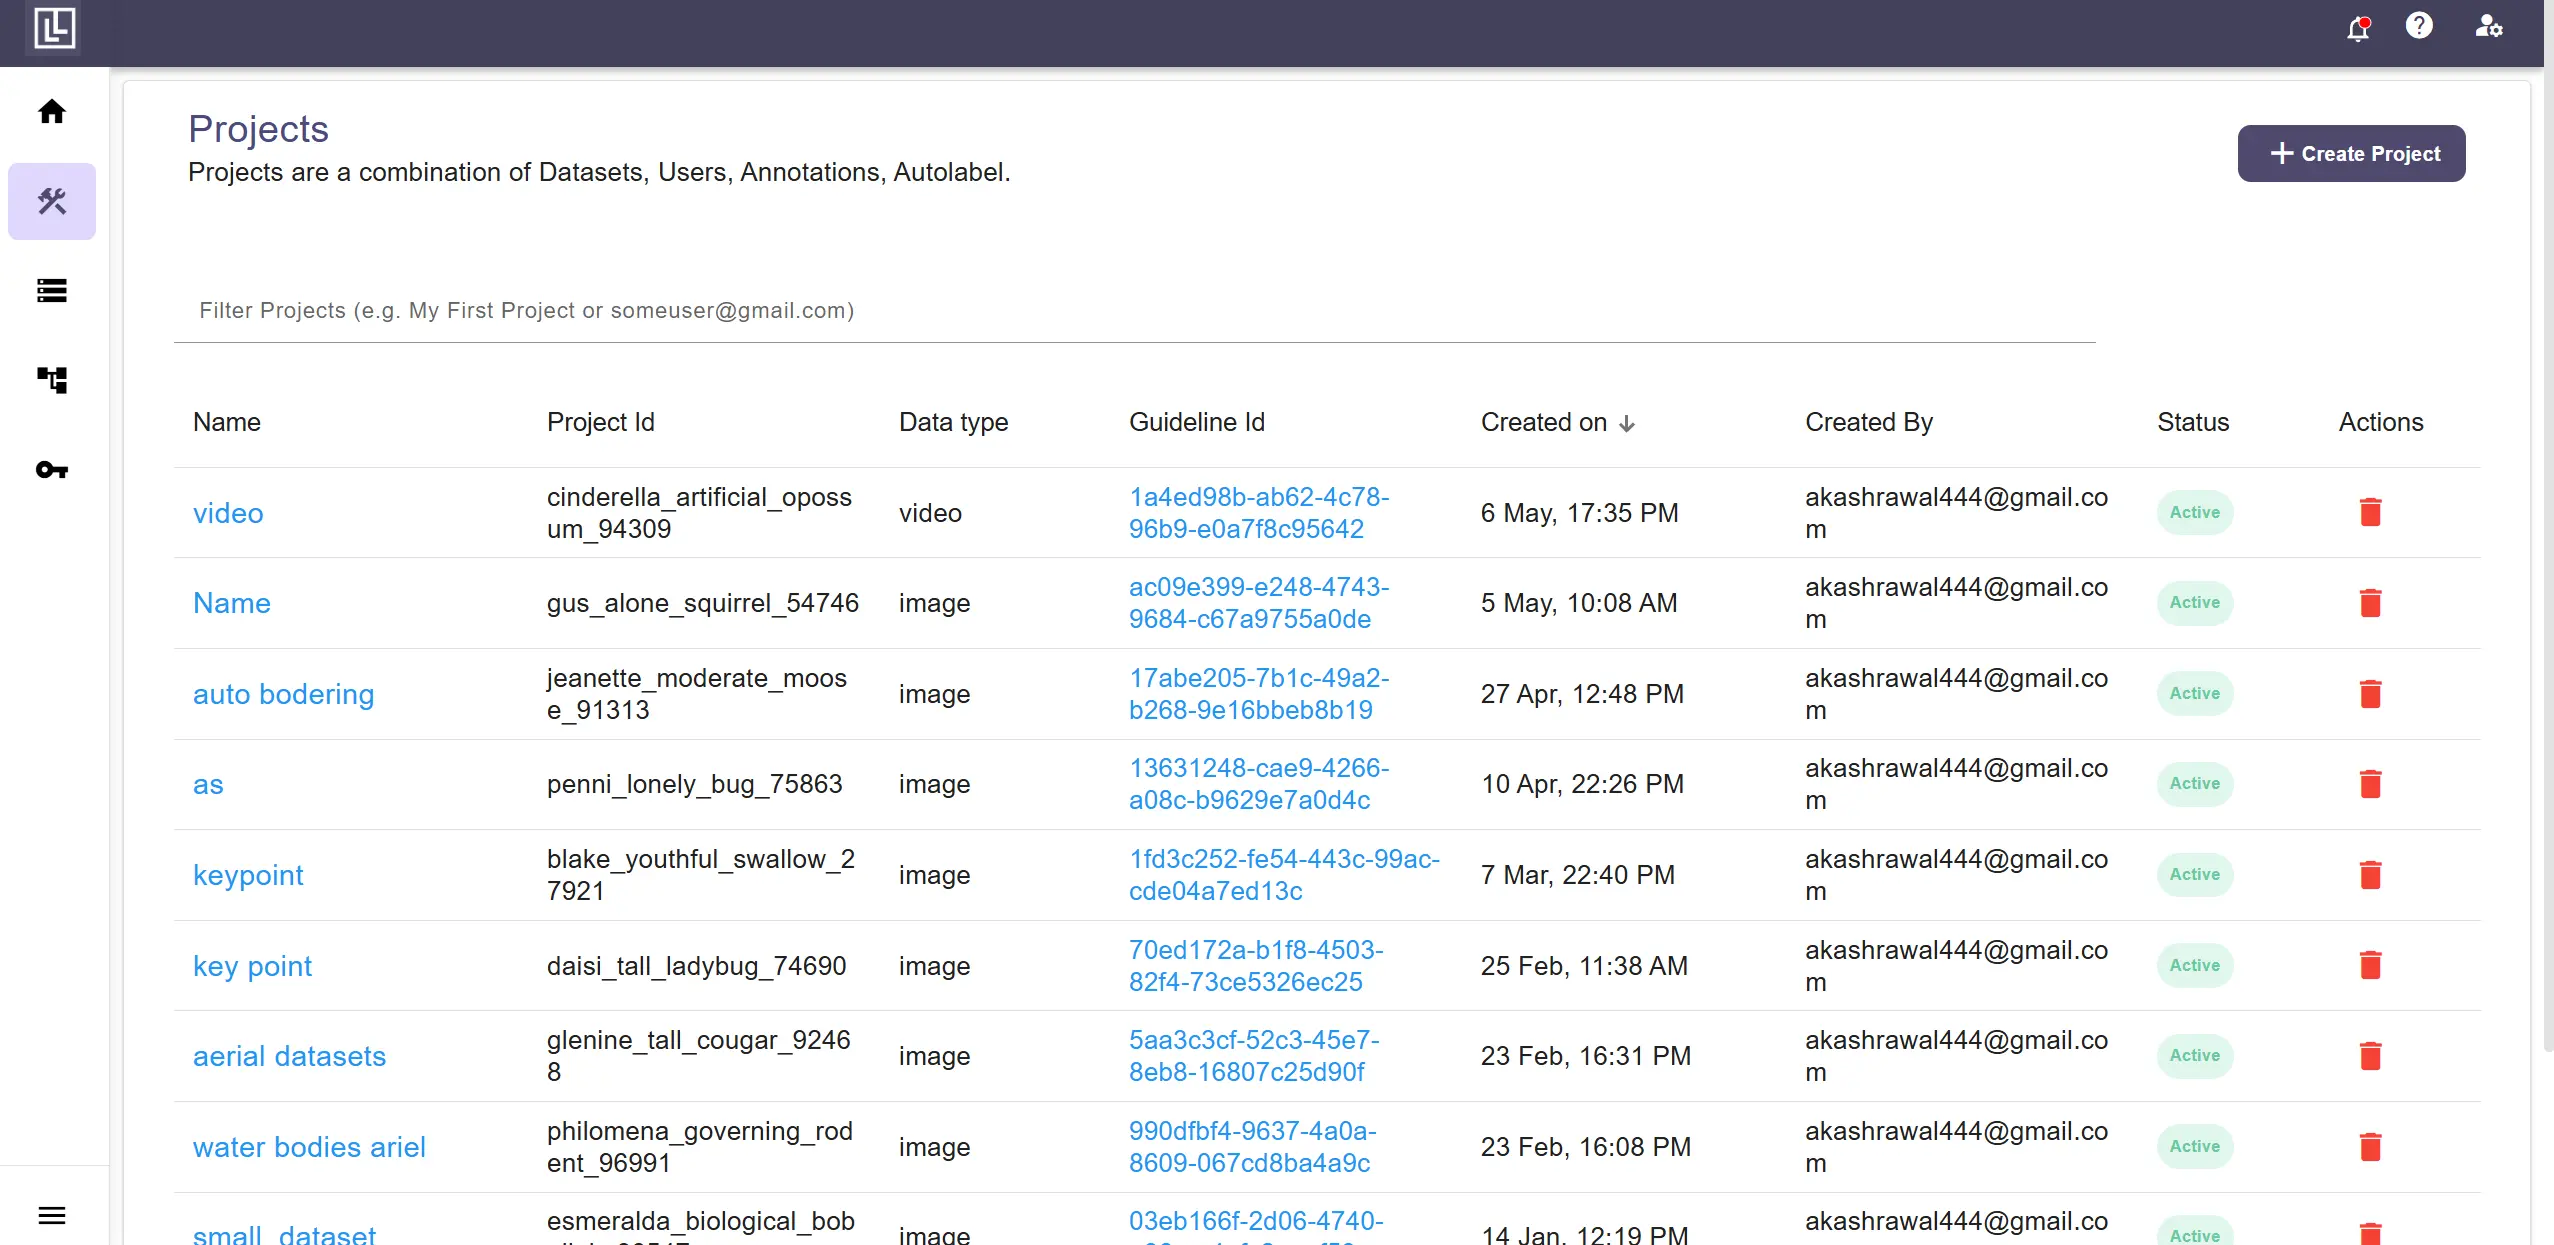
3
Type DELETE to Confirm
A confirmation dialog will appear. To prevent accidental deletion, you are required to type DELETE (in all caps) in the confirmation input field.
The Confirm button will remain disabled until you type
DELETE exactly as shown. This ensures that project deletions are always intentional.4
Click Confirm to Delete the Project
Once you have typed DELETE in the input field, the Confirm button will become active. Click on Confirm to permanently delete the project.The project will be removed from your workspace and will no longer appear in the projects list.
For further assistance contact support@tensormatics.com